Getting Started
12
2
2.2.2 The Control Panel of the Live View Window
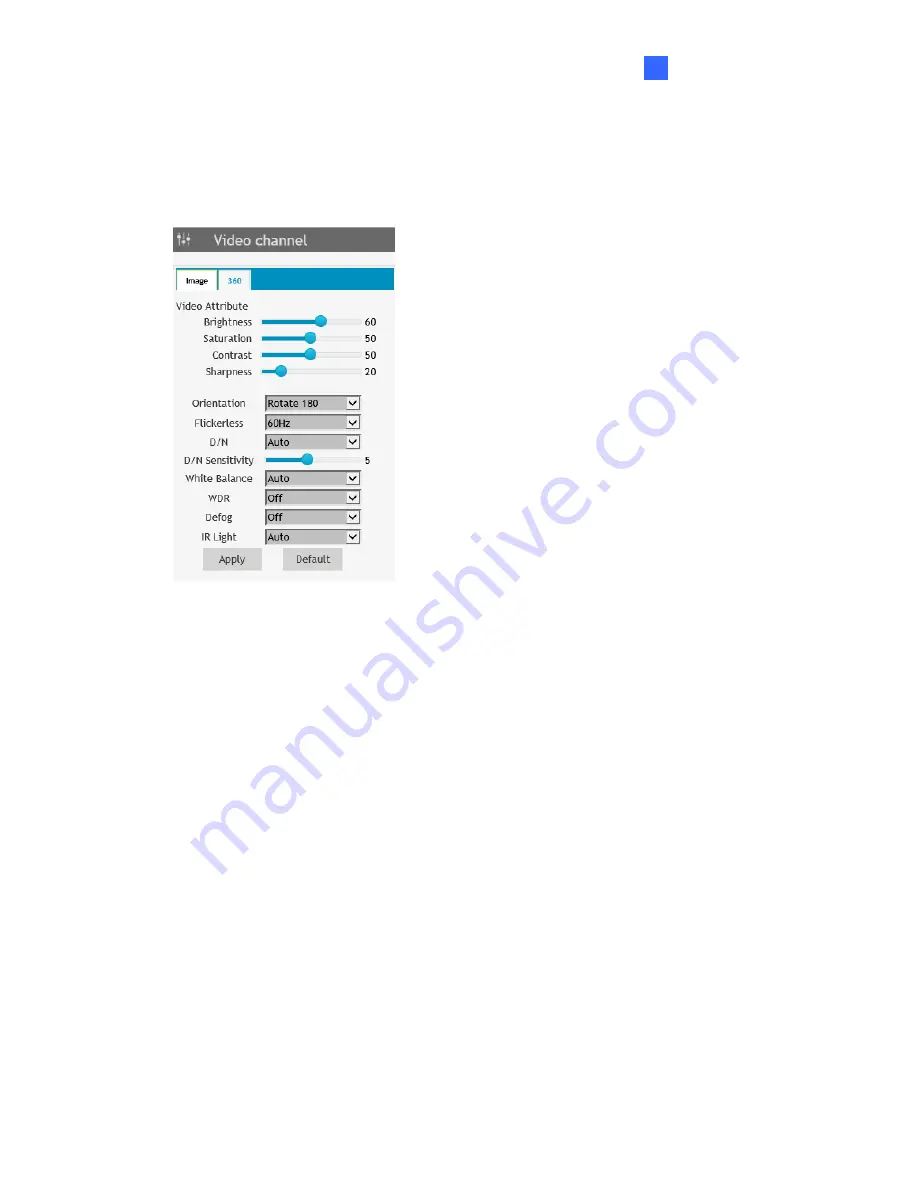
Using the control panel on the right side of the Live View window, you can adjust the following
image settings. Note these settings are only accessible by the Administrator.
Figure 2-5
[Image]
Video Attributes:
Adjusts the Brightness, Saturation, Contrast and Sharpness of the live
image.
Orientation:
Changes the orientation of the image in live view.
Flickerless:
Manually select the frequency of your camera’s image, between 50 Hz and
60 Hz, to match the frequency of the light sources of the surveillance site, e.g. fluorescent
lighting. If the frequencies don’t match, faint light and dark bars may appear in the images.
Check the power utility to determine which frequency is used at your area.
D/N:
Select
Auto
for the camera to automatically switch between day mode and night
mode depending on the amount of light detected. Select
Black and White
to switch the
camera to night mode. Select
Color
to switch the camera to day mode.
D/N Sensitivity:
Sets the sensitivity of the light sensors used for switching between day
and night modes, from 1 to 10. The higher the value, the more sensitive they are to light.
White Balance:
The camera automatically adjusts the color to be closest to the image
you are viewing. Select from the following:
Auto
,
Outdoor
,
Fluorescent
, and
Incandescent
.


