


6. Click
OK
to return to the User Account List.
7. To set access rights, select a user account and click the
Privilege
button . The cameras listed in the IP Device List are
displayed.
8. Select the checkboxes to allow the user to access the
Live View
,
Remote Playback
and
Event Query
of the camera.
9. To access the Web interface in User Mode, type the user account’s
User Name and Password in the GV-Recording Server login page.
For details on User Mode, see
Chapter 6 User Mode
in the
GV-Recording
Server User Manual
.
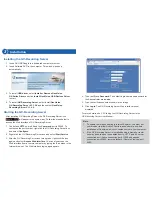
1. On the main screen of GV-System, click the
Configure
button, select
System Configure
, select
Camera Install
and select
IP Camera
Install
. This dialog box appears.
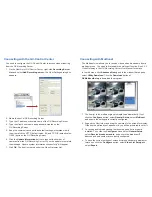
2. Click the
Add Camera
button. This dialog box appears.
3. Type the IP address or domain name of the GV-Recording Server.
Keep default HTTP port as 80 or change to match the HTTP port
configured in GV-Recording Server. Type the client’s username and
password. Select
GV-Video Gateway / GV-Recording Server
from
the
Device
drop-down list. This dialog box appears.
You need to configure the GV-System to access video streaming from the
GV-Recording Server.
Connecting with the GV-System