

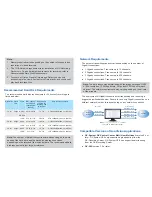


4
Connecting to IP Devices
When logging in the GV-Recording Server for the first time, the Install
Wizard will be prompted to help you add IP video devices, assign storage
path to store recorded files and start connections to IP devices.
5. The GV-Recording Server will try to connect to the devices using
admin
as the default ID and password. To connect with other ID and password,
select the camera, click the
Edit
button and select
Host Setting
.
In the dialog box, select
Change ID and Password
, type a new ID and
password and click
OK
.
6. Click
Save
and click
Next Page
.
to avoid netw ork bottleneck
Adding IP Video Devices
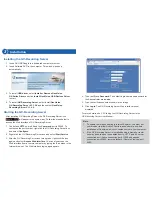
1. When the Install Wizard is launched, the GV-Recording Server
automatically detects available IP video devices under LAN. This
dialog box appears.
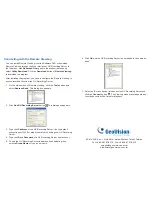
Assigning Storage Paths
1. In the Storage Path page, click the
Add
button to add a new storage
folder in a different disk drive, or select an existing storage folder.
2. Use the default storage path, or click the
Add
button to select a new
storage path.
3. In the Working Camera List section, type a range of camera number
and click the
Select
button. You can also select the
Working Camera
List
checkbox to select cameras individually. Videos of the cameras
selected will be recorded to the storage path indicated.
4. To specify a recycle threshold, select
Recycle
and type a minimum
free space. When the remaining free space falls below the threshold,
the oldest files will be overwritten.
5. Click
Save
and click
Next Page
at the lower-right corner of the page.
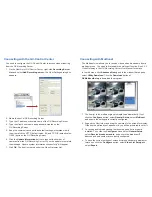
2. If you have multiple network interface cards, use the drop-down list to
select one and click
Search
.
3. Select the IP video devices you want to establish active connection
with.
4. Click
Add
and map the device to a channel. The Working Camera List
appears.
Note:
To start the Install Wizard manually, click
Install Wizard
under
the Server section in the left menu.