


English
-26
2. Switch on the camera.
3. Press
the
Mode selector
button and use the
Up/ Down shift selector
buttons to select
the
PC mode
option.
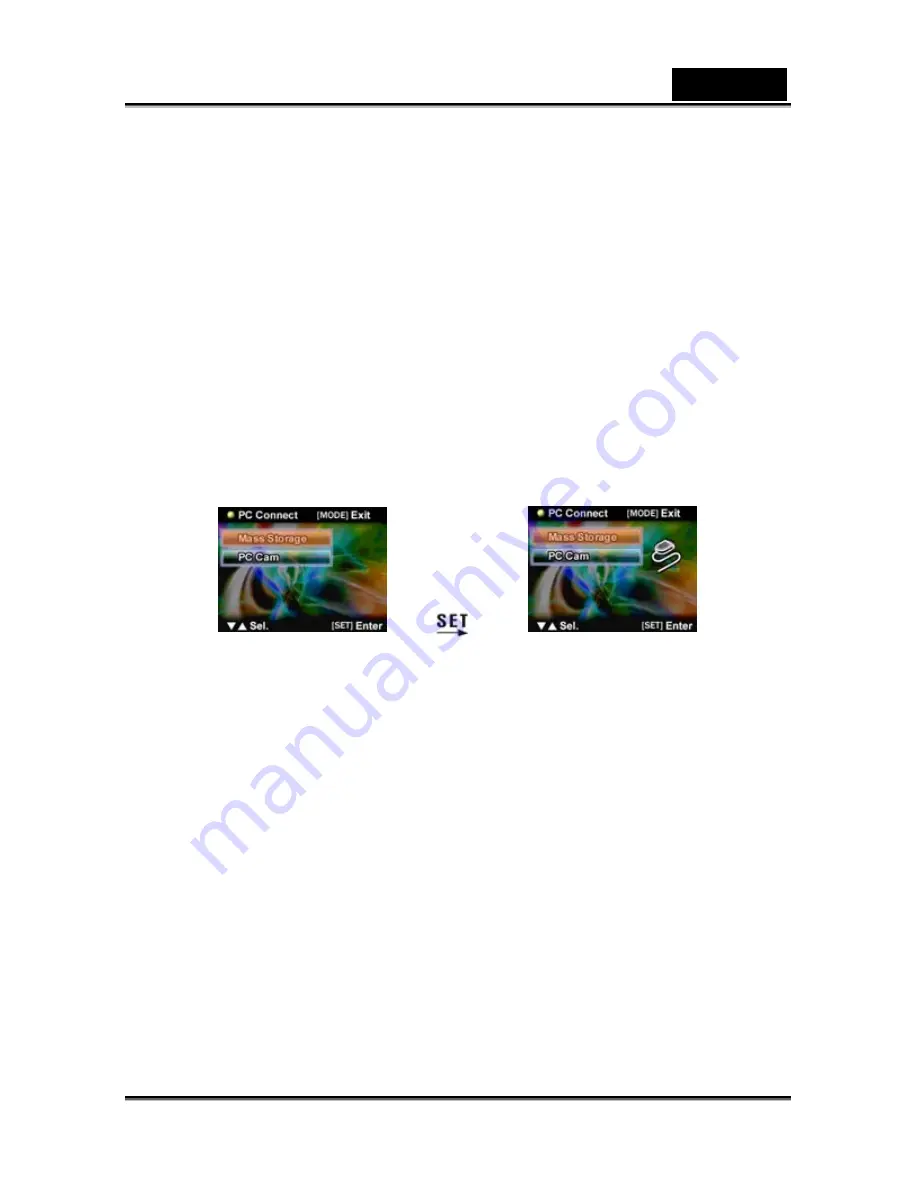
4. Press
Set/ Function
button to access the selected icon. The options “Storage” or
“Video camera” will be displayed on the LCD.
5. Use
the
Up/ Down shift selector
buttons to navigate between the options and highlight
“Storage” then press
Set/ Function
button to confirm and save.
6. When the USB icon showing the connection to the PC is displayed on the LCD, please
link the camera with the PC via the USB cable provided.
7. When the set up is completed, an icon will appear under
My Computer
in the form of a
removable hard disk.
8. The newly added hard disk, which is the camera’s built-in SD card reader, is now ready
to be used.
Video camera mode
After the camera is set as a video camera, using Windows XP, it can be used to take
photographs, or complement other software, for example: it can be used for video
conferencing between concurrent end users.
1. Please follow the instructions and install the application as shown in “Installing software
and drivers”.
2. Switch on the camera.
3. Press
the
Mode selector
button and use the
Up/ Down shift selector
buttons to select
the
PC mode
option.
4. Press
Set/ Function
button to access the selected icon. The options “Storage” or
“Video camera” will be displayed on the LCD.
5. Use
the
Up/ Down shift selector
buttons to navigate between the options and highlight
“Video camera” then press
Set/ Function
button to confirm and save.
6. When the USB icon showing the connection to the PC is displayed on the LCD, please
link the camera with the PC via the USB cable provided.
7. Using the software provided, you can now use the video camera function.


