


11
Here we take accessing the device via LAN for example. In LAN, there are two ways to
access:
1. Access through IP-Tool
2. Directly Access through Web Browser
The default network settings are as shown below:
• IP address: 192.168.226.201
• HTTP:80
• Subnet Mask: 255.255.255.0
• Gateway: 192.168.226.1
• Data Port:9008
You may use the above default settings when you log in the camera for the first time.
Access the Camera through the IP Tool
1. Make sure that the camera and the PC are well connected via LAN.
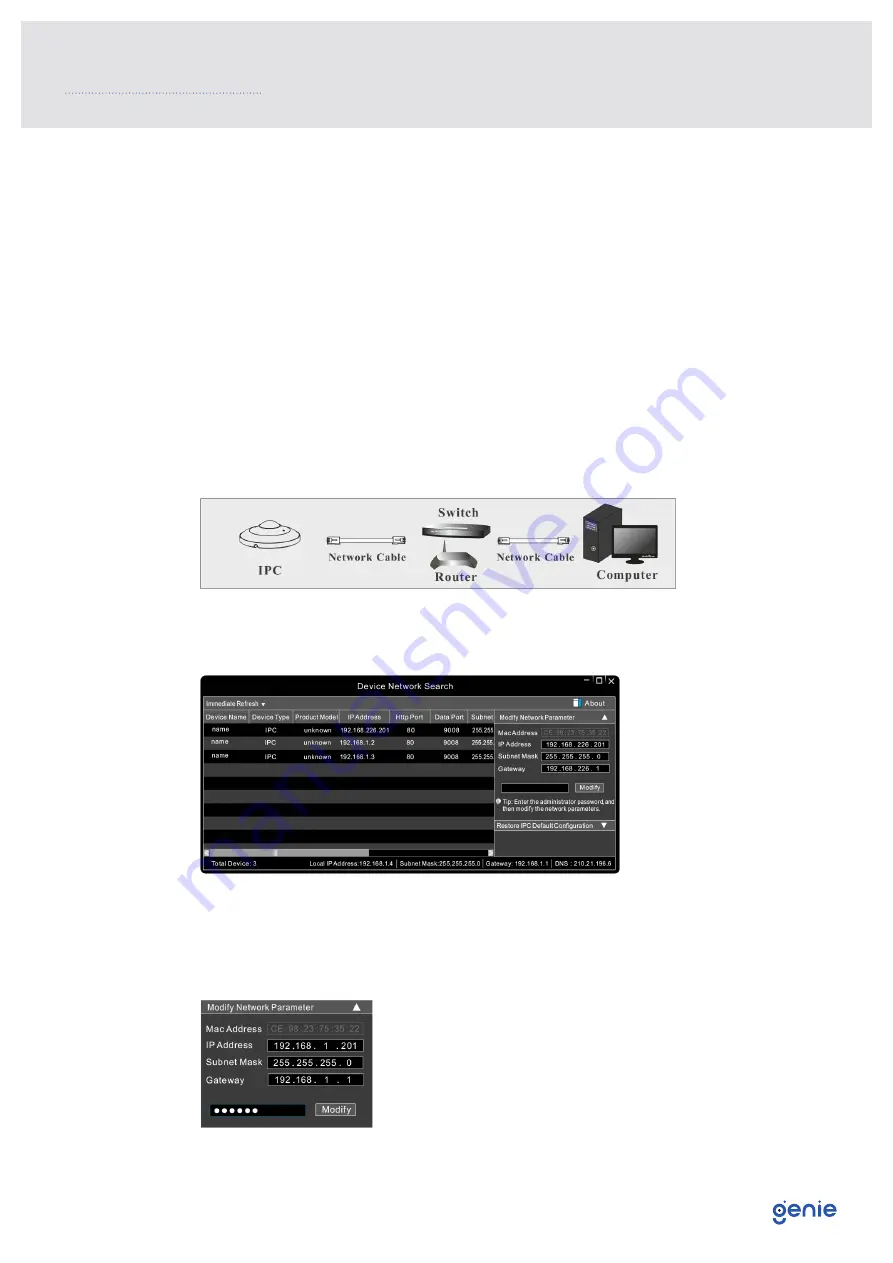
2. Find the IP-Tool from the CD and then install it in the computer. After that, run the IP
Tool as shown below.
3. Modify the IP address. The default IP address of this camera is 192.168.226.201. Click the
information of the camera listed in the above table to show the network information
on the right hand. Modify the IP address and gateway of the camera and make sure its
network address is in the same local network segment as that of the computer. Please
modify the IP address of your device according to the practical situation.
4.0 Network Connection
For example, the IP address of your computer is 192.168.1.4. So
the IP address of the camera shall be changed to 192.168.1.X
and the gateway shall be changed to 192.168.1.1. After
modification, please enter the password of the administrator
and click “Modify” button to modify the settings. The default
password of the administrator is “123456”.


