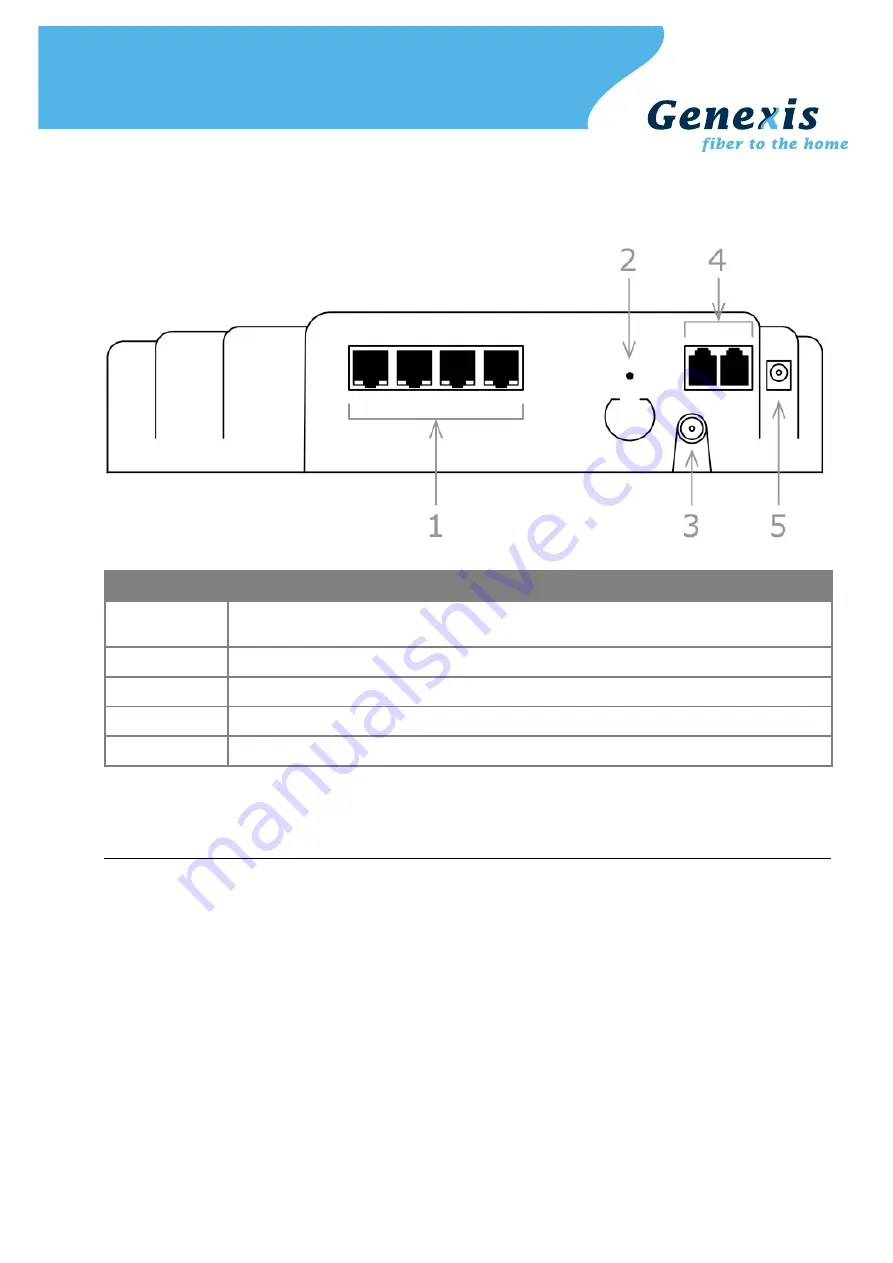
The side of the router
The side of the router is shown below. A short description of the port connections is given in the
table below.
Item
Description
1
Ethernet LAN port 1 (right) to port 4 (left). For each port two LEDs indicate
connectivity (green) and activity (orange)
2
Factory default reset button
3
F-connector for CATV
4
Two POTS voice ports
5
Power adapter port
Installation
Step 1.
Connect the router to a power source, using the supplied 12V power adapter.
Step 2.
Make sure the unit started-up correctly and that routing is enabled. The start-up
sequence normally takes less than 3 minutes. After the start-up sequence the
following LEDs should should be on: PWR, WAN, M1, and M3.
If any of above mentioned LEDs is off or blinking for more than 3 minutes after
powering on the router, there might be a problem with the connection, or with the
configuration.
Step 3.
Connect a computer to a routed LAN port on the Genexis router, using an Ethernet
cable with a RJ-45 connector.
Note that configuration on which ports routing is enabled is done by the remote
provisioning.
Copyright © Genexis BV. All rights reserved
09-2009 v1


