○
○
○
○
○
○
○
○
○
○
○
○
○
○
○
○
○
○
○
○
○
○
○
○
○
○
○
○
○
○
Performance mode 2•5
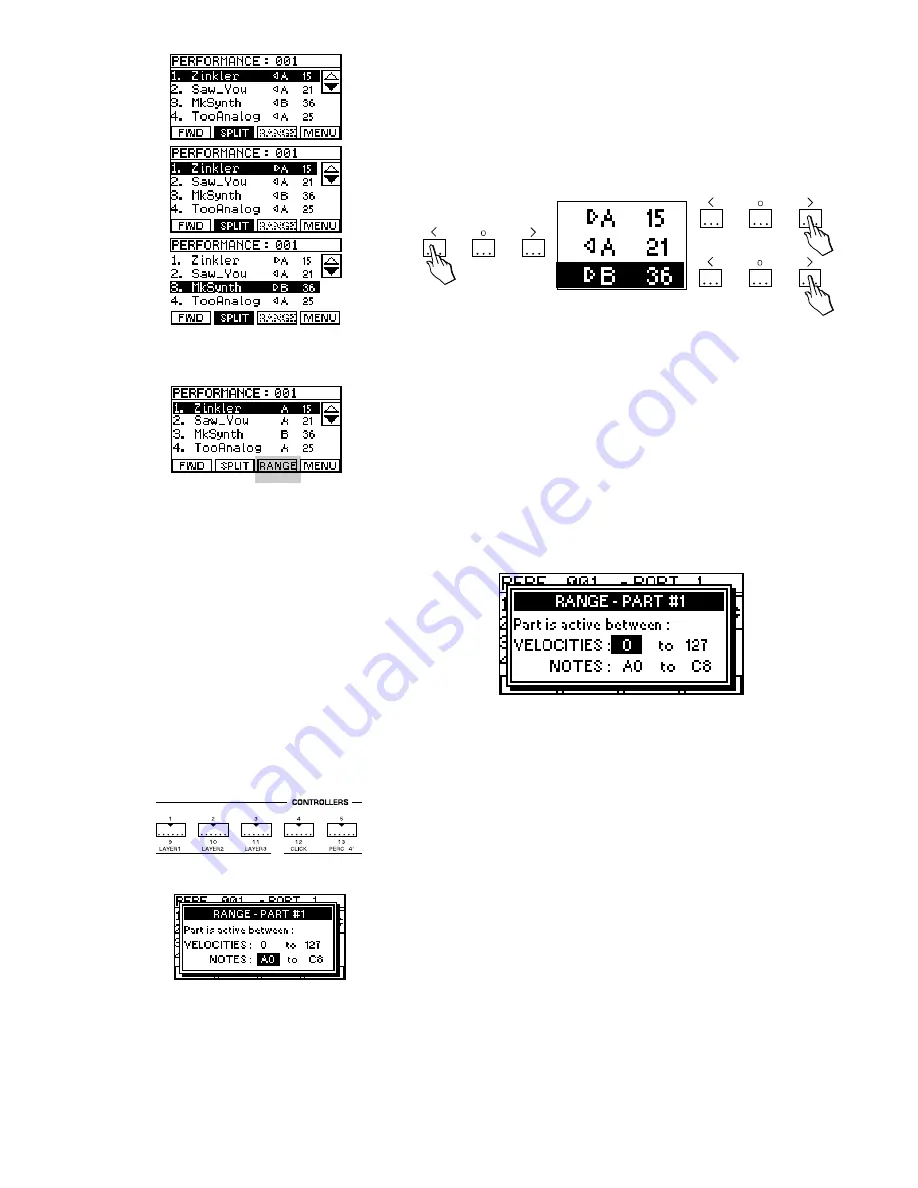
As you select each part in the list, you can assign it’s position,
either to the left or to the right of the split point, by pressing the
INCREASE or DECREASE buttons of the keypad.
For each part in the
Parts List, you will see a small arrow icon
indicating which side of the split the sound is assigned to.
RANGE (button F3): The RANGE button (F3) is used to speci-
fy, for each part, exactly how and when it will be activated from
the keyboard. You can select a range of notes and a range of
velocities, outside of which, this part will not be activated. This
allows the RANGE function to be used when you want to create
a
Multi-Split or a Velocity Switch between a group of different
sounds.
Multi-Split
For example, to make a five part split, switch on parts 1, 2, 3, 4
and 5. Then assign the NOTES range as follows, (remember to
use the part buttons to switch between current parts);
PART 1: A0 to B2
PART 2: C3 to B3
PART 3: C4 to B4
PART 4: C5 to B5
PART 5: C6 to A8
This will give you a five part split where you have a different
sound in each octave, (for the 61 note model).
NOTE: The RANGE function is
not available if the Basic Split is
on.
NOTE: The complete span of an
88 note keyboard has A0 as it’s
lowest note and C8 as it’s highest.
Содержание 271221
Страница 2: ......
Страница 3: ...Cod 271221 English Owner s manual...
Страница 52: ...1 28 User Guide...
Страница 62: ...2 10 User Guide...
Страница 86: ...5 8 User Guide...
Страница 114: ...8 10 User Guide...
Страница 124: ...9 10 User Guide...
Страница 132: ...10 8 User Guide...
Страница 152: ...11 20 User Guide also transpose down by setting negative values Press ENTER to complete the operation...
Страница 186: ...14 2 User Guide...
Страница 213: ...Tables A 27...
Страница 216: ...A 30 Appendix...


