12
4.
Wi-Fi Configurations
Detailed configuration procedures are as follows.
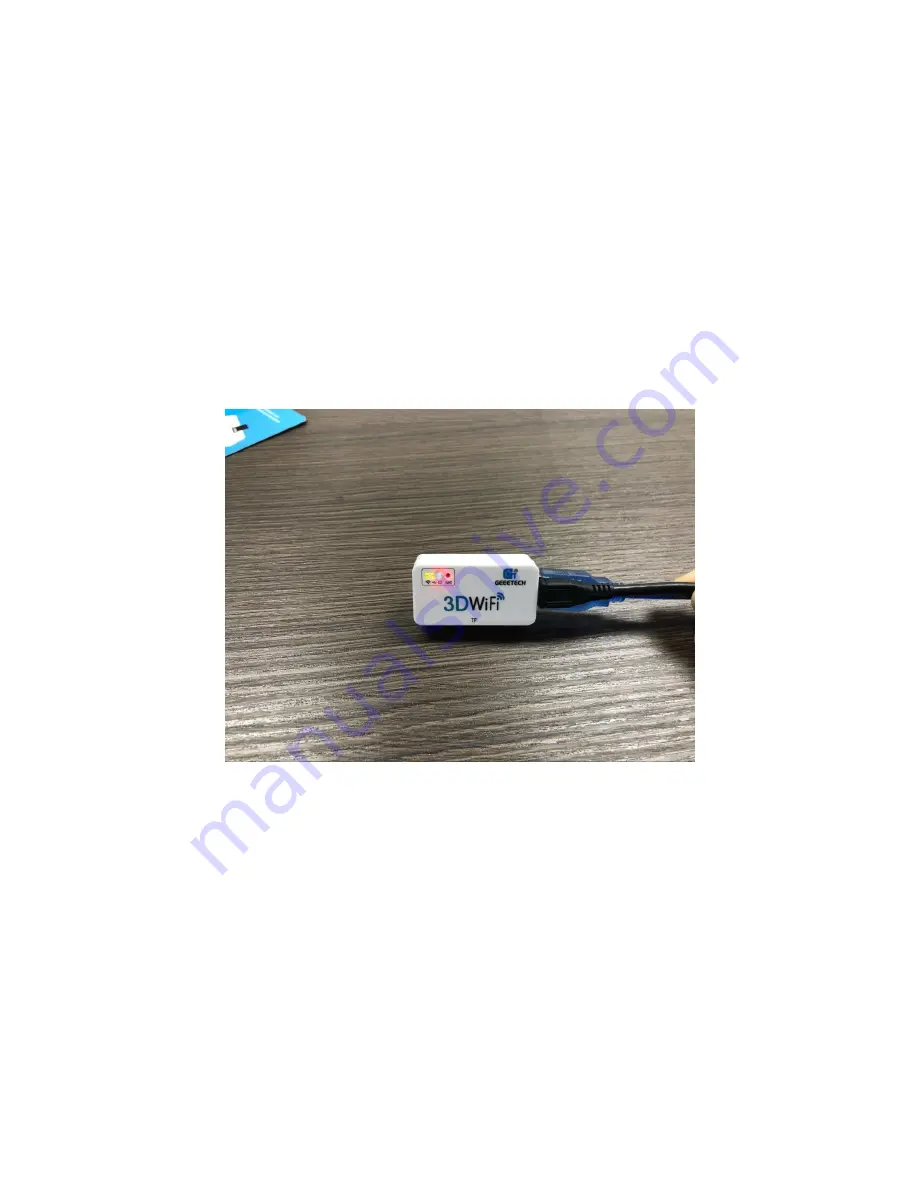
Step 1. Use the power cable to connect 3D WiFi Module with your adapter to power it
up. The red power supply indicator light is on, while the yellow indicator lights for USB and
Wi-Fi signal flicker quickly.
Step 2. Connect your 3D printer to the USB port of 3D WiFi Module with your USB
cable for data transmission. The red power supply indicator light and the yellow USB
indicator light are on, while the yellow Wi-Fi signal indicator light flickers slowly.
Step 3. Please check if the TF card is inserted into the slot in the right way.
Содержание 3D WiFi
Страница 1: ...Geeetech 3D WiFi Module User Manual...
Страница 10: ...8 Step 3 Click Register Now and a pop up interface will appear for you to check your email...
Страница 17: ...15 1 2...
Страница 19: ...17 1 2...
Страница 30: ...28 4 Click while printing and choose OK The printer will pause Meanwhile...
Страница 33: ...31 5 2 3 Printing from Gallery Step 1 ClickGallery Cloud to choose 3D model files...
Страница 38: ...36 b Click New printer profile and choose your printer type...


