


4
Chapter 2 Installation Instructions
Section 1 Install the Protection Cover
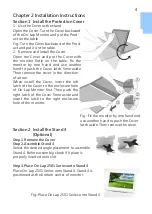
1. Use the Cover as the stand
Open the Cover. Turn the Cover backward
of the On-Lap Monitor and put the Prod-
uct on the table
Fig.: Turn the Cover backward of the Prod-
uct and put it on the table.
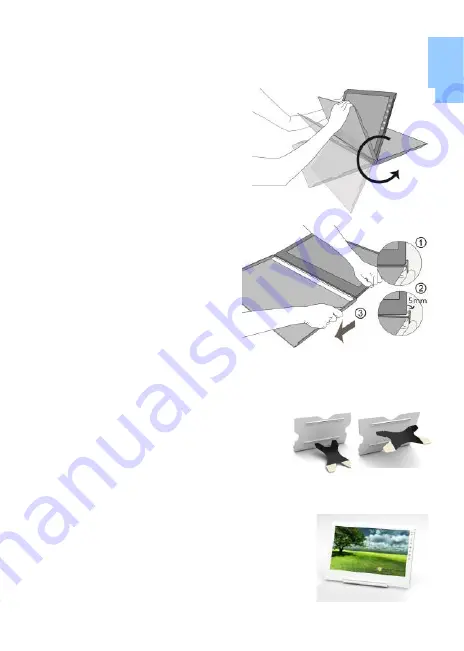
2. Remove and Install the Cover
Open the Cover and put the Cover with
the monitor flatly on the table. Fix the
monitor by one hand and use another
hand to push the Cover latch 5mm aside.
Then remove the cover in the direction
of arrow.
When install the Cover, insert the left
latch of the Cover to the enclosure hole
of On-Lap Monitor first. Then push the
right latch of the Cover 5mm aside and
insert the latch to the right enclosure
hole of the monitor.
Section 2 Install the Stand 4
(Optional)
Step1. Remove the Cover
Step2. Assemble Stand 4
Select the desired angle placement to assemble
Stand 4. Before assembly, check if X plate is
properly inserted onto slot.
Step3. Place On-Lap 2501 Series onto Stand 4
Place On-Lap 2501 Series onto Stand 4. Stand 4 is
positioned at the bottom center of monitor.
Fig.: Fix the monitor by one hand and
use another hand to push the Cover
latch aside. Then remove the cover.
Fig.: Place On Lap 2501 Series onto Stand 4
Содержание On-Lap 2501 Series
Страница 1: ...Manual of 2501 Series 2501 Read Me Before First Usage 2501...
Страница 18: ...1 On Lap On Lap 1 On Lap 2501Series 15 On Lap LED...
Страница 20: ...1 2 3 4 5 6 AC AC 1 2 3 4 2 1 17...
Страница 24: ...3 Mac OS X Mini Display Port HDMI Micro HDMI HDMI A HDMI A Mac On Lap 1366x768 2501A SE 1920x1080 2501H Mac 21...
Страница 26: ...OSD 1 OSD 2 3 Color Temp Color Effect Hue Saturation RGB 23...
Страница 30: ...1 2 1 On Off USB 5V DC On Lap 2 HDMI VGA On Lap OSD OSD HDMI VGA On Lap VGA OSD 27...
Страница 32: ...1 http www gechic com http www tekwind co jp products GEC category php On Lap2501 No...


