4
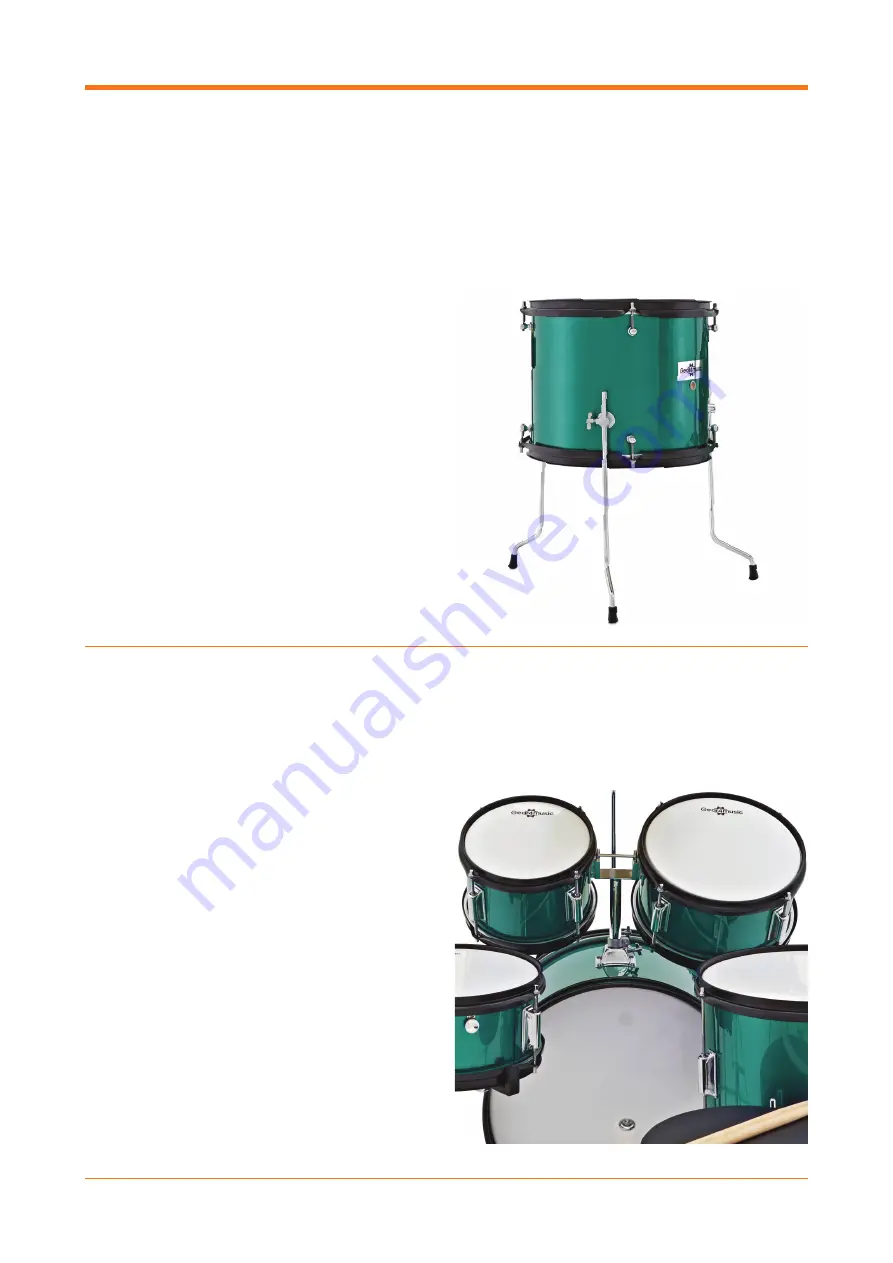
1. Remove both floor tom hoops by loosening
the tension rods, making sure you don’t lose
the washers.
2. Place the floor tom on the floor, with the
Gear4music logo the correct way up. Take the
floor tom drum head (with Gear4music logo) and
place it over the drum, refitting the hoop and all
tensions rods until the skin is tight and firmly in
place. Turn the drum over and repeat the process
with the remaining floor tom drum head.
3. Leaving the floor tom in this position, insert the
floor tom legs into the mounts on the side of the
drum, tighten the screws to secure. These can
be adjusted to alter the height and angle of
the floor tom.
FLOOR TOM DRUM ASSEMBLY
ITEMS REQUIRED:
1x Floor Tom Drum (12”)
2x Floor Tom Heads (12”)
2x Floor Tom Hoops (12”, attached to drum)
8x Tom Tension Rods and Washers
3x Floor Tom Legs
1x Drum Key
TOM TOM DRUM ASSEMBLY
ITEMS REQUIRED:
1x Tom Tom Drum (8”)
1x Tom Tom Drum (10”)
2x Tom Tom Arms
1. Your tom toms will arrive set up and will just
need mounting to the drum kit. Take the two tom
tom arms and, one at a time, insert the longest
tube into the tom mount holes on the bass
drum, tightening the screws to secure them at a
suitable height.
2. Unscrew the arm joints, adjust the angle of the
tom arms so the left arm is pointing left and
the right is pointing right. Adjust the angle to
preference and retighten.
3. The next step depends on if you are right or left
handed. For a right-handed set up, take the 8”
tom drum and insert it over the left arm, followed
by the 10” tom over the right tom arm. For a left-
handed set-up do the opposite.
Содержание JUNIOR 5 PIECE DRUM KIT
Страница 1: ...JUNIOR5PIECE DRUMKIT SETUPGUIDE...
Страница 2: ...JUNIOR 5 PIECE DRUM KIT...


