GE
Sensing
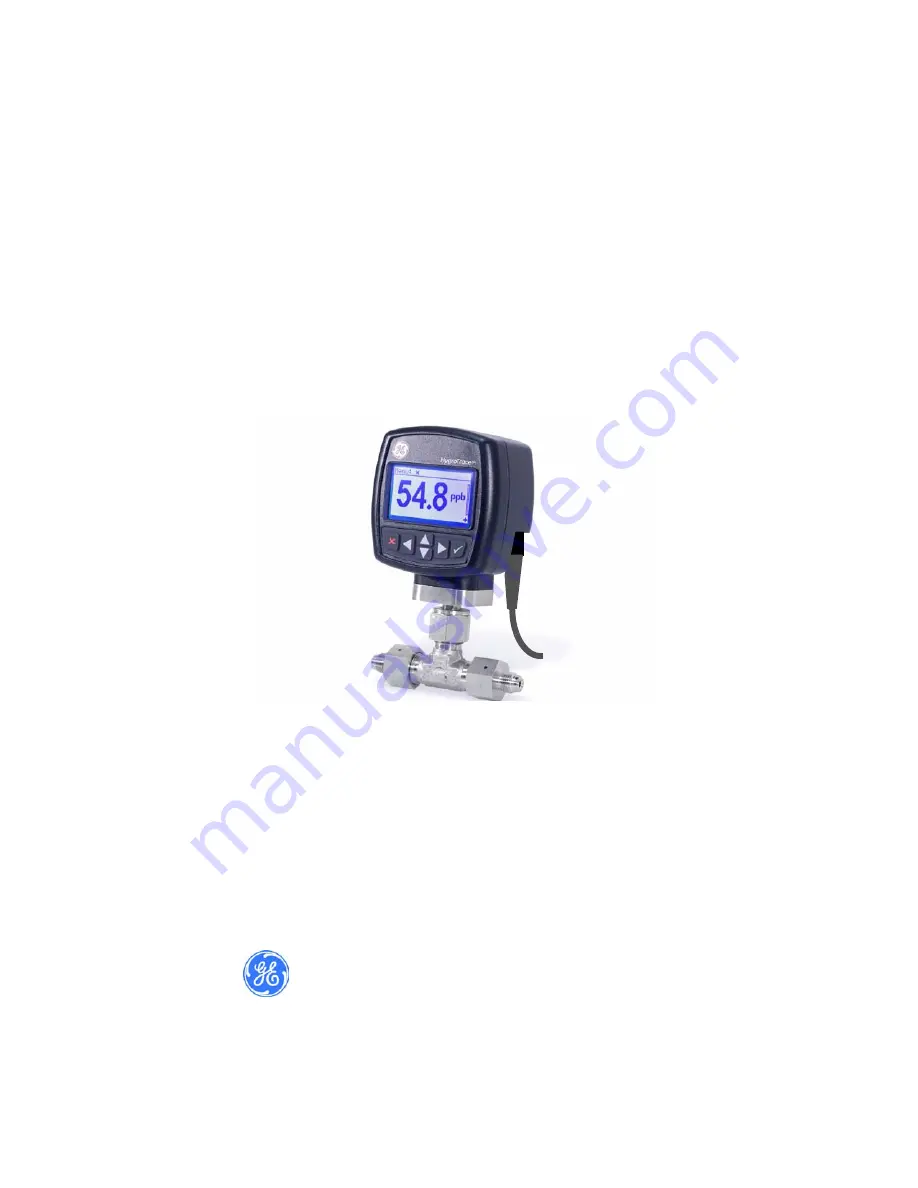
HygroTrace
Moisture Transmitter
User’s Guide
916-102A3September 2007
The
HygroTrace Moisture Transmitter
is a GE Panametrics product.
GE Panametrics has joined other GE high-technology sensing businesses under a new name—GE Sensing.
Страница 1: ...GE Sensing HygroTrace Moisture Transmitter User s Guide...
Страница 2: ...Moisture Transmitter User s Guide 916 102A3 September 2007 The HygroTrace Moisture Transmitter is a GE Panametrics product GE Panametrics has joined other GE high technology sensing businesses under...
Страница 3: ...s that the equipment was defective the warranty period is one year from delivery for electronic or mechanical failures one year from delivery for sensor shelf life If GE determines that the equipment...
Страница 4: ...ou to send your instrument to a service center it must be shipped prepaid to the authorized repair station indicated in the shipping instructions 3 Upon receipt GE will evaluate the instrument to dete...
Страница 5: ...g the HygroTrace 9 Keypad Features 9 The Default Display 10 Unlocking the Keypad 11 Accessing the Menus 11 Entering Numeric Values 12 Setting Up the Transmitter 13 Display 13 4 20 Analog Output and Er...
Страница 6: ...dry situations The technique applies a temperature pulse to dry the sensor Then the re adsorption rate is measured while holding a constant sensor temperature This measurement is proportional to the...
Страница 7: ...ample system If possible use stainless steel material for all wetted parts The transmitter should be installed perpendicular to the sample inlet For dimensions and other requirements see Specification...
Страница 8: ...e following procedure CAUTION No maintenance of the sensor can be performed in the field Accessing the sensor chamber will break the VCR seal and should be done only at the factory To install the tran...
Страница 9: ...factory for assistance Note If cables need to be lengthened refer to Table 1 on page 5 to splice an extension onto the existing cable Connect positive to positive and negative to negative Use the foll...
Страница 10: ...ion of the leads in the factory supplied cable 3 Trim any unused leads back to the outer cable jacket in order to remove the bare tinned wire and prevent accidental short circuits The HygroTrace is no...
Страница 11: ...Moisture Transmitter Figure 4 Standard Wiring Connections ref dwg 702 684 RED BLACK ORANGE BLUE 24V 1 AMP 4 20mA POWER METER SUPPLY WHITE GREEN COMMON RS485 RS485 RS485 TO RS232 CONVERTER RS232 TO PC...
Страница 12: ...factory for guidance Use the following steps to wire the transmitter to the system 1 Align the red dot with the red mark see Figure 3 on page 4 and push the connector on the transmitter cable into the...
Страница 13: ...te To remove the probe cable pull back the spring loaded sleeve and pull the cable out of the connector Powering Up After the HygroTrace is wired as described in the previous sections power may be app...
Страница 14: ...s only six keys four arrow keys a Cancel key and an Enter key Use the arrow keys to navigate among menu choices and to increment decrement numeric entries Use the Cancel key to cancel a numeric entry...
Страница 15: ...ence of an error this region is blank Errors that effect the quality of the measurement e g heater failure are indicated in ALL CAPITAL letters Warnings that indicate problems detected with the measur...
Страница 16: ...e keypad press Cancel Enter Cancel in sequence Accessing the Menus After successfully unlocking the keypad the HygroTrace will display the Main Menu see Figure 7 on page 12 Use the arrow keys to highl...
Страница 17: ...a combination lock style of entry Use the left arrow key and right arrow key to select the digit to change The digit selected will be indicated with a Use the up arrow key and down arrow key to increm...
Страница 18: ...lower right corner indicates that the screen is locked To unlock the screen press Cancel Enter Cancel Note In most instances use the Enter key to save an entry and or move ahead to the following scree...
Страница 19: ...ion transmitter was not programmed with calibration data Out of Range measurement cannot be determined with the given calibration These faults will be indicated by a 21 1 mA signal Heater Fail Low hea...
Страница 20: ...r A screen similar to the following appears Use the arrow keys to change the output value Press Enter to save or Cancel to keep the previous value and return to the Output Menu Recorder Span To specif...
Страница 21: ...s Cancel the unit returns to the previous screen and no change is made to the 4 20mA calibration If you select YES the following screen appears to adjust and calibrate the 4 20mA signal With Trim Zero...
Страница 22: ...icator and enter that value in the following screen Use the arrow keys to change the output value Press Enter to save or Cancel to keep the previous value and return to the Recorder Trim menu Press Ca...
Страница 23: ...alue select PPB Offset press Enter and the following screen appears Use the arrow keys to enter the PPB offset desired press Enter and the screen returns to the User Settings Menu Clear PPB Offset To...
Страница 24: ...e dry down cycle must be manually started and stopped by the user General rule of thumb 72 hours 10 RH or 24 hours 40 RH This sensor drying procedure can be repeated following prolonged exposure to am...
Страница 25: ...nd return to the previous screen Note If you pressed Enter the Sensor Dry Down has ended Communications Baud Rate To change the baud rate select Comms on the Main Menu press Enter and the following sc...
Страница 26: ...s to change the node ID value Press Enter to save or Cancel to keep the previous value and return to the Comms Menu Test To test the serial connection over RS485 select Test and press Enter The HygroT...
Страница 27: ...and press Enter A screen similar to the following appears To return to the About HygroTrace menu press Cancel To access up time information select System Status and press Enter A screen similar to th...
Страница 28: ...rim Test Trim Span Trim Zero Reset Trim 1200 2400 9600 Test Node ID Baud Rate 38400 19200 57600 Service Update Dump Erase Params 60 C 150 C Heater Test Cal Data 50 C 100 C 190 C Resume OFF Reboot Abou...
Страница 29: ...rce the 4 20 output to a specified percent of scale User User passcode required 1 PPB Offset Enter PPB Offset 2 Clear PPB Offset Clear PPB Offset 3 Sensor Dry Down Dry the Sensor Comms 1 Baud Rate Spe...
Страница 30: ...hange the calibration data a Bulk Limit Set the bulk limit b Cal Curve Set a calibration point and edit PPB and ZH values c Extrapolation Set coefficient A and or B 5 Reboot Reboot and return to the i...
Страница 31: ...Process Gas Temperature Range 14 F to 95 F 10 C to 35 C Storage Temperature 40 F to 158 F 40 C to 70 C Operating Temperature 14 F to 95 F 10 C to 35 C Warm Up Time Meets specified accuracy within 24...
Страница 32: ...Display of primary measurements and diagnostics Mechanical Sample Connection In line flow male VCR process connection Sample Flow Rate 1 to 4 3 SCFH 0 5 to 2 SLM Operating Pressure 0 10 psig 0 to 0 69...
Страница 33: ...h sensor is individually computer calibrated against known moisture concentrations Calibration Interval Sensor recalibration by GE is recommended every 6 to 12 months depending on the application Cert...
Страница 34: ...quired Normal operation of the HygroTrace does not require access to the information contained in these menus Diagnostics A Diagnostics Display page can be selected from the Display Menu see Figure 11...
Страница 35: ...he following screen appears Update Due to product improvements or software enhancements it may be necessary to install new software provided by GE Sensing This is done over the RS485 digital communica...
Страница 36: ...to power up proceeds through several initiation displays and returns to normal operation Parameter Storage Dump This function transmits the contents of the EEPROM used for calibration and parameter st...
Страница 37: ...he unit returns to the previous screen If you select YES the following message appears When the erasure is complete Param Storage reappears To return to the Service Menu press Cancel Heater Test To pe...
Страница 38: ...rve To edit the calibration curve select Cal Curve on the Cal Data menu and press Enter The following screen appears To set a calibration point highlight Select Cal Point press Enter and the following...
Страница 39: ...the previous value The screen returns to the Extrapolation menu Press Cancel twice to return to the Service Menu Reboot To reboot the meter and return to the initial screen select Reboot and press En...
Страница 40: ...USA 1100 Technology Park Drive Billerica MA 01821 4111 Web www gesensing com Ireland Sensing House Shannon Free Zone East Shannon Co Clare Ireland...