62
63
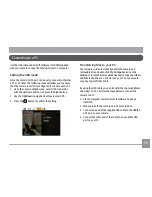
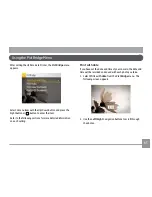
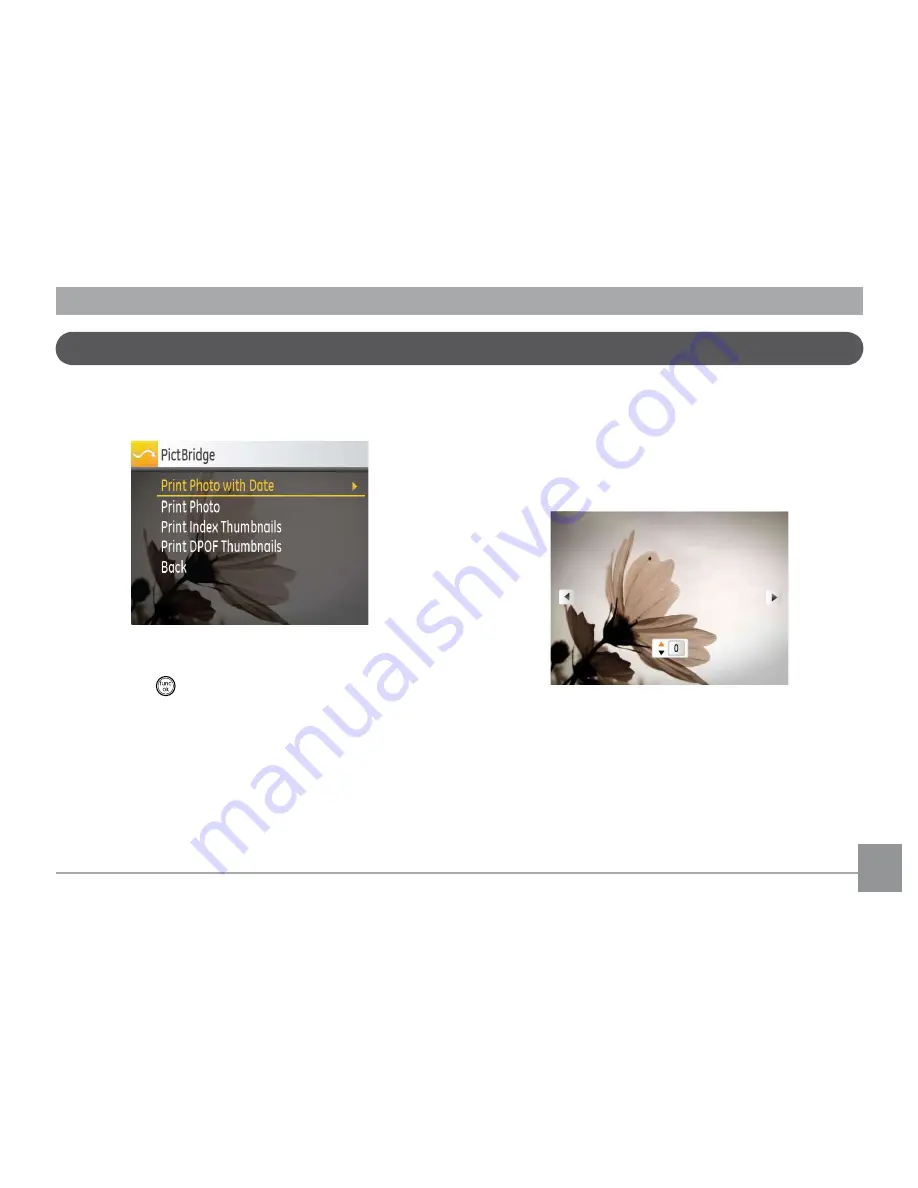
After setting the USB mode to Printer, the
PictBridge
menu
appears.
Select a menu item with the Up/Down button and press the
Right button or
button to enter the item.
Refer to the following sections for more detailed information
on each setting.
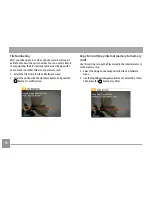
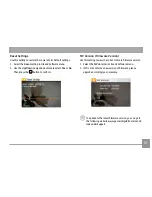
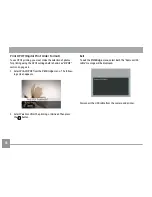
Print with date
If you have set the date and time of your camera, the date and
time will be recorded and saved with each photo you take.
1. Select
Print with
date
from the
PictBridge
menu. The
following screen appears.
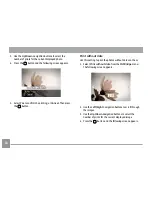
2. Use the
Left/Right
navigation buttons to scroll through
the photos.
Using the PictBridge Menu
Содержание C1033
Страница 11: ...Camera Views Front View Back View Right View 1 2 3 4 7 6 5 8 9 10 11 12 13 14 15...
Страница 14: ...11 11 4 Close the battery compartment 3 Insert an SD SDHC card not included into the memory card slot as shown...
Страница 78: ...http www ge com digitalcameras 2010 General Imaging Company Printed in China...

