


Chapter 6: Advanced setup
54
TruVision DVR 30 User Manual
Assigning a camera name
Each camera can be assigned a unique camera name. If you do not assign a camera
name, a default, prenumbered camera name is applied.
To assign a camera name:
1. Click Cameras on the main menu to display the Cameras screen.
2. Click the Camera Title edit box.
A virtual keyboard displays.
3. Enter the new camera name.
You can enter up to 11 characters.
4. Click OK to exit the virtual keyboard and return to the Cameras screen.
The new camera name is displayed.
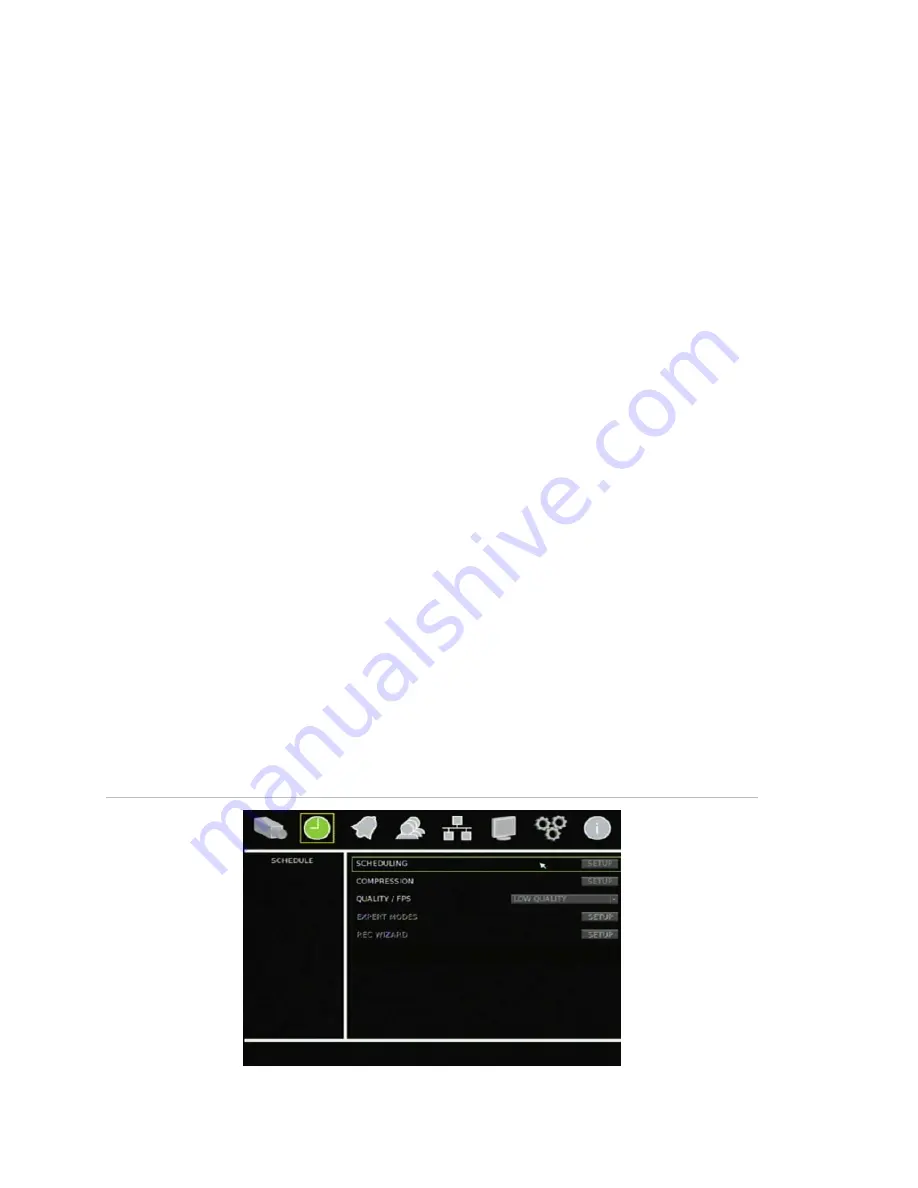
Configuring recording and schedule settings
Use the Schedule screen (shown in Figure 25 below) to define how and when the TVR
30 records video. The following options can be configured:
• Recording
schedule
• Video
compression
• Recording
quality
Note:
If video loss is detected on a camera, the unit will stop recording from that
camera.
Figure 25: Schedule screen
Содержание Appliances 30
Страница 1: ...GE Security P N 1068702 REV A ISS 10NOV09 TruVision DVR 30 User Manual...
Страница 26: ...Chapter 3 Operating instructions 22 TruVision DVR 30 User Manual...
Страница 48: ...Chapter 5 Using the Web browser 44 TruVision DVR 30 User Manual Figure 19 PTZ camera in Web browser...
Страница 70: ...Chapter 6 Advanced setup 66 TruVision DVR 30 User Manual...
Страница 82: ...Appendix A Specifications 78 TruVision DVR 30 User Manual...