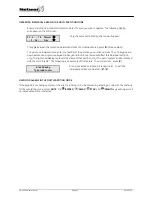
Step 4
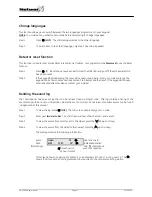
The LCD display will prompt you for a new phone number.
Enter phone num.
EEEEEEEEEEEEEEEE
Enter the phone number
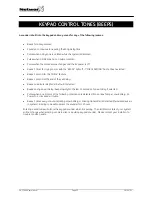
Note : - empty location are shown as a “E”. In order to delete a number, you
just program all “E”’s. This is done with the
[
bypass
]
key.
- with the “*” key, the cursor can be shifted to the right without changing the
telephone number.
Step 5
When finished, press the [
#
] key to leave this program mode.
Test function (optional)
If programmed, this function will perform a battery test, communicator test, and/or a siren test.
Step 1
Press
[
r
]
[4] [4]
. The test will be performed as programmed.
Step 2
If the siren test is performed, enter a user code to silence the siren.
No alarms will be sent and no reports will be sent unless a communicator test is performed, at which time a
test signal will be sent.
Display test
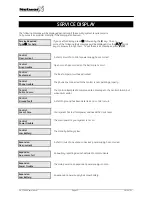
The keyboard also provides a testfuntion by the means of which the LCD display and all LED’s are tested.
Step 1
Press
[
r
] [4] [5]
. The test will be performed and all of the LCD pixels and LED indicators will flash.
Step 2
Press the
[
#
]
key to leave the display test.
Light control for X-10 Devices (optional)
This menu allows you to control up to ten X-10 devices from each keypad.
Step 1
Press
[
r
] [4] [5]
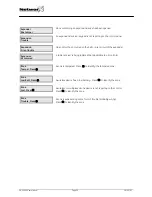
. The LCD screen will prompt you to “Select Light Number 0 - 9”.
Step 2
Enter the number of the X-10 device you want to control. The LCD screen will show the light
number on the left. On the right side of the display it will prompt you to turn the light (X-10 device)
“On” or “Off”.
Step 3
Press the
[ ]
key to turn the X-10 device “On” or press the
[ ]
keyt o turn the X-10 device
“Off”.
Step 4
The LCD screen will again prompt you to “Select Light Number 0 - 9”.
Step 5
Repeat Steps 2 and 3 until complete.
Step 6
Press the
[
#
]
key to exit from the X-10 menu.
NX-1248E User manual
Page 16
16/04/05


