


2. SMS
September 26, 2016
SX-4000 Standalone
Integrated Media Block™
User Manual
- 21 -
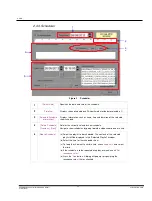
13
[Change Technician Password]
[Change Technician Password]
button. For changing the Technician
Password. When
[Change Technician Password]
is pressed, 3 prompts
will appear. The first prompt is for the user to enter the old password, the
second prompt is for the user to enter the new password and the third
prompt is for the system to verify the new password.
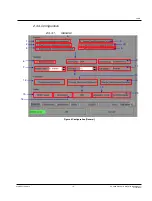
14
[Change Maintenance Password]
[Change Maintenance Password]
button. For changing the Maintenance
Password. When
[Change Maintenance Password]
is pressed, 3 prompts
will appear. The first prompt is for the user to enter the old password, the
second prompt is for the user to enter the new password and the third
prompt is for the system to verify the new password.
15
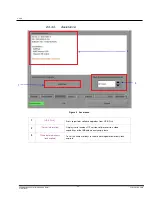
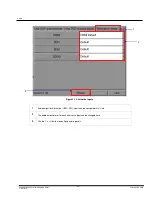
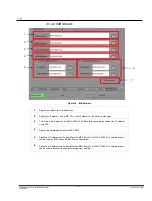
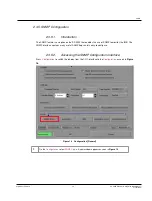
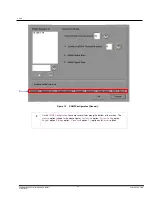
[SNMP Setup]
[SNMP Setup]
button. For accessing the SNMP Configuration
Interface (see Section 2.3.5).
16
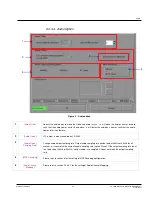
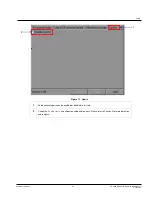
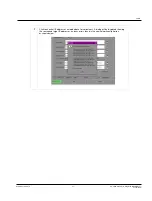
[Automation]
[Automation]
button. This will bring up the automation configuration user
interface used to integrate the IMB with external devices such as projectors
and automation controllers (see Section 2.3.6).
17
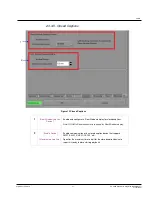
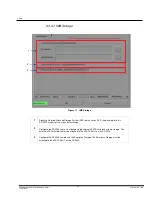
[IMB]
[IMB]
button. After connecting to the IMB the window will display the IMB
version information as well as check the Marriage and Service Door status
on the projector. For IMB marriage please reference the SX-4000
Installation manual as process will depend on projector manufacturer and
software version.
18
[Use 24-hour time display format]
[Use 24-hour time display format]
button. When this option is selected, time
on the SMS interface will be displayed in 24-hour format. If this option is
not selected, time on the SMS interface will be displayed in 12-hour format.
19
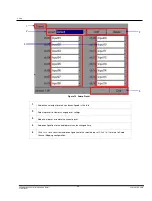
[Alternative Inputs]
[Alternative Inputs]
button. This will bring up the Alternative Inputs
configuration interface. This interface can be used to configure video
output formats for HDMI and SDI formats.
20
[MoviePlaz Setup]
[MoviePlaz Setup]
button. To setup the MoviePlaz configuration
.


