Page 9
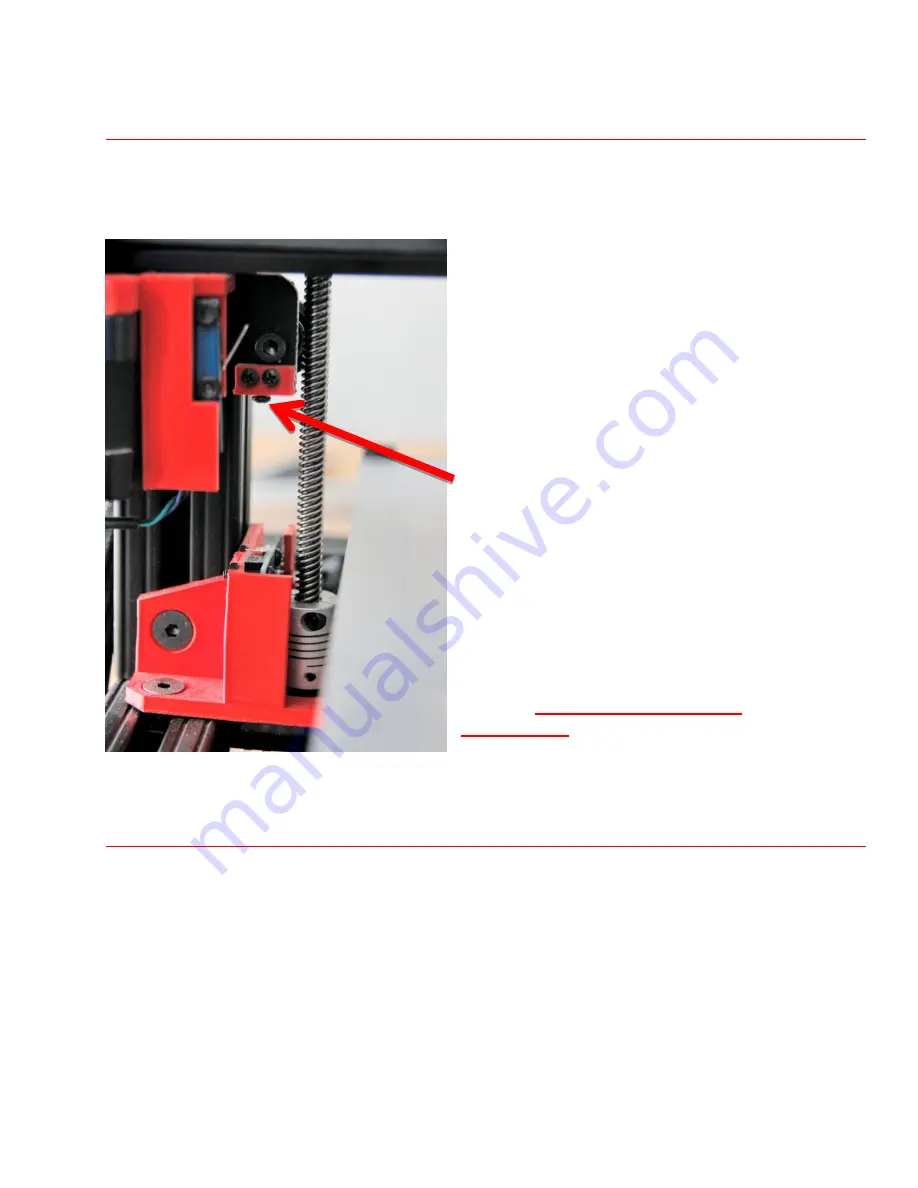
A d j u s t M i n i m u m Z - A x i s H e i g h t
You should also adjust the z-axis endstop screw to set the new zero point if you ever have to adjust the
1
st
layer height. The zero point is the lowest point the extruder will go and this will be the height in
which the print will start. This should be done after adjusting your first print.
Setting the z-axis screw should be done any time you
have to manually adjust the 1
st
layer height. Raising or
lowering this screw will set the z-axis height for your
next print.
Note: To access the set screw you must
raise the extruder by 5”-6”. This can be
done by using the LCD screen and
going to “
Prepare > Move Axis > Move
1mm > Move Z
”. Then simply turn the
knob.
T i p s D u r i n g Y o u r P r i n t
You have some time now so why not read these tips.
1.
Always keep an eye on your print and check on it often especially if it’s the first time running
the file. If any part of the print fails this may destroy the rest of the print and possibly damage
the printer.
2.
You can adjust the speed of your print in real time by simply turning the knob on the LCD
screen. This is very useful if you need to slow down the printer at a difficult area or you notice
the print isn’t cooling enough.


