www.gateway.com
43
Using a CD or DVD drive
[
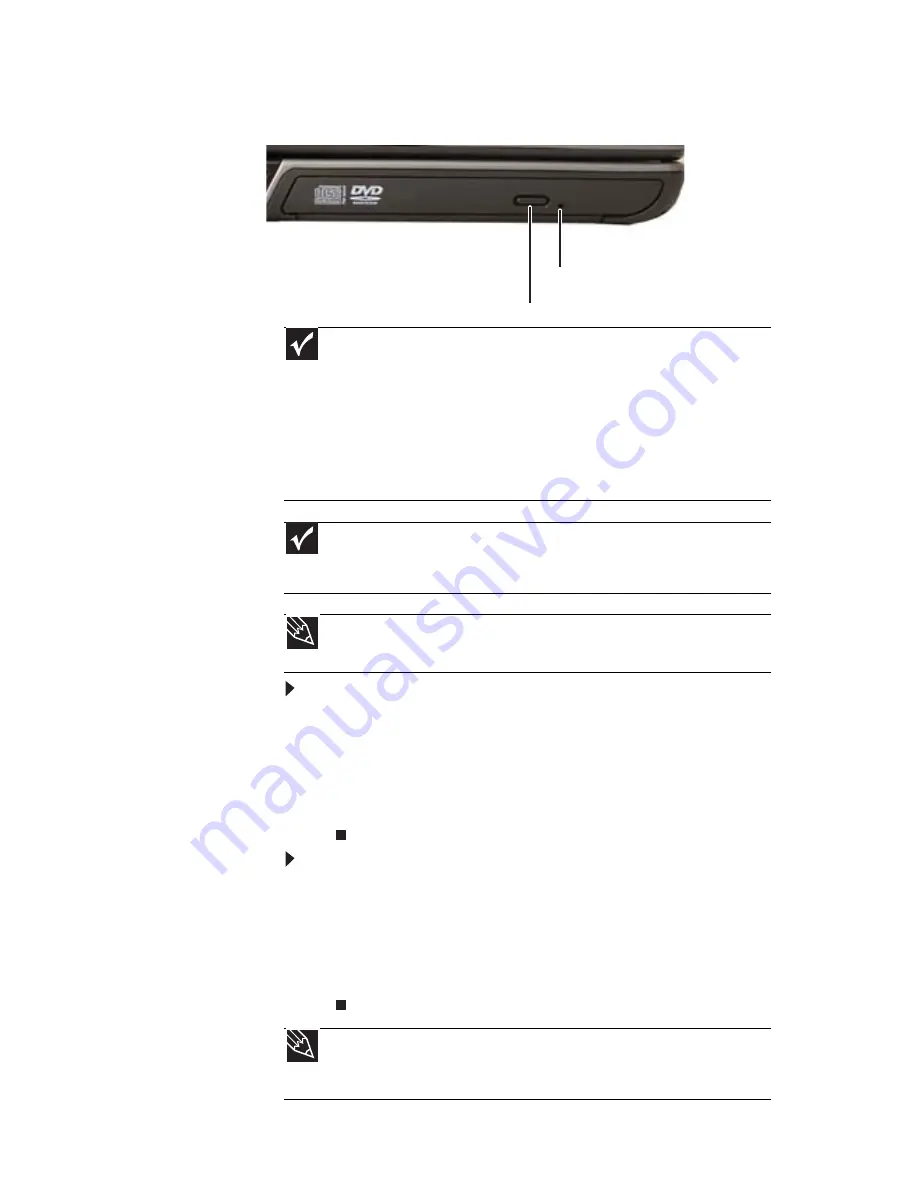
To insert a CD or DVD:
1
Press the eject button on the CD or DVD drive. After the
tray opens slightly, pull the disc tray completely open.
2
Place the disc in the tray with the label facing up, then
press down carefully on the disc until it snaps into place.
3
Push the tray in until it is closed.
To remove a CD or DVD:
1
Press the eject button on the CD or DVD drive. After the
tray opens slightly, pull the disc tray completely open.
2
Carefully lift on the edges of the disc until it snaps off
of the spindle.
3
Push the tray in until it is closed.
Important
Prerecorded DVDs and DVD drives contain regional codes that help control
DVD title exports and help reduce illegal disc distribution. To be able to play a
prerecorded DVD, the disc’s regional code and your DVD drive’s regional code
must match.
The regional code on your DVD drive is determined by your notebook’s delivery
address. The regional code for the United States and Canada is 1. The regional
code for Mexico is 4. Your DVD drive’s regional code must match the regional code
of the disc. The regional code for the disc is on the disc, disc documentation, or
packaging.
Important
When you place a single-sided disc in the tray, make sure that the label
side is facing up. If the disc has two playable sides, place the disc so the name
of the side you want to play is facing up.
Tip
For information about cleaning a CD or DVD, see
“Cleaning CDs or DVDs”
on page 77
.
Tip
Your notebook must be turned on to remove CDs and DVDs using this
method. If you do not want to turn on your notebook, manually eject the disc
by inserting an opened paper clip into the manual eject hole.
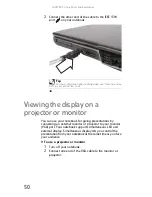
Eject button
Manual eject hole
Содержание ML-60 Series
Страница 1: ... ORDINATEUR PORTABLE GUIDE DU MATÉRIEL NOTEBOOK REFERENCEGUIDE ...
Страница 2: ......
Страница 10: ...CHAPTER 1 About This Reference 4 ...
Страница 11: ...CHAPTER2 5 Checking Out Your Notebook Front Left Right Back Bottom Keyboard area LCD panel ...
Страница 46: ...CHAPTER 3 Setting Up and Getting Started 40 ...
Страница 96: ...CHAPTER 7 Maintaining Your Notebook 90 ...
Страница 107: ...CHAPTER9 101 Troubleshooting Safety guidelines First steps Troubleshooting Telephone support ...
Страница 134: ...CHAPTER 9 Troubleshooting 128 ...
Страница 160: ...Sommaire vi ...
Страница 164: ...CHAPITRE 1 À propos de ce guide 4 ...
Страница 165: ...CHAPITRE2 5 Vérification de votre ordinateur portable Avant Gauche Droite Arrière Bas Zone du clavier Écran ACL ...
Страница 220: ...CHAPITRE 4 Utilisation de lecteurs et d accessoires 60 ...
Страница 266: ...CHAPITRE 8 Mise à niveau de votre ordinateur portable 106 ...
Страница 267: ...CHAPITRE9 107 Dépannage Directives de sécurité Premières étapes Dépannage Support par téléphone ...
Страница 310: ...ANNEXE A Informations légales 150 ...
Страница 322: ...162 Index ...
Страница 323: ......
Страница 324: ...8512522 MAN OASIS REF GUIDE CA R2 06 07 ...


