Technical Support
See the label on the bottom of the notebook for Customer Care Information. See
your Reference Guide for important safety, regulatory, and legal information.
© 2008 Gateway, Inc. All rights reserved. Gateway and eMachines are trademarks
or registered trademarks of Gateway, Inc. in the United States and other countries.
All other brands and product names are trademarks or registered trademarks of
their respective companies.
Replacing the DVD drive
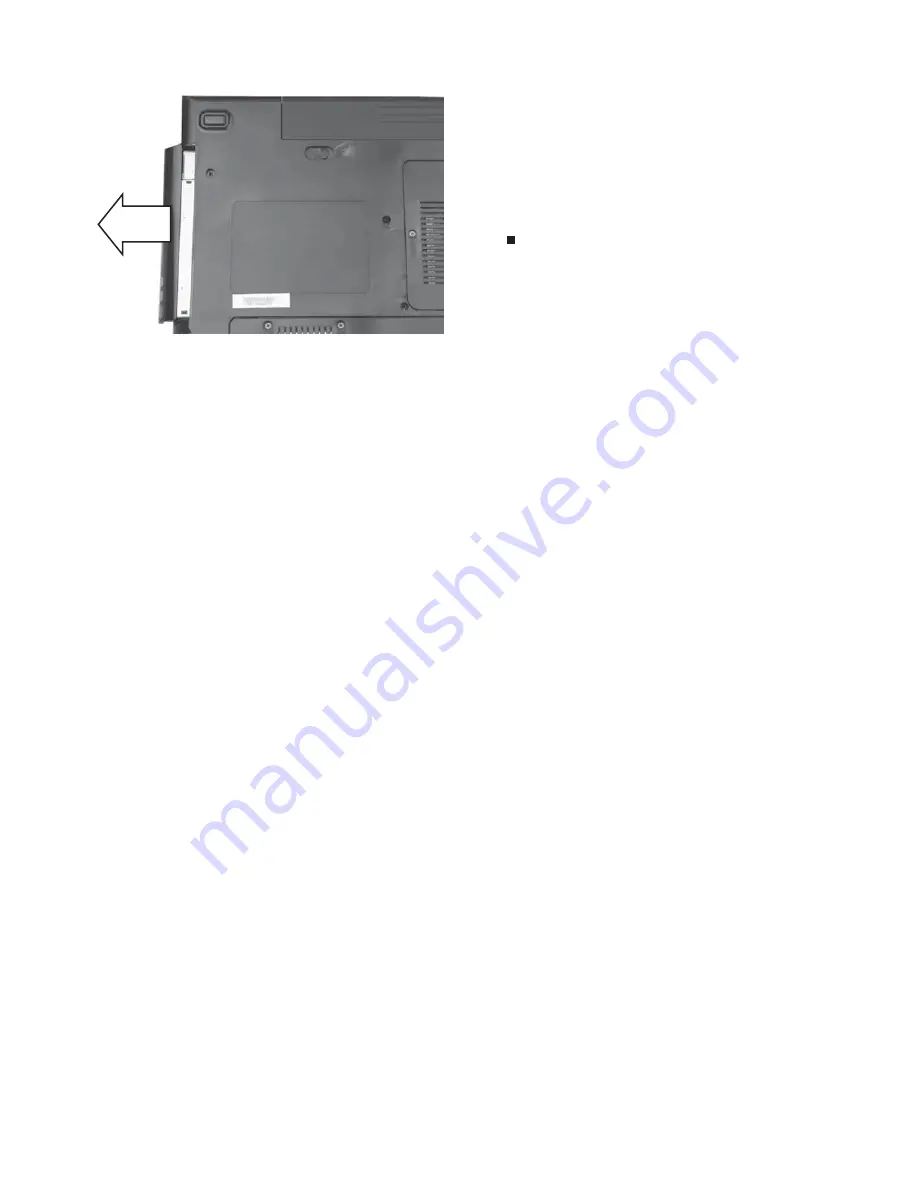
11 Carefully slide the drive out of the drive bay.
12 Slide the new DVD drive into the drive bay. Make sure that the drive
fits securely in the bay.
13 Replace the screw removed in Step 10.
14 Slide the battery into your notebook until it snaps into place.
15 Slide the battery lock to the locked position.
16 Turn your notebook over.
17 Connect the power adapter, modem cable, and network cable.
18 Reconnect all peripheral devices and replace any Express and
memory cards.
19 Turn on your notebook.
2


