www.gateway.com
67
4
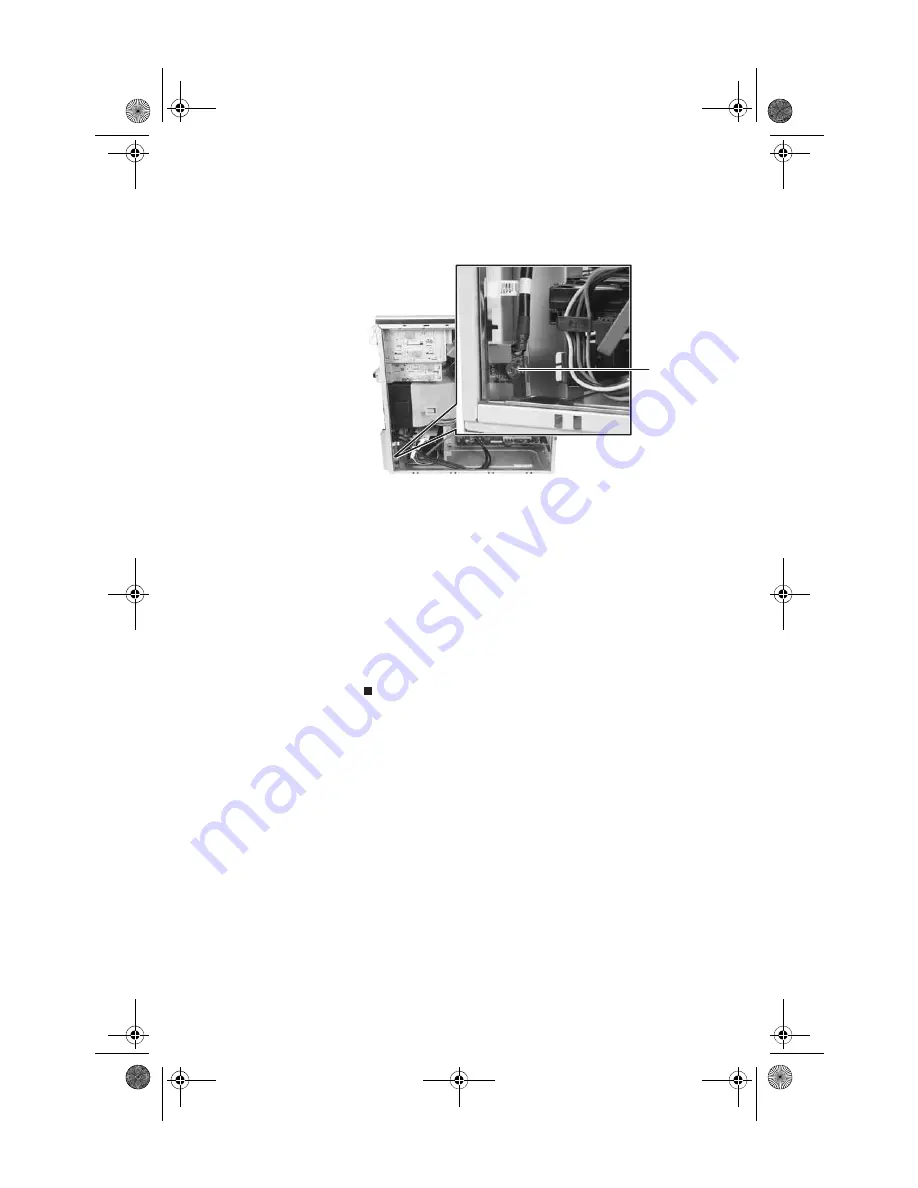
Remove the screw that secures the front I/O panel
board to the computer, then remove the I/O panel
board by pushing it toward the back of the computer.
5
Disconnect the cable from the old I/O panel board and
connect it to the new I/O panel board.
6
Insert the new I/O panel board into the computer, then
replace the screw.
7
Place the front I/O assembly onto the computer, then
replace the screw.
8
Replace the front bezel by following the instructions in
“Replacing the front bezel” on page 48
.
9
Replace the side panel by following the instructions in
“Replacing the side panel” on page 48
Screw
8511858.book Page 67 Monday, December 18, 2006 10:51 AM
Содержание FX530QS
Страница 1: ...REFERENCE GUIDE...
Страница 2: ...8511858 book Page b Monday December 18 2006 10 51 AM...
Страница 10: ...CHAPTER 1 About This Reference 4 8511858 book Page 4 Monday December 18 2006 10 51 AM...
Страница 11: ...CHAPTER2 5 Checking Out Your Computer Front Back 8511858 book Page 5 Monday December 18 2006 10 51 AM...
Страница 34: ...CHAPTER 1 Setting Up and Getting Started 28 8511858 book Page 28 Monday December 18 2006 10 51 AM...
Страница 48: ...CHAPTER 4 Advanced Hardware Setup 42 8511858 book Page 42 Monday December 18 2006 10 51 AM...
Страница 82: ...CHAPTER 1 Upgrading Your Computer 76 8511858 book Page 76 Monday December 18 2006 10 51 AM...
Страница 98: ...CHAPTER 1 Maintaining Your Computer 92 8511858 book Page 92 Monday December 18 2006 10 51 AM...
Страница 144: ...Appendix A Legal Notices 138 8511858 book Page 138 Monday December 18 2006 10 51 AM...
Страница 152: ...146 Index 8511858 book Page 146 Monday December 18 2006 10 51 AM...
Страница 153: ...8511858 book Page 147 Monday December 18 2006 10 51 AM...
Страница 154: ...MAN BTX CONS REF GDE V R0 12 06 8511858 book Page 148 Monday December 18 2006 10 51 AM...


![Lenovo 90B6 [H50-50 ES] User Manual preview](http://thumbs.mh-extra.com/thumbs/lenovo/90b6-h50-50-es/90b6-h50-50-es_user-manual_201023-01.webp)


