172
Chapter 11: Upgrading Your Computer
www.gateway.com
3
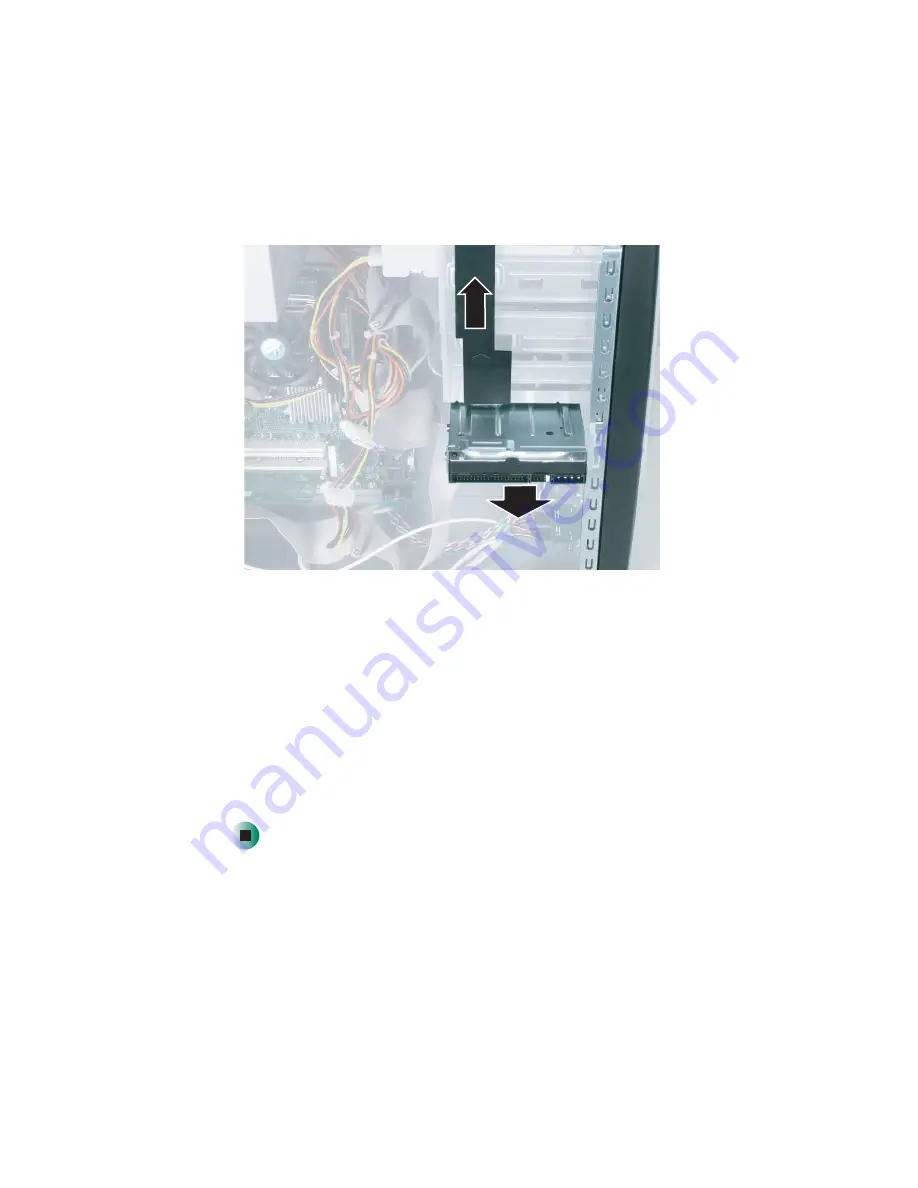
Lift the drive release latch up and slide the hard drive out of the hard drive
bay.
4
Set the jumpers on the drive. See the drive documentation for further
instructions.
5
Slide the new drive in the drive bay. Push firmly until the drive release
latch locks the hard drive into place.
6
Reconnect the drive cables using your notes from
edge of the data ribbon cable indicates Pin 1 and corresponds with Pin 1
on the drive (typically on the side closest to the power supply connection).
See the drive documentation for further instructions.
7
Replace the side panel following the instructions in
Содержание 310 S
Страница 1: ...Your Gateway Computer Customizing Troubleshooting user sguide ...
Страница 2: ......
Страница 8: ...vi ...
Страница 20: ...12 Chapter 1 Checking Out Your Gateway Computer www gateway com ...
Страница 32: ...24 Chapter 2 Getting Started www gateway com ...
Страница 64: ...56 Chapter 4 Windows Basics www gateway com ...
Страница 74: ...66 Chapter 5 Using the Internet www gateway com ...
Страница 110: ...102 Chapter 6 Using Multimedia www gateway com ...
Страница 130: ...122 Chapter 7 Customizing Your Computer www gateway com ...
Страница 171: ...163 Opening the case www gateway com 4 Remove the two thumbscrews from the side panel cover ...
Страница 220: ...212 Chapter 12 Troubleshooting www gateway com ...
Страница 230: ...222 Appendix A www gateway com ...
Страница 242: ...234 ...
Страница 243: ......
Страница 244: ...NSK DWL DT310 USR GDE R1 07 03 ...


