12 | Gates Corporation
OPERATING INSTRUCTIONS
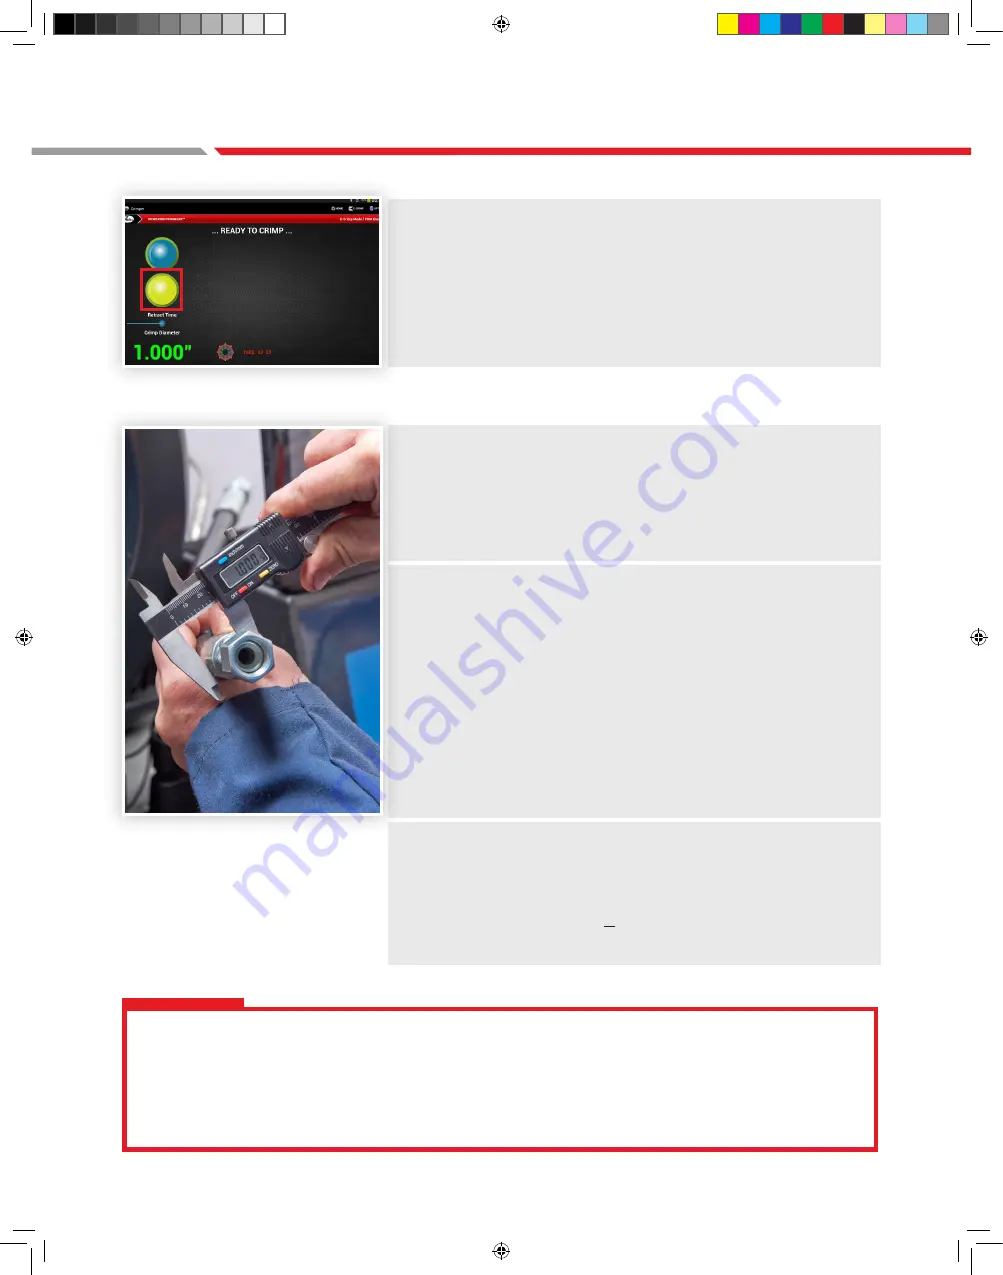
Press the yellow 'Retract' button and remove the ferrule.
VERIFY CRIMP
Measure the ferrule using a digital caliper to confirm the
crimp is within tolerance
When measuring the crimp outer-diameter, always measure
3 times around the fitting, avoiding the ridges.
Take an average of the 3 measurements.
›
The measured crimp diameter must be /- 0.010"
of the published crimp diameter . NOTE: DO NOT measure
on top of part number stamps or ridges.
›
Should the actual crimp diameter not be within specified
crimp tolerance, the assembly MUST be discarded. If the
machine is not crimping product accurately, it may need to
be recalibrated. Refer to the calibration procedure.
Multiple Crimps
›
When crimping multiple assemblies, check every
tenth crimp to ensure diameter is within the
acceptable range. (+0.010").
›
Discard those outside the specified tolerance.
Protect the safety of people using your assemblies! Your measured crimp diameters MUST
be in tolerance range as listed in eCrimp.
Improperly made assemblies could result in coupling blow off at high pressure, risk of fire
and/or serious injury or death.
GC32TSi Safety and Operating Manual-A4.indd 12
1/11/17 12:37 PM


