G4-504HD2a User Guide
Viewing Recorded Data
54 of 151
Step 5.2
▪
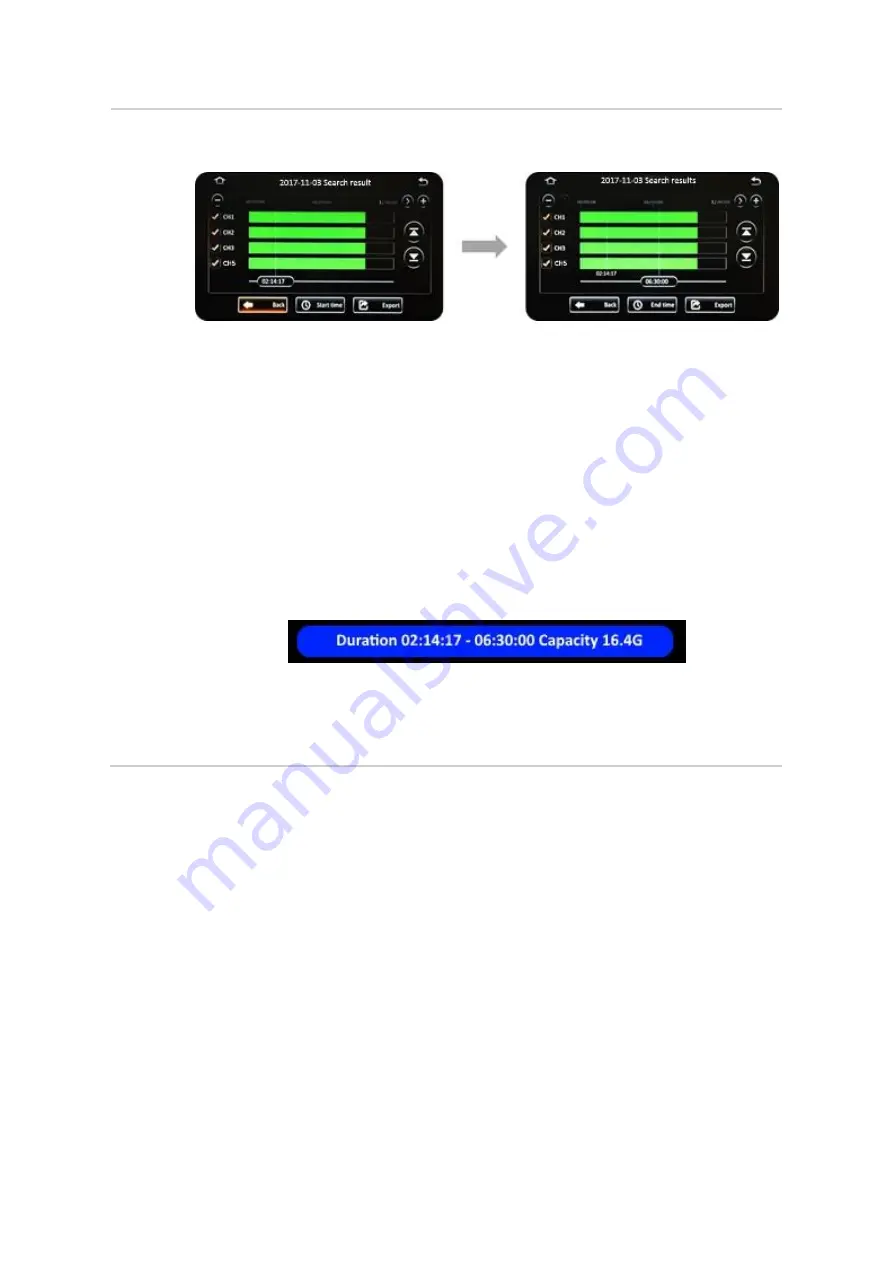
After selecting the camera channels, you can also specify the time period of the
video data that you wish to export.
▪
Click on the Playback Start Time to key in the specific start time of the video that
you wish to export.
▪
Alternatively, if you are using either the Finger Mouse or the ICD2, you may also
click and drag the Playback Start Time Marker to the start time that you desire.
▪
Click the
( Start Time )
button to register this as the desired start time. Your
selection will be displayed on the screen.
▪
Next, select the desired end time by once again clicking on the time and keying in,
or moving the marker as before.
▪
When your desired end time is displayed, click the
( End Time )
button to register
this.
▪
Your selected end time will be displayed on the screen.
▪
The system will calculate and display the estimated file size of the video clip for this
selected time period.
▪
Click the
( Export )
button to proceed.
▪
You may also click the
( Cancel )
button in order to go back and select a different
time period.
Содержание G4-504HD2a
Страница 1: ...G4 504HD2a User Operating Manual Document Ref No DN3154 Version No 1 0 Document Date March 2019 ...
Страница 142: ...G4 504HD2a User Guide Hardware 142 of 151 Cabling Diagram with Analog Analog HD and Digital IP Cameras Only ...
Страница 143: ...G4 504HD2a User Guide Hardware 143 of 151 Cabling Diagram with Analog Analog HD Digital IP Cameras and Wireless ...
Страница 145: ...G4 504HD2a User Guide Hardware 145 of 151 10 1 2 Sensor Connections Figure 10 1 Wiring the Sensors CAB000383 ...


