GPS in Schools – Garmin eTrex User’s Guide
Produced by the University of Tasmania in conjunction with Geoscience Australia as part of the AuScope GPS in Schools Project – 2014.
7
The Garmin® eTrex® H GPS
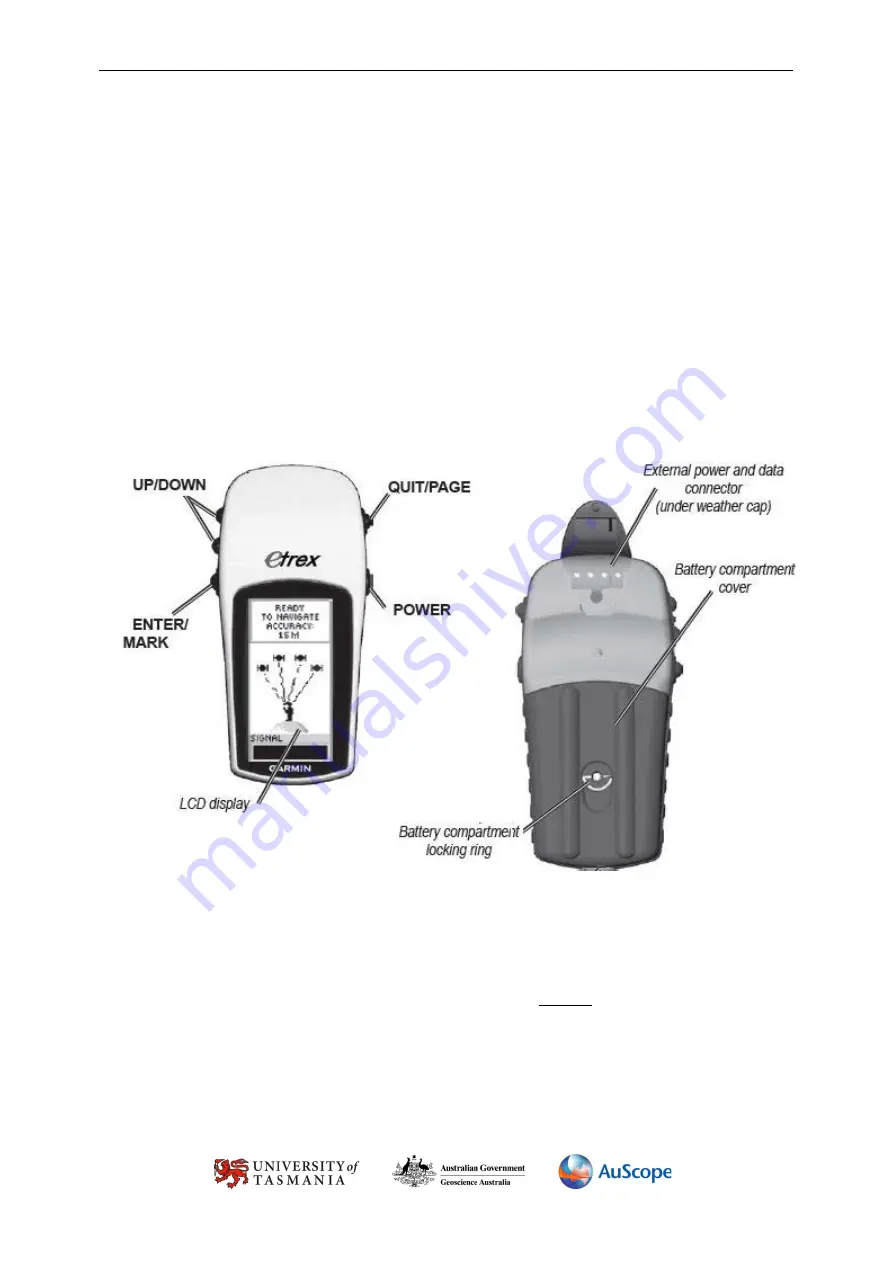
Step 1: eTrex H Description and Buttons
Buttons on the GPS are:
1.
A prolonged press of the
POWER
button will start the GPS. Keep in mind that the GPS requires a
clear skyview (even if cloudy) to work well. Stay clear of tall buildings, trees or similar that might
block your (and therefore the GPS’s) view of the sky.
2.
The
PAGE
button allows you to scroll through the five main
PAGES
on the GPS.
3.
The
UP/DOWN
button allows you to scroll to certain features on any of the five menu pages (such as
waypoints).
4.
The
ENTER
button is used to confirm menu selection and data (waypoint) entry.
Step 2: Getting Started and Tracking Satellites
Press the
POWER
button to switch the GPS on, and then wait a few minutes. The GPS will tell you when it is
‘
Ready to Navigate
’. It will also give you an indication of the horizontal accuracy of the unit. This means that
the point you mark may be within a radius of 4-8m (typically) from where you are standing. However, this
varies with the constellation of the satellites in the sky and changes all the time.
The Garmin eTrex H has five (5) main windows or
PAGES
(see below). Using the
PAGE
button (top right hand
side of the GPS) allows you to scroll through those pages.
1
2
3
4


