2
Select a manual.
3
Select
Open.
Downloading the Manuals
You can get the latest owner's manual and translations of
manuals from the web.
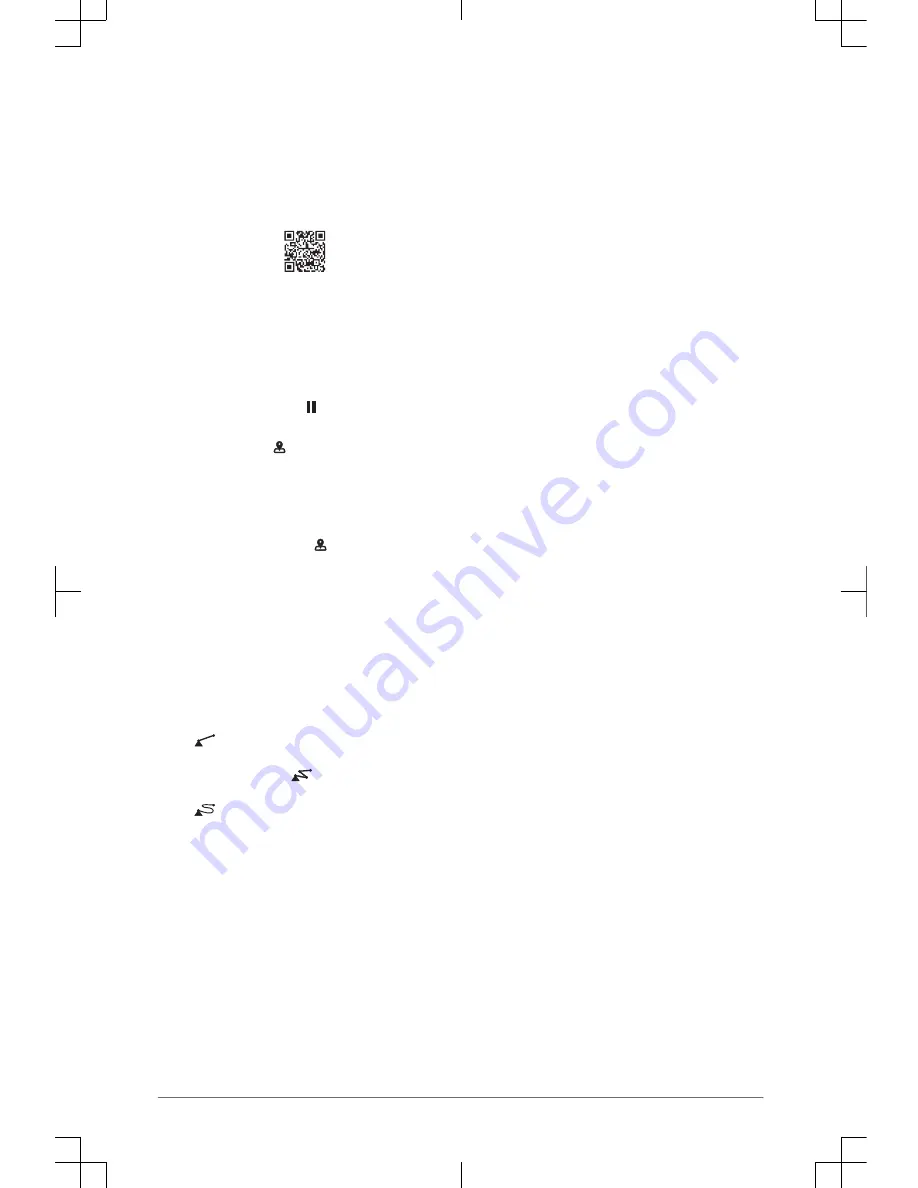
1
Go to www.garmin.com/manuals/
A02759
.
TIP: To
quickly open this web page, scan this code:
2
Download the manual.
Basic Operation
Marking Your Present Location as a Waypoint
From any screen, select
Mark.
Creating a Waypoint on the Sonar Screen
1
From a sonar view, select .
2
Select a location.
3
Select
New Wpt or .
4
If necessary, edit the waypoint information.
Creating a Waypoint on the Chart
1
From a chart or a 3D chart view, select a location or
object.
2
Select
Create Waypoint or .
Marking an MOB or SOS Location
1
From any screen, select
SOS.
2
Follow the on-screen instructions.
Navigating to a Point on the Chart
1
From the Navigation chart or Fishing chart, select a
location.
2
If necessary, select
Navigate To.
3
Select an option:
• To navigate directly to the location, select
Go To or
.
• To create a route to the location, including turns,
select
Route To or
.
• To use Auto Guidance, select
Auto Guidance or
.
NOTE: Auto Guidance is available with premium
charts, in some areas.
4
Review the course indicated by the magenta line.
NOTE: When using Auto Guidance, a gray segment
within any part of the magenta line indicates that Auto
Guidance cannot calculate part of the Auto Guidance
line. This is due to the settings for minimum safe water
depth and minimum safe obstacle height.
5
Follow the magenta line, steering to avoid land, shallow
water, and other obstacles.
Copying Waypoints, Routes, and Tracks to a
Memory Card
1
Insert a memory card into the card slot.
2
Select
Info > User Data > Data Transfer > Save to
Card.
3
If necessary, select the memory card to copy data to.
4
Select an option:
• To create a new file, select
Add New File, and
enter a name.
• To add the information to an existing file, select the
file from the list.
Showing Tracks
From a chart or a 3D chart view, select
Menu > Chart
Menu > Waypoints and Tracks > Tracks > On.
A trailing line on the chart indicates your track.
Configuring the Recording Interval of the Track
Log
You can indicate the frequency at which the track plot is
recorded. Recording more frequent plots is more accurate
but fills the track log faster. The resolution interval is
recommended for the most efficient use of memory.
1
Select
Info > User Data > Tracks > Active Track
Options > Interval > Interval.
2
Select an option:
• To record the track based on a distance between
points, select
Distance > Change, and enter the
distance.
• To record the track based on a time interval, select
Time > Change, and enter the time interval.
• To record the track plot based on a variance from
your course, select
Resolution > Change, and
enter the maximum error allowed from the true
course before recording a track point.
Selecting a Map
If your product has both BlueChart
®
g2 and Garmin
LakeVü
™
HD built-in maps, you can select which map to
use. Not all models have both types of built-in maps.
1
From the Navigation chart, select
Menu > Built-In
Map.
2
Select an option:
• When you are on an inland lake, select
LakeVü™
HD.
• When you are offshore, select
BlueChart® g2.
Troubleshooting
My device is not creating waypoints in the
correct location
You can manually enter a waypoint location to transfer and
share data from one device to the next. If you have
manually entered a waypoint using coordinates, and the
location of the point does not appear where the point
should be, the map datum and position format of the
device may not match the map datum and position format
originally used to mark the waypoint.
Position format is the way in which the
A02759
receiver's
position appears on the screen. Commonly displayed as
latitude/longitude in degrees and minutes, with options for
degrees, minutes and second, degrees only, or one of
several grid formats.
Quick Start Manual
3