Raymarine RC435, Owner'S Handbook Manual
The Raymarine RC435 Owner's Handbook Manual is a comprehensive guide for operating this advanced navigation system. Packed with detailed instructions and diagrams, this manual is a must-have for all RC435 users. Download your free copy from our website, making it easily accessible and convenient for you.
Share
Download


Reviews:
No comments
Related manuals for RC435

GPS II+
Brand: Garmin Pages: 108

GPS 35 USB
Brand: Garmin Pages: 10

Forerunner 10
Brand: Garmin Pages: 6

eTrex 10
Brand: Garmin Pages: 12

RoadMate 1200 - Automotive GPS Receiver
Brand: Magellan Pages: 31

RoadMate 1200 - Automotive GPS Receiver
Brand: Magellan Pages: 30

Guide+Play GPS-500 WE
Brand: Harman Kardon Pages: 29
ASST1i-B1F
Brand: Cloudleaf Pages: 8

MAP 410
Brand: Magellan Pages: 88

aera 1900111700
Brand: Garmin Pages: 52

nuvi 1450LM
Brand: Garmin Pages: 8

AmeriGo 16006D
Brand: Royal Pages: 2

1351
Brand: Teletype Pages: 2

Quantum 4000
Brand: Telemetry Solutions Pages: 18

CelloTrack T
Brand: Cellocator Pages: 20
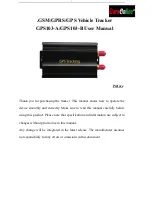
GPS103-A
Brand: Coban Pages: 19
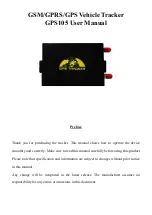
GPS105
Brand: Coban Pages: 24

AK-950L
Brand: Ameri-King Pages: 20


