10
Low temperature alarms will only occur while the dryer is in
“run” mode (dryer on).
This alarm will automatically restart the compressor when
the temperature rises above 30°F.
Display Screen
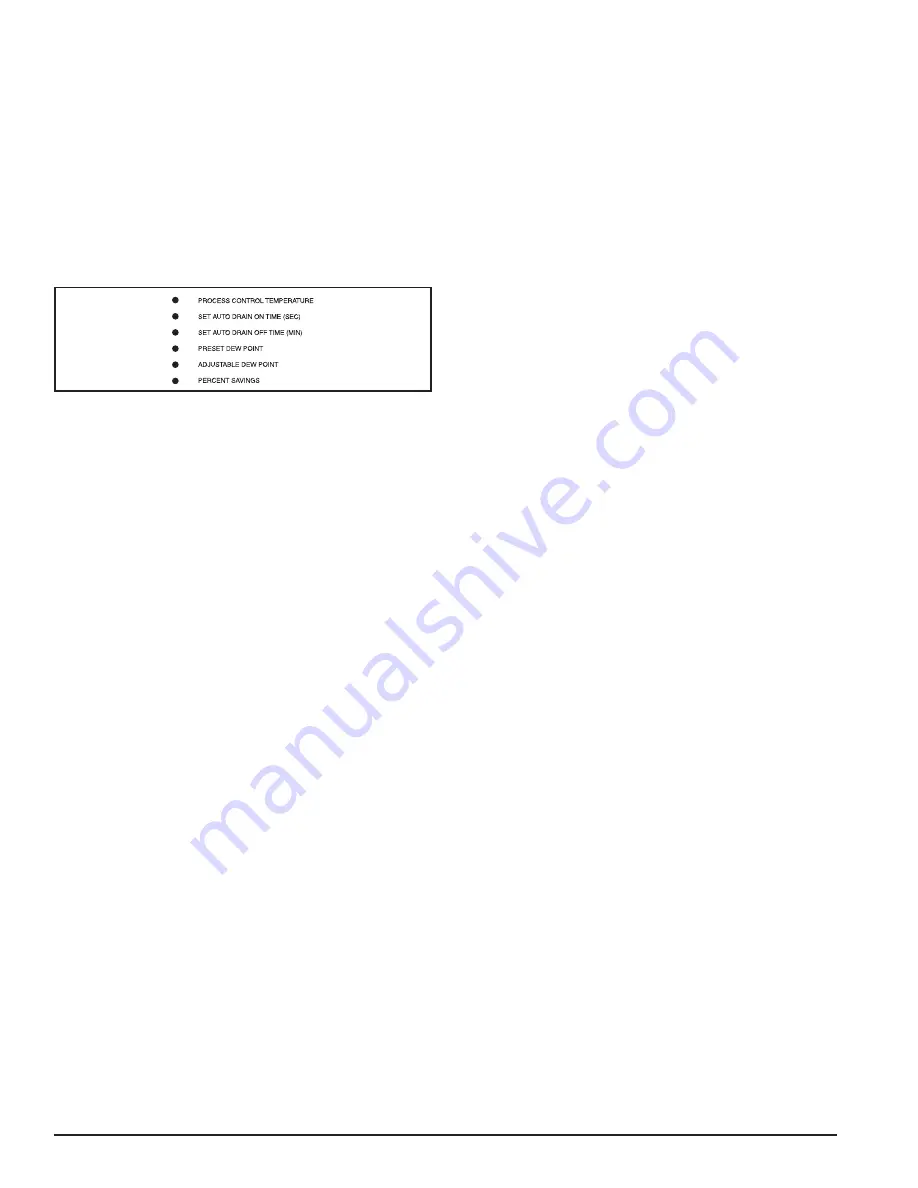
The right-hand column of LEDs on the controller indicates
the value displayed on the display screen. The default dis-
play is process control temperature and the Process Con-
trol Temperature LED is lit. Each time the DISPLAY SE-
LECT button is pressed, the display will advance to the
next value and the corresponding LED will be lit.
Right-hand Controller LEDs
Process Control Temperature LED
Indicates the display is showing the process control tem-
perature. This temperature is displayed in units of Fahren-
heit or Celsius (depending on which is selected), as indi-
cated by the LEDs on the left-hand column.
Set Auto Drain On Time (Sec) LED
Indicates the display is showing the number of seconds of
auto on time.
To change the auto drain on time:
• Press the DISPLAY SELECT button until the Set Auto
Drain On Time (Sec) LED is lit. The display will show
the current drain on time setting (in seconds).
• Press the up or down button to increase or decrease
the drain on time. The Set Auto Drain On Time (Sec)
LED will blink.
This setting has a minimum value of 1 and a maxi-
mum value of 30. The up and down buttons will “auto
repeat” (from 1 to 30) if held down continuously.
• Once the desired time is displayed, press the SET but-
ton to store the new value in memory.
Note:
All changes will be lost if you do not press the
SET button before moving to another display param-
eter (i.e. pressing the DISPLAY SELECT button).
Set Auto Drain Off Time (Min) LED
Indicates the display is showing the number of minutes of
auto off time.
To change the auto drain off time:
• Press the DISPLAY SELECT button until the Set Auto
Drain Off Time (Min) LED is lit. The display will show
the current drain off time setting (in minutes).
• Press the up or down button to increase or decrease
the drain off time. The Set Auto Drain Off Time (Min)
LED will blink.
This setting has a minimum value of 0.5 and a maxi-
mum value of 30. The up and down buttons will “auto
repeat” (from 0.5 to 30) if held down continuously.
• Once the desired time is displayed, press the SET but-
ton to store the new value in memory.
Note:
All changes will be lost if you do not press the
SET button before moving to another display param-
eter (i.e. pressing the DISPLAY SELECT button).
Preset Dew Point LED
Allows the operator to select between the preset (factory
set) dew point or an adjusted dew point (see below).
Using the preset dew point, the dryer is set to cycle at the
factory-set conditions. The compressor will run only if the
following conditions are met:
• Process Control Temperature > 36°F*
• Freeze Protection < 25°F
• High pressure switch closed (no “HiP alarm)
• Dryer on mode
• Delay timer expired
• No high or low temperature* alarms
*If the compressor is on, then the process control tem-
perature must drop to 36°F before the compressor will
turn off. If the compressor is off, then the process con-
trol temperature must rise to 37°F before the compres-
sor will turn on.
When the Preset Dew Point LED is on, the display indi-
cates which set point is being used:
• P = preset dew point
• A = adjustable dew point
Adjustable Dew Point LED
Allows the operator to adjust the process control tempera-
ture set point from 36°F up to 46°F. Hysteresis is still 1°F
about whatever set point is chosen in this ten degree range.
In this mode, the compressor will run only if the following
conditions are met:
• Process Control Temperature > Adjustable dew point
value*
• Freeze Protection < 25°F
• High pressure switch closed (no “HiP alarm)
• Dryer on mode
• Delay timer expired
Содержание RCD1000
Страница 27: ...27 NOTES ...


