Page 6
G-SAFE Product Guide
6. INSTALLING G-SAFE
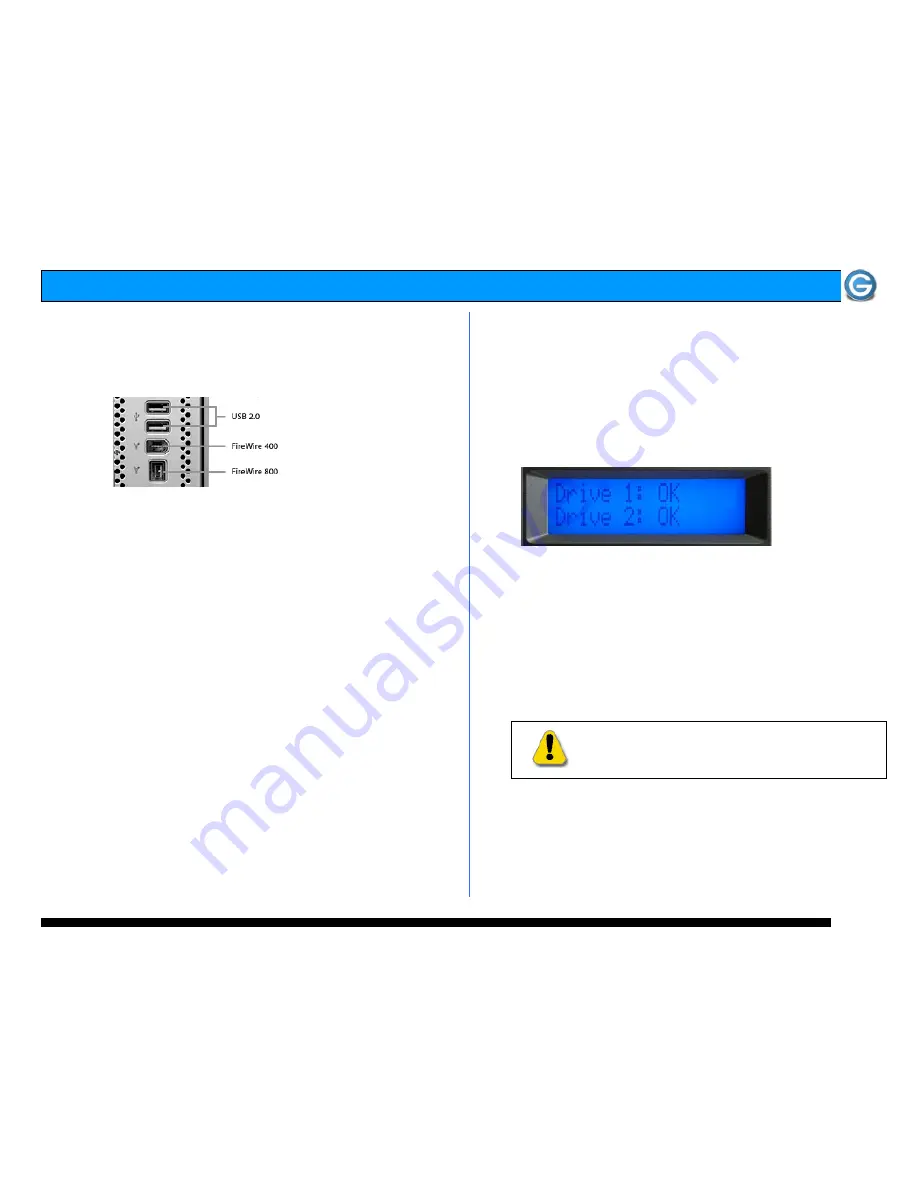
G-SAFE attaches to your computer via a USB 2.0 or
FireWire port. For maximum performance we recommend
using a FireWire 800 connection.
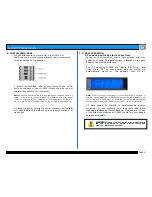
1. Attach the interface cable of your choice to one of the
ports on the back of your G-SAFE. Attach the other end of
the interface cable to your computer.
Note: G-SAFE ships with a 9-pin to 9-pin FireWire 800 cable and a USB 2.0
cable. If you wish to connect G-SAFE to a FireWire 400 port, please
contact G-Tech sales at (310) 449-4599 or you may purchase a 4-pin to 9-
pin or 6-pin to 9-pin FireWire cable online at www.g-technology.com.
2. Attach the power cord to the power connector on the rear
of G-SAFE and plug the other end in to a surge protector or
wall outlet.
7. G-SAFE OPERATION
7.1 Powering on G-SAFE for the First Time
Power on your computer, wait a few seconds and then
power on G-SAFE. The power switch is located on the back
panel of the G-SAFE enclosure.
The LCD panel on G-SAFE will indicate that Drive 1 and
Drive 2 are “OK” as shown below and the system will
automatically mount on the desktop (Mac OS X).
Note:
G-SAFE is set up at the factory for use with Mac OS X systems. If
you are running Mac OS X, G-SAFE will mount on the OS X desktop right
out of the box. G-SAFE must be formatted for the Windows Operating
System before use on a PC. Please see section 10 for more information.
All data saved to G-SAFE is
simultaneously written
(mirrored) to the system’s two removable disk drive
modules providing an instant back up of your data. If one
of the disk drive modules in G-SAFE should fail, your data is
safe and accessible.
WARNING:
Never remove a disk drive module while
the unit is powered on unless a drive failure has
occurred. Data loss may occur.
Содержание G-SAFE
Страница 2: ...Page 2 G SAFE Product Guide ...
Страница 3: ...Page 3 G SAFE Product Guide ...

