5. WAYPOINTS, ROUTES
5-4
5.4 Creating
Routes
In many cases a trip from one place to another involves several course changes, requiring a
series of route points (waypoints) which you navigate to, one after another.
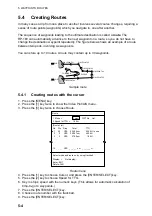
The sequence of waypoints leading to the ultimate destination is called a
route
. The
RP-180 can automatically advance to the next waypoint on a route, so you do not have to
change the destination waypoint repeatedly. The figure below shows an example of a route
between two ports, involving six waypoints.
You can store up to 10 routes. A route may contain up to 30 waypoints.
PORT
PORT
WAYPOINT 01
WAYPOINT 02
WAYPOINT 03
WAYPOINT 04
WAYPOINT 05
WAYPOINT 06
FORWARD
REVERSE
Sample route
5.4.1
Creating routes with the cursor
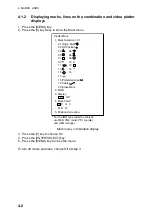
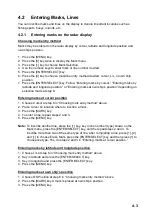
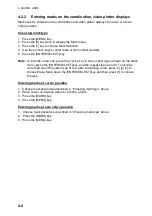
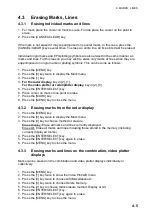
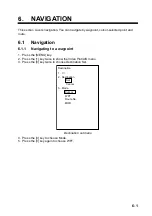
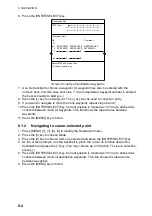
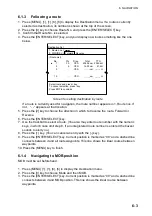
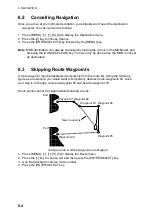
1. Press the [MENU] key.
2. Press the [1] key twice to show the Video Plot/AIS menu.
3. Press the [5] key twice to choose Route.
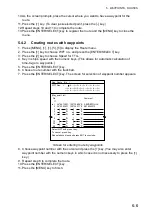
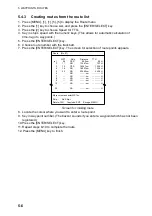
1. Mode = Cursor WPT No. List
2. Speed for TTG = 10.0kt
(Route List)
No. Pts Disp Total TTG
1 30 YES 234.56 nm 345.6H In use
2 5 YES 335.67 nm 455.6H
3 3 YES 37.99 nm 19.9H
10 _ _ YES _ _ _._ _ nm _ _ _ _ _._ H
Select mode and route no. by using trackball.
Display: + Not display: -
Enter: ENT
Delete: CLR
Route
u
Route menu
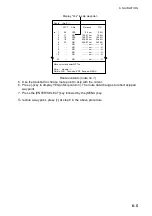
4. Press the [1] key to choose Cursor, and press the [ENTER/SELECT] key.
5. Press the [2] key to choose Speed for TTG.
6. Key in ship’s speed with the numeric keys. (This allows for automatic calculation of
time-to-go to waypoints.)
7. Press the [ENTER/SELECT] key.
8. Choose route number with the trackball.
9. Press the [ENTER/SELECT] key.
Содержание RP-180
Страница 1: ...VIDEO PLOTTER RP 180...
Страница 31: ......
Страница 45: ...6 NAVIGATION 6 6 This page intentionally left blank...
Страница 49: ...7 ALARMS 7 4 This page intentionally left blank...
Страница 57: ...8 MEMORY CARD OPERATIONS 8 8 This page intentionally left blank...
Страница 90: ...APPENDIX AP 3 Schematic diagram Load requirements as listener 2 2 Kohms...
Страница 97: ...APPENDIX AP 10 This page intentionally left blank...

