


10. OTHER FUNCTIONS
10-11
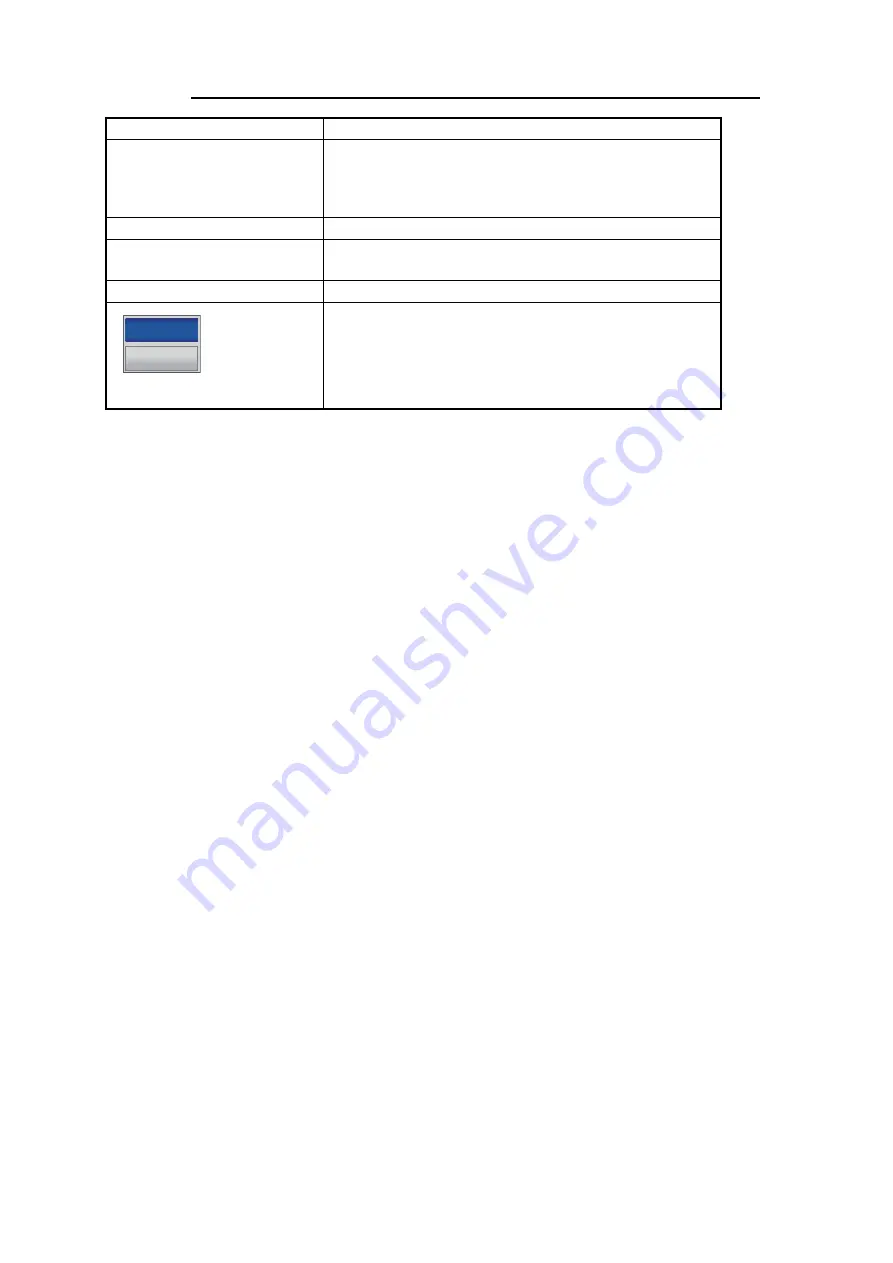
Controls, context sensitive menu in WIRELESS CONNECTION SETUP
10.8
How to Output the Display to an iOS Device
You can output the GPS plotter’s display to an iOS device (iPhone, iPad), using the
P2N (Plan2Nav) feature and the Jeppesen [Plan2Nav] application for the iOS device.
This lets you monitor the display from a remote location. Requires iOS version 4.3 or
later, and is available only with the GP-1870F.
Download the Plan2Nav application from the App Store then do as follows:
1. Open the menu then open the [GENERAL] and [WIRELESS CONNECTION]
menus to show the [WIRELESS CONNECTION SETUP] dialog box.
2. Select your GPS Plotter (the name begins with “GP” followed by model number
and equipment ID) from the list with the
CursorPad
then push the
ENT
key. You
are asked if you are sure to connect to activate the ad hoc connection.
3. Select [Yes] then push the
ENT
key to activate the connection. "Activating..." ap-
pears in the [Status] column. If the connection is successful, "Activated" replaces
"Activating." and the [Wireless Connection] box appears and shows the name of
the ad hoc connection.
4. Press the
ESC/MENU
key to return to the [GENERAL] menu.
5. Select [Plan2Nav LINK].
6. Select [On]. If connection to the iOS device is successful, [iOS Device] appears to
the right of [CONNECTED DEVICE] in the [Plan2Nav LINK] menu.
7. Open your iOS device and turn on the Wi-Fi from the [Settings] menu. Select your
GPS Plotter from the [DEVICES] field.
8. Open the Plan2Nav application on your IOS device.
9. At the menu bar at the bottom of the display, find and tap [Chart Plotter Link].
The message "Discovering..." appears while the application tries to connect to your
GPS plotter. If the connection is successful "Playing..." appears momentarily then the
screen shows the display from the GPS plotter. You can zoom in or zoom out by pinch-
ing the screen.
For operation on the Plan2Nav application, see its owner’s manual.
Control
Function
Others
Select an access point not shown in the access point
list. The [CONNECTION CONFIGURATION] dialog box
appears. Enter the network name and password to ac-
cess.
Search
Search access points.
Ext Antenna (Int Antenna)
Switch between Internal antenna and external antenna
if equipped with an external antenna.
Wireless On (Wireless Off)
Turn wireless connection on or off.
Context-sensitive menu
Operations for saved access points ([Saved] appears in
[Status] column).
[Connect]
: Connect to selected access point.
[Forget]
: Remove selected access point.
Connect
Forget
Содержание GP-1870F
Страница 1: ......
Страница 44: ...1 OPERATIONAL OVERVIEW 1 28 This page is intentionally left blank...
Страница 118: ...9 MEMORY CARD OPERATIONS 9 6 This page is intentionally left blank...
Страница 142: ...11 CUSTOMIZING YOUR UNIT 11 6 This page is intentionally left blank...
Страница 172: ...13 INSTALLATION 13 24 This page is intentionally left blank...
Страница 186: ...APPENDIX 3 JIS CABLE GUIDE AP 14 This page is intentionally left blank...
Страница 188: ...APPENDIX 4 INSTALLATION OF TEMPERATURE SENSORS AP 16...
Страница 189: ...APPENDIX 4 INSTALLATION OF TEMPERATURE SENSORS AP 17...
Страница 190: ...APPENDIX 4 INSTALLATION OF TEMPERATURE SENSORS AP 18...
Страница 191: ...APPENDIX 4 INSTALLATION OF TEMPERATURE SENSORS AP 19...
Страница 196: ...6 Apr 2012 H Maki D 1...
Страница 197: ...6 Apr 2012 H Maki D 2...
Страница 198: ...6 Apr 2012 H Maki D 3...
Страница 199: ...6 Apr 2012 H Maki D 4...
Страница 200: ...D 5...
Страница 208: ......
Страница 209: ......


