*
SELF-TIMER
PHOTOGRAPHY FUNCTIONS
36
37
Advanced
Features
3
d
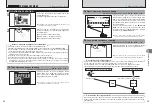
FLASH PHOTOGRAPHY
PHOTOGRAPHY FUNCTIONS
d
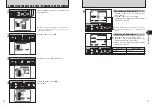
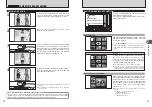
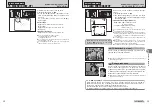
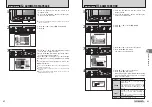
Forced flash
Use this mode in backlit scenes, such as a subject against
a window or in the shade of a tree, or to get the correct
colors when taking a picture under bright lighting. In this
mode, the flash fires in bright as well as dark conditions.
v
Suppressed flash
Use this mode for taking pictures using indoor lighting, for
shots taken through glass, and for photography in places
such as theaters or at indoor sporting events where the
distance is too great for the flash to be effective. When you
use Suppressed flash, the selected white balance function
(
➡
P.47) operates so that natural colors are captured along
with the ambience of the available light.
●
!
Use a tripod to prevent camera shake when shooting in Suppressed
flash mode in the dark condition.
●
!
See P.103 for information on the camera shake warning.
c
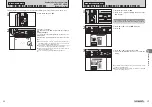
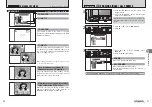
Slow synchro
This is a flash mode that uses a slow shutter speed. This
allows you to take pictures of people at night that clearly
show both your subjects and the night time backdrop.
To prevent camera shake, always use a tripod.
h
Slowest shutter speed
“
©
”
NIGHT:
up to 4 sec.
n
Red-eye red Slow synchro
Use this mode for Slow synchro shots with Red-eye reduction.
●
!
The image may be overexposed when shooting bright scenes.
To take a picture of a main subject at night with the
background brightly lit, use the “
©
” NIGHT setting in
Shooting mode (
➡
P.46).
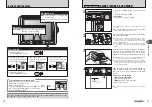
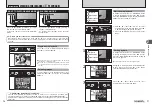
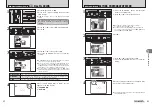
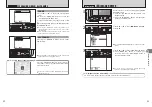
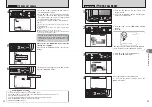
A countdown appears on the LCD monitor indicating
the time remaining until the picture is taken.
Self-timer mode is canceled after each shot.
9
4
1
Position the AF frame over the subject.
2
Press the shutter button down halfway to focus
on the subject.
3
Without releasing the shutter button, press the
button all the way down (fully pressed) to start
the self-timer.
Bebeep
Beep
NNN
12
12
12
2
0
1
0
2
0
3
●
!
The AF/AE lock can be used (
➡
P.24).
●
!
Take care not to stand in front of the lens when pressing the
shutter button as this can prevent the correct focus or
brightness (exposure) from being achieved.
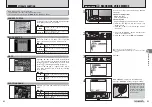
The self-timer lamp lights and then starts blinking
until the picture is taken.
3
●
!
To stop the self-timer, once it has started running, press the
“DISP/BACK” button.
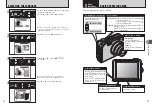
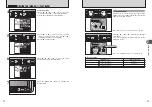
The self-timer is used in situations where the
photographer is included in the shot.
When photographer is away from the camera, use
a tripod to prevent camera fall.
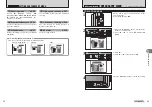
1
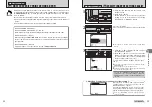
Set the Mode switch to “
q
”.
2
The self-timer setting changes each time you
press the “
*
(
b
)” button. The last displayed
setting is the selected mode.
*
: The picture is taken after 10 seconds.
(
: The picture is taken after 2 seconds.
●
!
Any of the following cancels the self-timer setting:
i
Completing the shooting
i
Changing the Mode switch setting
i
Setting the camera to Playback mode
i
Turning the camera off
◆
Continuous shooting without / with flash
◆
When selecting “
À
&
d
”
À
& WITH FLASH, 2 pictures are taken continuously. One of which is shot
without flash while the other is shot with flash. See P.46 for information on “
À
&
d
”
À
& WITH FLASH.
1
OFF
NNN
12
12
12
0
1
0
2
■
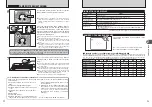
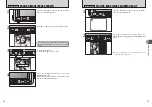
Self-timer lamp display
*
Lit for 5 seconds
➡
Blinking for 5 seconds
(
Blinking for 2 seconds
◆
Using the 2-second self-timer
◆
This is useful when you worry about camera shake even when attaching the camera on a tripod.
Available Photography modes:
AUTO,
À
&
d
,
m
,
.
,
©
,
s
Available Photography modes:
AUTO,
À
,
À
&
d
,
m
,
,
,
.
,
©
,
s

