Paper Jams
261
Proble
m
Solvin
g
11
4
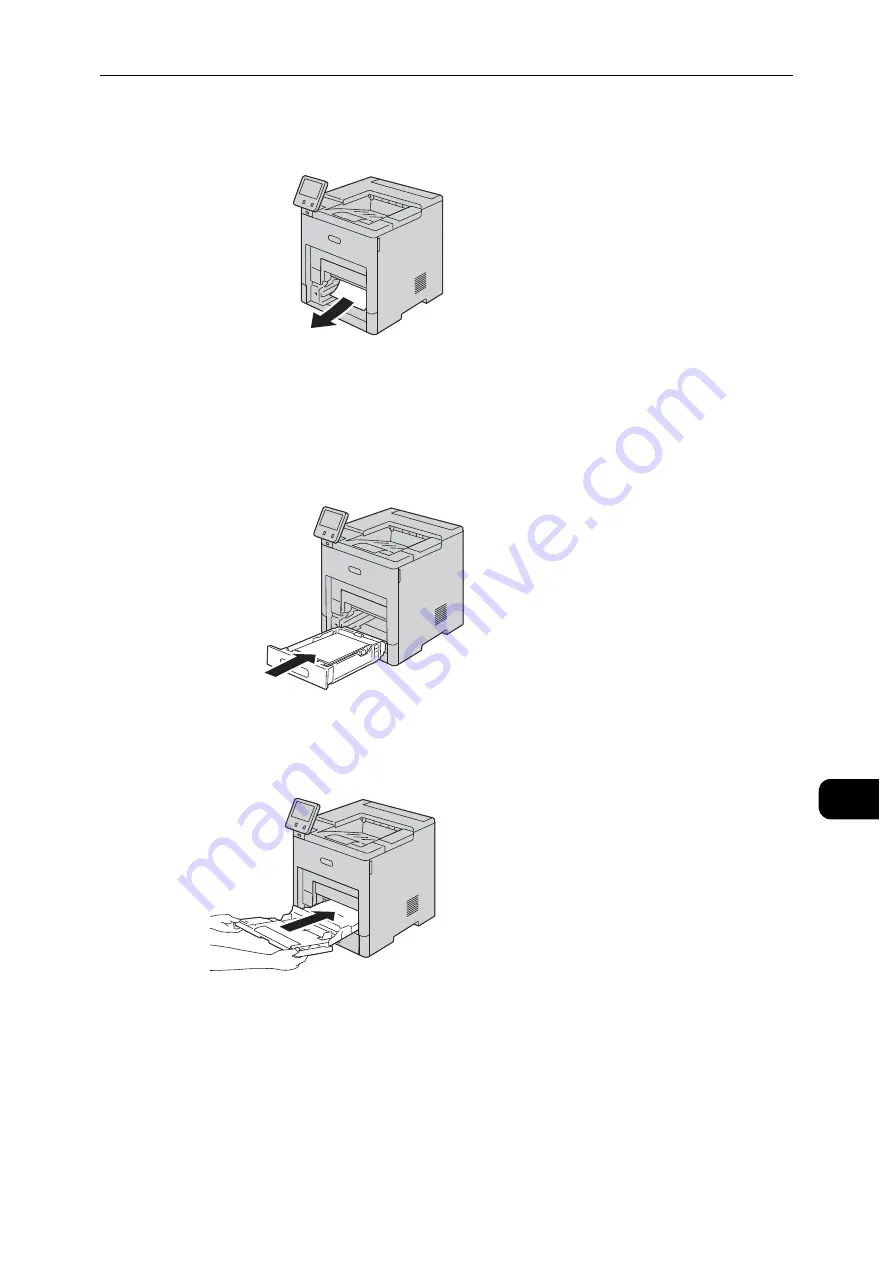
Remove the jammed paper.
5
Insert Tray 1 into the printer, then push it all the way in.
Note
If the tray is extended for Legal-size paper, the tray protrudes when it is inserted into the printer. If removed
in a previous step, replace the tray cover.
6
Insert the Bypass Tray completely into the printer.
7
Verify or change the paper settings.
1) To confirm the same paper size, type, or color, select [OK].
2) To select a new paper size, type, or color, touch the current setting, then select a new
setting. Select [OK] to save the settings.
Содержание DocuPrint P505 d
Страница 1: ...1 RFX3ULQW 3 G User Guide ...
Страница 9: ...1 1Before Using the Machine ...
Страница 15: ...2 2Setting Up the Printer Printer Setup ...
Страница 28: ...Setting Up the Printer Printer Setup 28 Setting Up the Printer Printer Setup 2 ...
Страница 29: ...3 3Product Overview ...
Страница 37: ...4 4Paper and Other Media ...
Страница 59: ...5 5Printing ...
Страница 75: ...6 6Device ...
Страница 87: ...7 7CentreWare Internet Services ...
Страница 142: ...CentreWare Internet Services 142 CentreWare Internet Services 7 ...
Страница 143: ...8 8Encryption and Digital Signature Settings ...
Страница 151: ...9 9Authentication and Accounting Features ...
Страница 157: ...10 10Maintenance ...
Страница 182: ...Maintenance 182 Maintenance 10 5 Bundle the cable 6 Slide and lift the 4 Bin Mailbox ...
Страница 183: ...11 11Problem Solving ...
Страница 269: ...12 12Appendix ...
Страница 278: ...Appendix 278 Appendix 12 ...
Страница 279: ...DocuPrint P505 d User Guide ME8277E2 2 Edition 1 February 2018 Fuji Xerox Co Ltd Copyright 2018 by Fuji Xerox Co Ltd ...


