7
1.
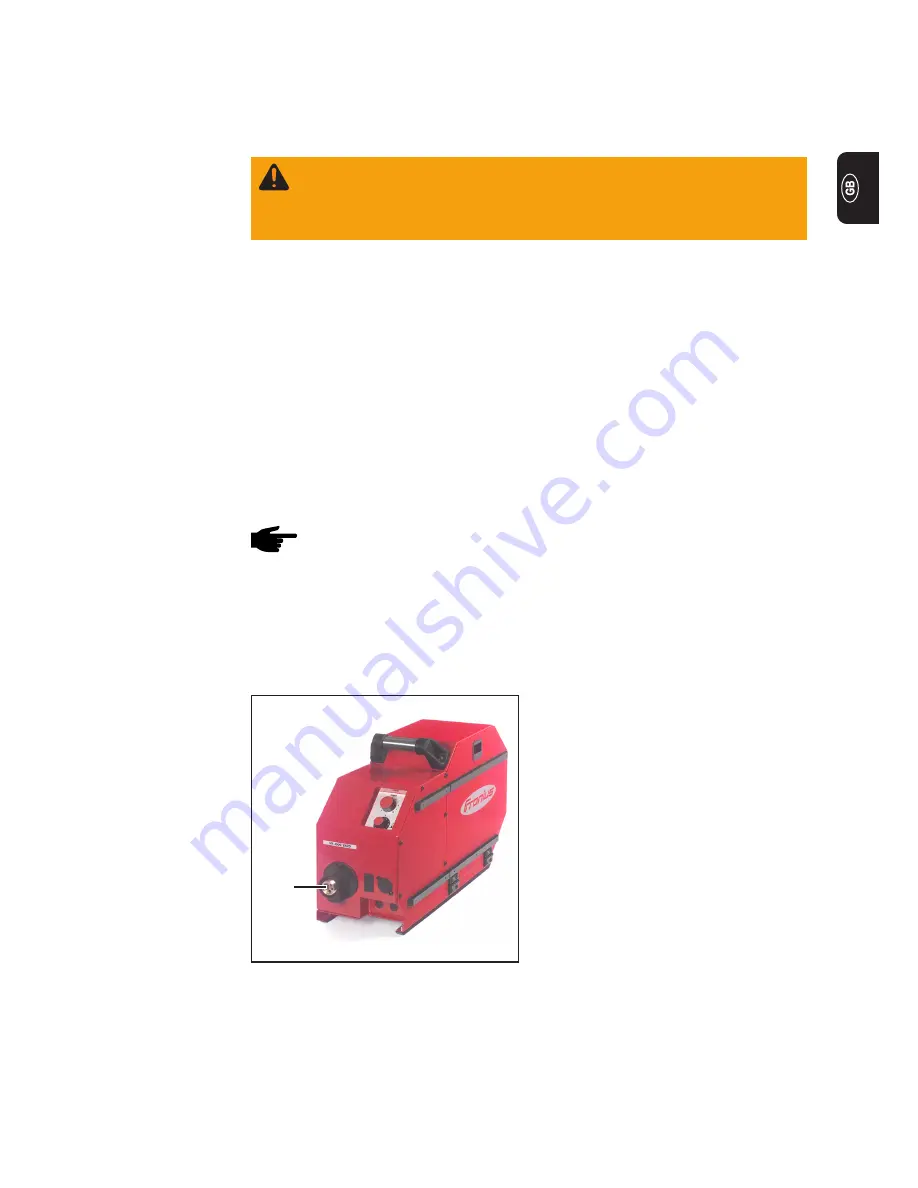
Turn the power source mains switch
to the - O - position
2.
Check that the welding torch is
correctly set up. Insert it - infeed tube
first - into the torch connection (1)
3.
Fix welding torch in place:
Manually tighten the torch union nut
on the torch connection (1)
Installation
NOTE!
Applies when using 70 m hosepacks, either made up in-house or
purchased from another manufacturer:
-
Ensure that the cross section of the wire drive supply line is at least 13
mm² (0.02 sq.in.).
Only welding torches with a connection for Dinse / Euro can be used.
If the VR 4000 Yard is equipped with optional water connections, then only a welding
torch with external water connections may be used.
The Yard wire-feed unit is only to be used for MIG/MAG welding with a TS 4000 / 5000
or TPS 3200 / 4000 / 5000 power source.
Utilisation for any other purpose, or in any other manner, shall be deemed to be „not in
accordance with the intended purpose“. The manufacturer shall not be liable for any
damage resulting from such improper use.
Refer to the „Before switching on the power source“ section in the „Installation“ chapter
of the power source operating instructions. Also refer to „Setup regulations“ and „Mains
connection“.
Safety
Utilisation in
accordance with
„intended purpo-
se“
Fitting the wel-
ding torch
WARNING!
Operating the equipment incorrectly can cause serious injury
and damage. The following activities must only be carried out by trained
and qualified personnel! Observe the safety rules in the power source
operating instructions.
Plugging in the welding torch
(1)


