

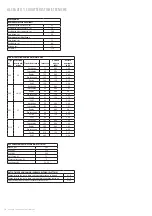


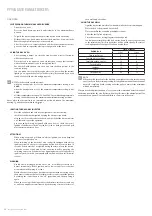


MULTI-FUNCTIONAL ELECTRIC OVEN WITH IN-BUILT FAN
Through combining various heating areas and an internal fan, the oven supports the
following settings:
18
PP96GEE50 RANGE COOKERS
PP96GEE50 RANGE COOKERS
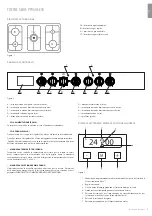
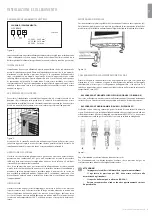
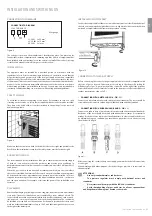
• SETTING
THE
CLOCK
The fi rst time you switch the appliance on, as well as after a power cut, the digits
and the indicator
A
on the display will fl icker, and the cooker will not operate in this
position.
1.
After switching on the cooker, press the
M
button and hold for at least 2
seconds, until the symbol
A
disappears. A fl ashing
•
symbol will appear
on the display.
2.
Using the
-
and
+
buttons, set the time.
3.
A few seconds after the last depression of the buttons, the chosen time
will be automatically saved.
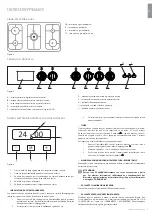
• MANUAL
MODE
The oven will operate in a manual mode (without a set cooking stop-time or set
cooking period) only when this symbol is seen on the display:
.
• TIMER
The timer produces an audio signal when the set time is up without switching off the
cooker. The maximum interval that can be set on a timer is 23 hours and 59 minutes.
When the set time runs out, the symbol will disappear from the display, and the
signal will sound. The audio signal will automatically stop in 7 minutes, or you can
stop it by pressing any button on the display.
To set up the timer, please do the following:
1. Press
the
M
button and hold for at least 2 seconds, until a fl ashing
symbol appears on the display.
2.
Using the
-
and
+
buttons, set the required interval.
3.
A few seconds after the last depression of the buttons, the timer will save
the required time and will start the count-down time. .
•
SEMI-AUTOMATIC SET-TIME COOKING
1.
Set the required oven setting and the cooking temperature.
2. Press
the
M
button and hold for at least 2 seconds, until a fl ashing
symbol appears on the display.
3. Release
the
M
button and press it again. A fl ashing
A
symbol will appear
on the display as well as the sign “
dur
”, which will eventually be replaced
by
0:00
.
4.
Using the
-
and
+
buttons, set the required cooking time (the maximum
allowed is 10 hours).
5.
A few seconds after the last depression of the buttons, the time will be
saved and the count-down will start. The symbols
A
and
will appear
on the display. To show the current time on the display, press the
M
button several times.
When the set time is up, a signal will sound, and the oven will automatically switch-
off . The audio signal will automatically switch off in 7 minutes, or you can stop it by
pressing any button on the display.
•
SEMI-AUTOMATIC SET STOP-TIME COOKING
1.
Set the required oven setting and the cooking temperature.
2. Press
the
M
button and hold for at least 2 seconds, until a fl ashing
symbol appears on the display.
3. Release
the
M
button and press it again. A fl ashing
A
symbol will appear
on the display as well as the sign “
dur
”
4. Press
the
M
button once more. You will see the inscription “
end
” on the
display, which will eventually change to
0:00
.
5. Using
the
-
and
+
buttons, set the required stop time.
6.
A few moments after the last depression of the buttons, the set time
will be saved and the count-down will start. The symbols
A
and
will
appear on the display. To show the current time on the display, press the
M
button several times.
When the set time expires, an audio signal will sound, and the oven will automatically
switch off . The audio signal will automatically switch off in 7 minutes, or you can stop
it, by using any button on the display.
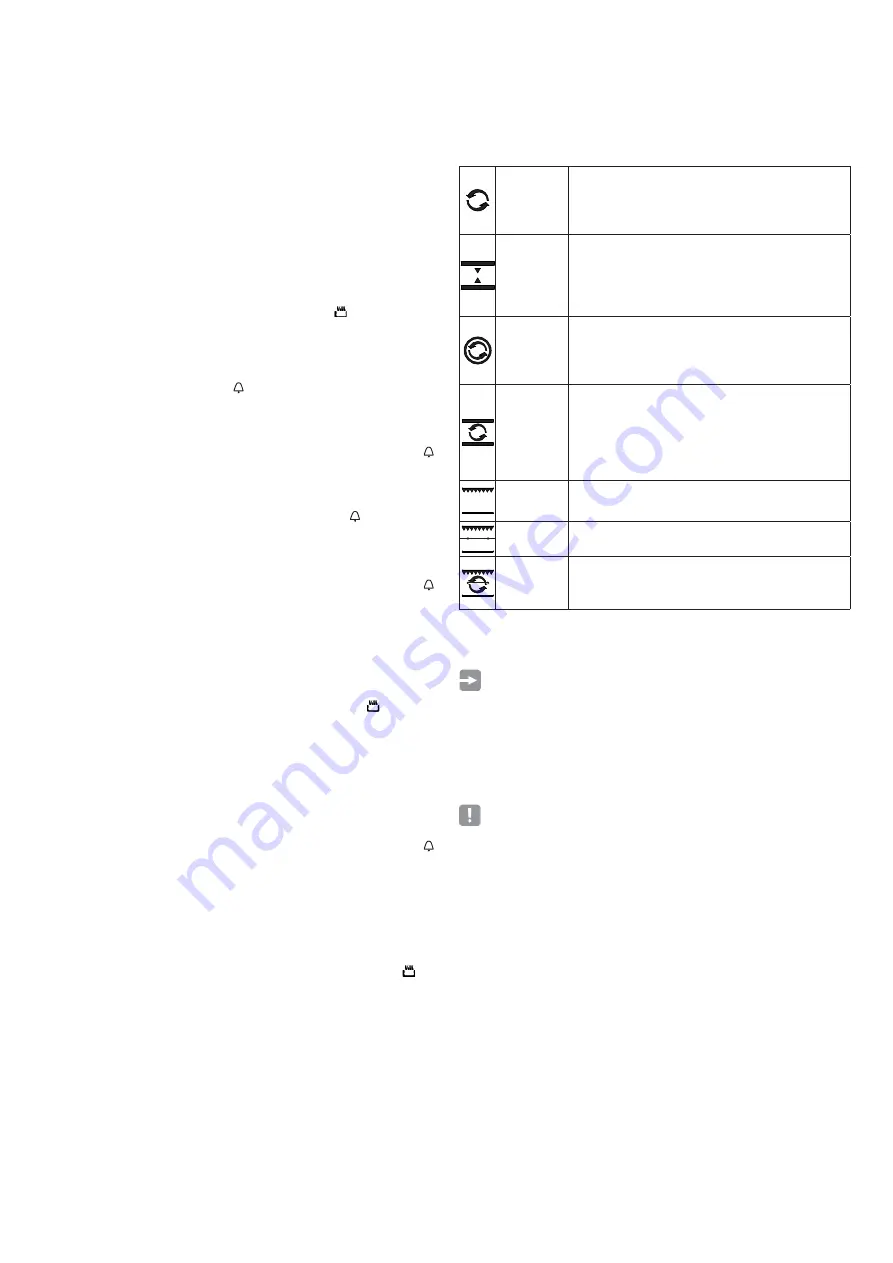
De-frosting/
drying
In this setting only the fan is on, without the heating areas
being activated. This function can be used to de-frost and/
or dry out food using the air fl ow alone, circulating at the
ambient temperature. This allows you to de-frost food
without changing its taste and appearance.
Upper + lower
element
This setting ensures the simultaneous function of the upper
and lower heating elements and is designed for preparing
dishes which need to be slow cooked with the continuous
addition of fl uids. This is a universal setting, ideal for
preparing any kind of fried dish, bread, cakes, and baking in
general.
Ventilated
cooking
A professional cooking setting, we recommend it for dishes
dispersed across several oven shelves. Using this setting,
dishes can be prepared independently of each other, for
their odours will not mix. The even circulation of hot air
enables slow, even preparation.
Upper + lower
e fan
Activating the upper and lower heating elements
alongside the fan guarantees the uniform distribution of
heat within the oven. This setting enables you to prepare
diff erent dishes on one or more levels. When roasting meat
the optimisation of the spread of heat allows you to cook
at lower temperatures. This helps keep the meat more
tender and decreases the amount by which it gets burnt.
Grill
This setting allows you to grill meat, fi sh, poultry and
vegetables. The thermostat knob must be set to the
maximum temperature setting.
Grill and spit
This enables you to spit-roast meat or poultry under the
grill.
Grill and spit
with forced
convection
fan
This advanced cooking technology enables you to spit-
roast larger servings of food, making meat browned on the
outside and well-done.
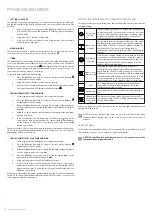
When any setting (except off ) is activated, the red indicator light and internal oven
lighting will both turn on.
NOTE: the yellow indicator light turns on once the thermostat has been
activated. Before placing items in the oven, fi rst heat it up for at least 10
minutes.
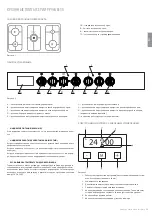
ELECTRIC GRILL
Cookers which are equipped with an electric oven and electric grill allow you to grill
items with the oven door closed, without using the knob guard.
NOTE! When grilling food with the oven door closed, you must not set the
temperature any higher than 200°C.
.
Содержание PP96GEE50
Страница 63: ......