27/35
Faithfully follow the steps below to set the schedule:
1.
Press the “
MENU
” button to access the configuration menu;
2.
Move the cursor to "
SETUP
" and confirm by pressing "
ENTER
";
3.
Move the cursor to the heading
"SCHEDULE RECORDING
" and confirm by pressing "
ENTER
";
4.
Press “
MODE”
button;
5.
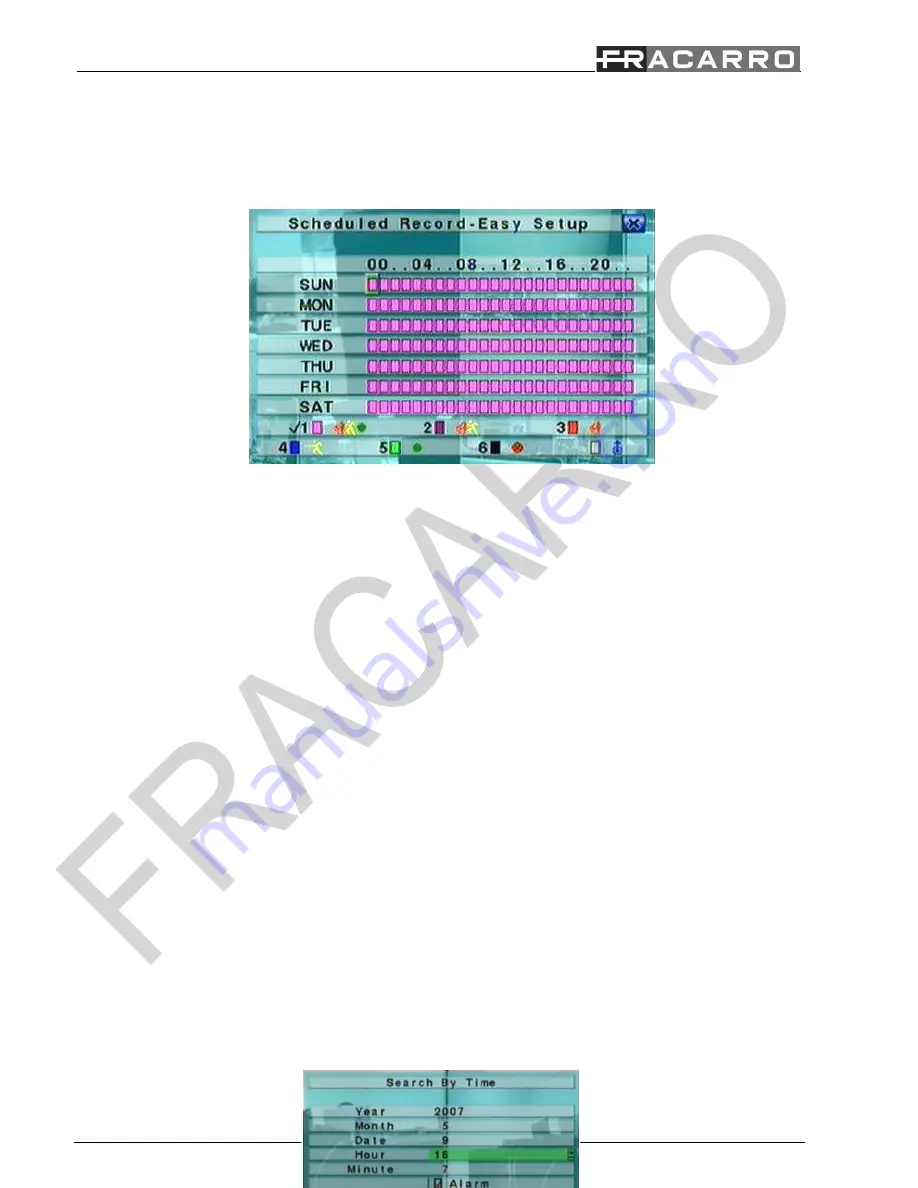
The following screen will appear:
This screen allow the administrator an easy and fast way to program the schedale recording. It is possibile, for each hour
of the week, to set the way of recording from: Alarm+Normal, Alarm+Motion, Alarm, Motion, Normal, and no
Recording. I twill be recorded both audio and video.
Button description:
▲▼
◄►
Press these button to move the cursor.
Numeric 1-6 (Mouse: Left click)
Press these buttons to select the recording mode. Press
ENTER
button to activate the mode. Recording modea are:
“
1
” –
Alarm+Normal
, “
2
” –
Alarm+Motion
, “
3
” –
Alarm
, “
4
” –
Motion
, “
5
” –
Normal
, “
6
” –
No
Recording
.
+/- (Mouse: Left click)
Press these buttons to select the desidered time interval. Press
ENTER
button to activate the recording mode on the
selected time interval.
ESC (Mouse: Right click)
Press these buttons to esc the screen and return to the previous. Time segment will be updated..
5 Basic use of the DVR:
5.1 Search:
The DVR allow 4 different ways to search the image like: search by time, search by event, smart search or search on archived
files.
The screen for
“SEARCH BY TIME
”, on the bottom, shows the date when the recording started so it is possible to know how
long is the recording and select a specific date for search the image. It is possible to reduce the searching time by selecting the
type of recording like Alarm, Motion, Video loss or Normal.


