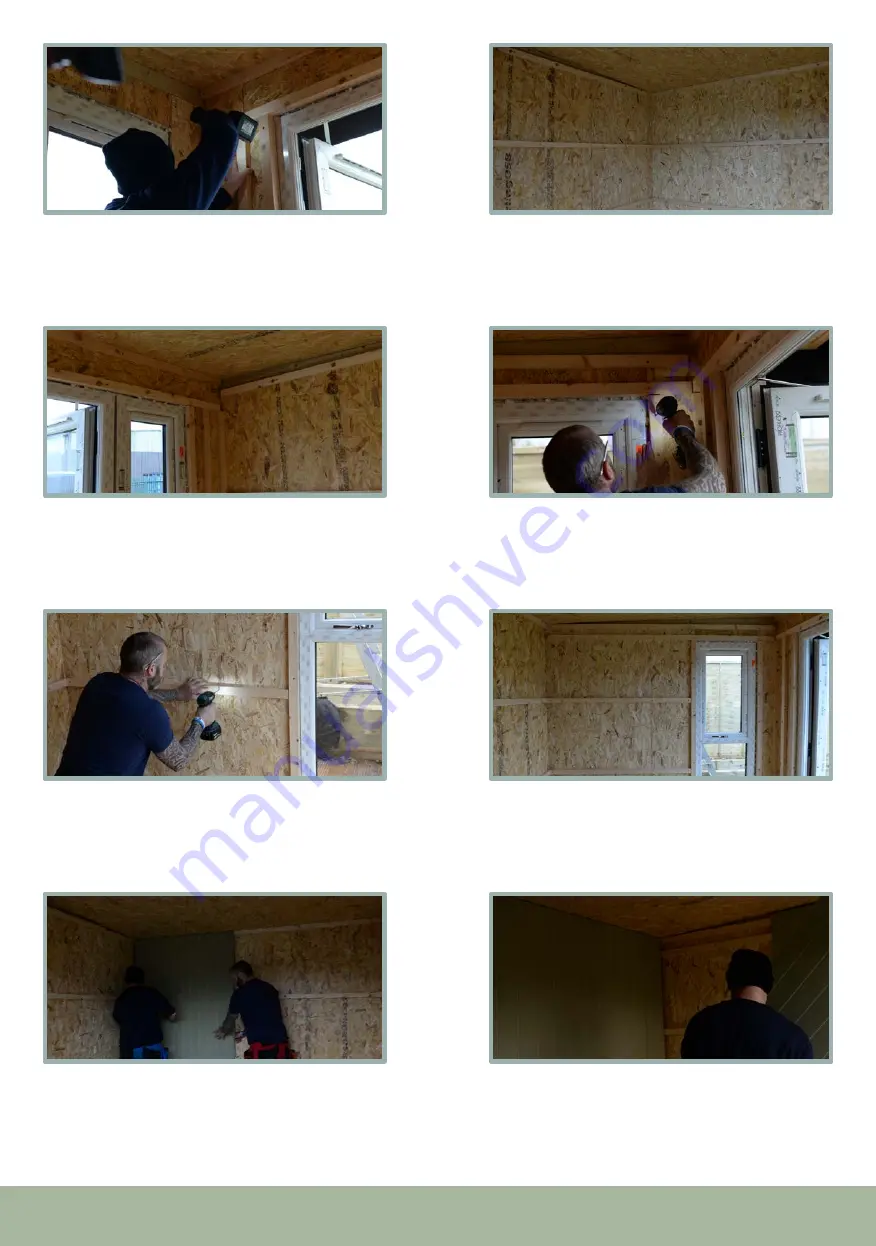
INTERNAL WALL BATTENS & BEADED WALL PANELS
Then apply a batten in between the other two. Use
4 x 80mm screws and repeat on the opposite side
of the door.
207
207
On the left hand side, apply the 45x28mm battens
in between the front and back battens. These will
flush end to end. Position each batten at the same
height as the back.
208
208
Use 4 x 80mm screws for each of the three smaller
battens. You will apply the roof battens on after
the beaded wall panels have been installed.
212
212
214
214
Apply the three shorter 45x28mm battens in
between the window and back. These will be flush
end to end and ensure they are the same height as
the positioned back panels.
211
211
Use 5 x 80mm screws for each batten. The battens
on the left hand side will not be aligned to the
front batten positions.
209
209
Repeat the same process for the two top battens
and frame the window. Apply the 45x28x1960mm
battens, one on either side using 4 x 80mm for
each.
210
210
Start at the back left hand corner. Ensure the
rounded edge of the panel is up against the wall.
Use 4 x 50mm screws on each side and 2 x 50mm
screws in the centre.
213
213
Butt up the next back panel with the rounded
edge up against the chamfered edge and screw
into place. There will be a trimmed board that will
fit into the space. Use 8 x 50mm screws.
33


