

FGI-011_Rev.D 08/10/2015 Qwik-Fence Installation Instructions
5858 W. 73
RD
ST
BEDFORD PARK, IL. 60638
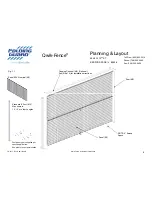
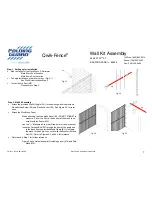
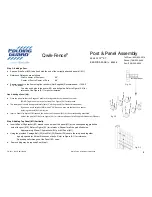
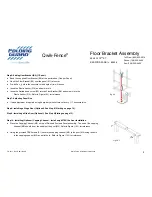
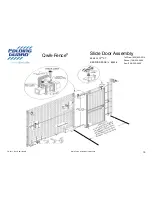
Qwik-Fence
®
16
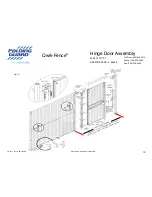
Slide Door Assembly
Toll Free: (800) 622-2214
Phone: (708) 325-0400
Fax: (708) 325-0450
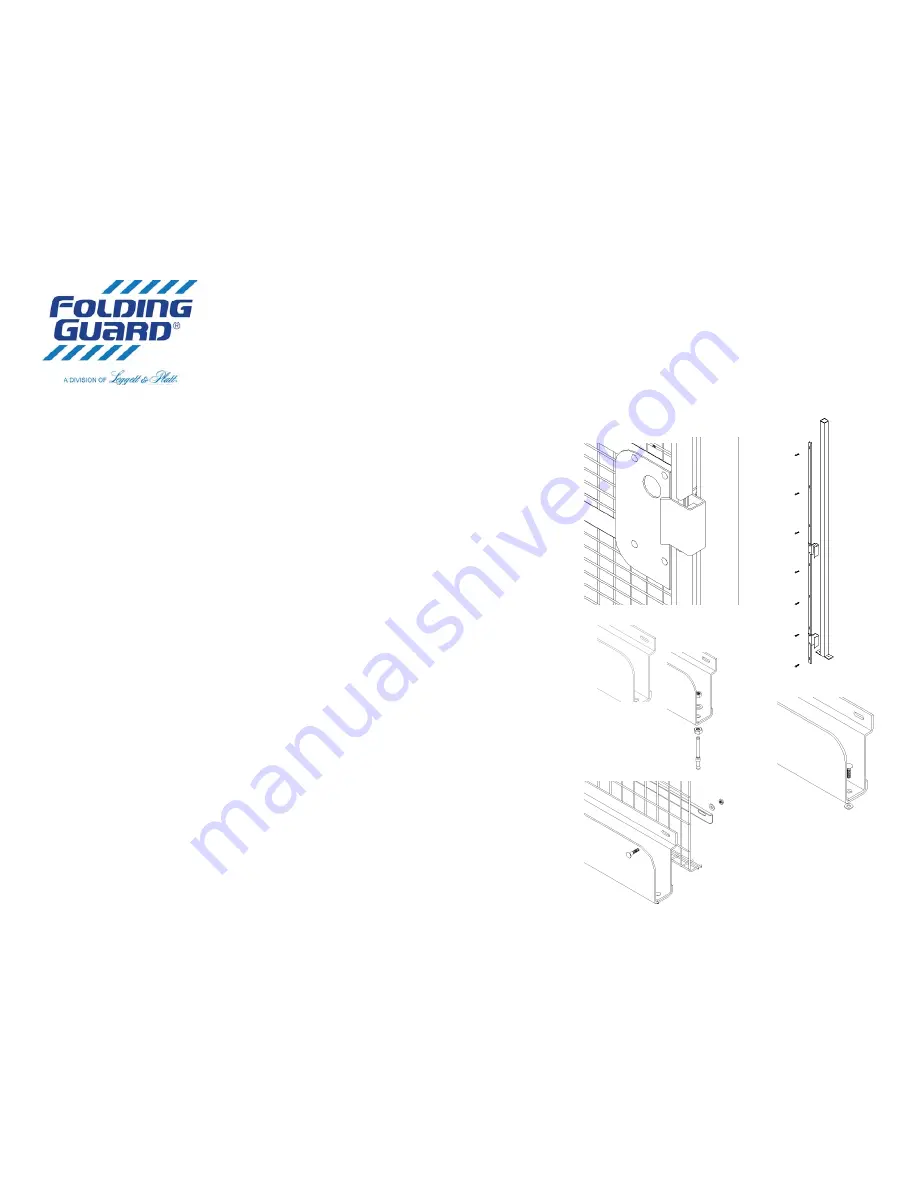
Step
9E:
Lock
Receiver
Bar
(D5)
Assembly.
A ach
the
supplied
Lock
Receiver
Bar
(D5)
to
the
post
toward
which
the
door
shall
close,
with
the
provided
TEK
Screw
(F1).
See
Figures
(9E
‐
1)
and
(9E
‐
2)
for
reference.
DO
NOT
Tighten
the
TEK
(F1)
Screws
all
the
way.
First
make
sure
the
door
securely
locks
in
the
receiver
bar
and
can
be
opened.
A er
that
is
complete
Tighten
the
TEK
Screws
(F1)
all
the
way.
Please
note
that
the
Figure
(9E
‐
1)
is
the
LOCKED
and
FINISHED
condi on
of
the
Lock
Receiver
Bar
(D5)
and
the
door.
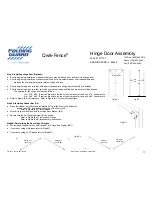
Step
9F:
Bo om
Guide
(B6)
Assembly.
Assemble
the
two
halves
of
the
bo om
guide
(B6)
by
placing
one
half
inside
of
the
other
as
shown
in
Figure
(9F
‐
1).
Secure
the
two
halves
together.
If
you
intend
to
a ach
the
guide
(B6)
to
the
wire
mesh
panel
(M1).
Please
go
on
the
next
point.
If
you
intend
to
secure
the
Guide
(B6)
to
the
fl
oor,
secure
together
via
fl
oor
anchors
as
shown
in
Figure
(9F
‐
2)
If
a aching
the
Bo om
guide
to
the
wire
mesh
assemble
the
two
halves
of
the
Bo om
Guide
(B6)
and
secure
together
with
a
Carriage
Bolt
(F2),
Washer
(F4)
and
a
Nut
(F3),
as
shown
in
Figure
9F
‐
3.
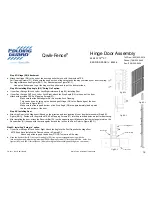
Step
9G:
Bo om
Guide
Installa on.
If
a aching
to
the
fl
oor
–
place
the
bo om
guide
in
such
a
ma er
that
when
the
door
is
closed
the
Door
Guide
(B8)
is
s ll
inside
the
Bo om
Guide
Bracket
(B6).
Make
sure
that
the
door
slides
easily
inside
the
fl
oor
bracket
(B6)
and
there
is
no
interference.
Then
a ach
to
the
fl
oor
via
concrete
anchors.
If
a aching
to
the
wire
mesh
‐
place
the
bo om
guide
in
such
a
ma er
that
when
the
door
is
closed
the
Door
Guide
(B7)
is
s ll
inside
the
Bo om
Guide
Bracket
(B6).
Make
sure
that
the
door
slides
easily
inside
the
fl
oor
bracket
(B6)
and
there
is
no
interference.
Then
using
the
provided
Bo om
Guide
A achment
(B7).
Secure
both
via
provided
Carriage
Bolt
(F2),
Washer
(F4)
and
Nut
(F3),
as
shown
in
Figure
(9G
‐
1).
Fig.
9E
‐
1
Fig.
9E
‐
2
Fig.
9F
‐
1
Fig.
9F
‐
2
Fig.
9F
‐
3
Fig.
9G
‐
1