11
skytiger
TM
SKYTIGER INSTRUCTIONS
Setting Up Your SKYTIGER
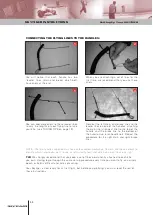
CONNECTING THE FLYING LINES TO THE HANDLES:
NOTE : The two handles supplied may have colour coded mouldings. You can use these colours to
identify which handle you want to use as left (usually red) and which you want to use as right.
TIP:
We strongly recommend that you keep a set of lines permanently attached to each kite
you own. Having to go through the same set up procedure every time you want to fly on a windy
beach or field is difficult and time consuming.
Your Skytiger is now ready for its first flight, but before you go flying, you must read the rest of
these instructions.
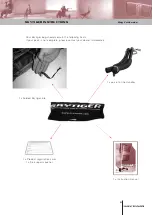
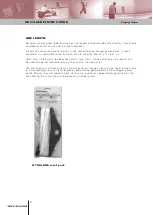
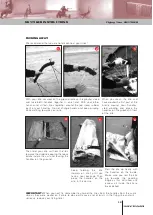
When you are attaching a set of lines for the
first time, we recommend that you use these
knots.
You will notice that each handle has two
“leader” lines (main and brake) which both
have knots at the end.
1
2
3
You can add more knots to these leader lines
to vary the lengths of your flying line to tune
your kite. (see TUNING TIPS on page 19)
4
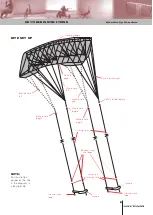
Connect the left main and brake lines to the
leader lines on one of the handles, attaching
the main line (strongest line) to the top of the
handle and the brake line to the bottom of
the handle. Use larks-head knots. Repeat the
procedure for the right main and right brake
lines.
Содержание SKYTIGER Series
Страница 1: ......
Страница 22: ...21 skytiger TM SKYTIGER INSTRUCTIONS ...
Страница 23: ...22 skytiger TM SKYTIGER INSTRUCTIONS ...

