background image


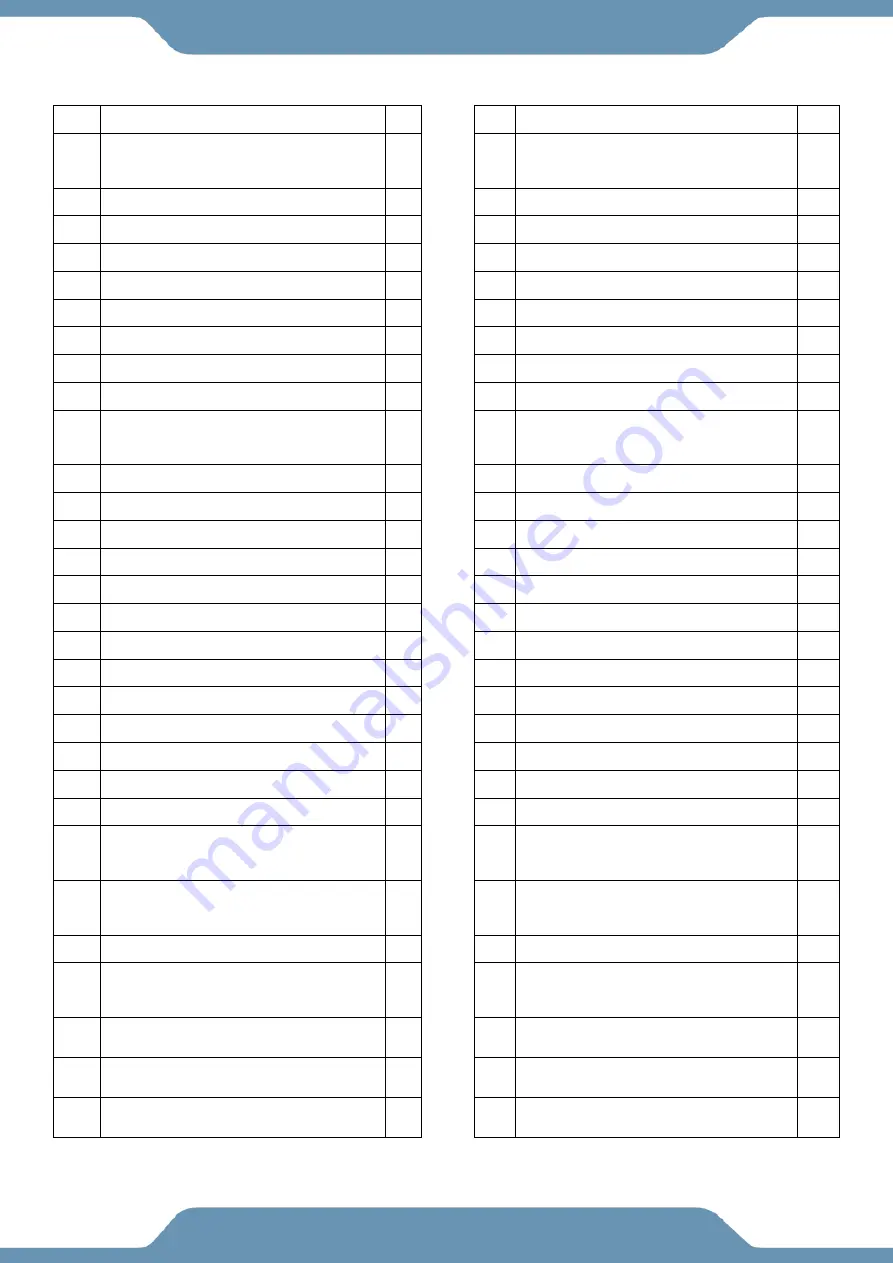
PARTS LIST


No.  Description 

Qty  

No.  Description 

Qty 

Rear Stabilizator   


29 

Cross Recessed Pan Head Tapping 
Screw ST4.2*16   

20 

Foot pad   


30  Crank Assembly   

Aluminum Track


rail   


31  Wave Washer Φ19 

Track Tube End cap   


32  Nylon Bushing φ38.1*φ19.1*15.38   

Tapered Spacer φ11*φ8.2*3.5 


33  Washer Φ6 

1   

Hexagon Socket Bolt M8*20 

25 


34  Crank U-Bracket 

Locknut M8 

16 


35  Upright Post 

Washer φ8 


36  Washer Φ8 

Elliptical Tube End Cap   


37  Hexagon Nuts with Flange M10*1 

10 

Track Tube End Cap(Front) 
77.5*60*45   


38A  Rail Tube Cover (upper)   

11 

Locknut M10 

12 


38B  Rail Tube Cover (lower)   

12 

Washer φ10 Zinc Black   

14 


39L  Left Wheel Arm   

13 

Carriage Bolt M10*60 

2


39R  Right Wheel Arm   

14 

Hexagon Socket Bolt M8*100 


40  Washer φ20*φ10.5*1.0 

15 

Main Frame   


41  Wheel Bushing φ16*φ10*5 

16 

Washer on Φ19 


42  Wheel 

17 

Bearing   


43  Hexagon Bolt M10*45 

18 

Bolt M8   


44  Pedal Axle   

19 

Pulley   


45  Hexagon Bolt M6*18, 

20 

Axle   


46L  Left Pedal   

21 

Belt   


46R  Right Pedal   

22L  Left Axle Cover   


47  Washer Φ6 

10 

22R  Right Axle Cover   


48  Lock Nut M6 

23 

Cross Recessed Pan Head Tapping 
Screw ST4.2*10 


49  Bushing φ38*φ19*32 

24 

Cross Recessed Pan Head Screw 
M5*12 


50  Round Tube End Cap   

25 

Right Axle Cover   


51L  Left Pedal Assembly   

26 

Cross Recessed Pan Head Tapping 
Screw ST4.2*25 


51R  Right Pedal Assembly   

27A  Left Crank Cover   


52  Nylon Bush φ28*φ14*φ10.2*10 

27B  Right Crank Cover   


53  U Bracket   

28 

Hexagon Nuts with Flange M10*1.25 


54  Bushing φ32*φ10*16 

Содержание X-Class 710ST

Страница 1: ...LYWHEEL ELLIPTICAL TRAINER IMPORTANT Read all instructions carefully before using this product Retain this owner s manual for future reference The specifications of this product may vary from this photo and subject to change without notice ...

Страница 2: ...RODUCT TO THE STORE STOP Contact customer service if you have any questions regarding assembly or proper operation of the machine Email us at Service paradigmhw com Or call us at 1 844 641 7920 Hours 8 00 am to 5 00 pm PST Daily ...

Страница 3: ...E 2 LABEL PLACEMENTS 3 IMPORTANT SAFETY GUIDELINES 4 OVERVIEW DRAWING 6 PARTS LIST 8 HARDWARE TOOLS PACK 10 ASSEMBLY 11 CONSOLE 23 TRANSPORTING 27 ADJUSTMENTS 28 TROUBLE SHOOTING MAINTENANCE 29 WARRANTY 30 PARTS REQUEST FORM 31 ...

Страница 4: ...will be the best method to receive a response during peak business hours Website www paradigmhw com Toll Free 1 844 641 7920 8 00 AM 5 00 PM Pacific Standard Time Daily Response time may vary via calling Please have the following information ready when requesting for service Your name Phone number Model number Serial number Part number Proof of Purchase For damaged or defective product please cont...

Страница 5: ...3 LABEL PLACEMENTS ...

Страница 6: ...ely You should also stop exercising if you are experiencing pain or any discomfort 13 For any problems contact customer service Servicing should be performed by an authorized service representative Our contact number is on the service page 14 This product requires a minimum of 6 square feet of space for safe operation 15 Be careful to always hold onto the handlebars when you re mounting and dismou...

Страница 7: ...oses Spinal injury Cerebral Sclerosis or acutely swollen joints Heart or circulatory disorders for which you are being treated High blood pressure Hypertension Recent stroke or Transient Ischemic attack Bone weaknesses including Osteoporosis Unhealed fractures Modular pins or surgically implanted orthopedic supports DO NOT EXCEED THE MAXIMUM RATED WEIGHT CAPACITY The Maximum Weight Capacity for th...

Страница 8: ...6 OVERVIEW DRAWING ...

Страница 9: ...7 OVERVIEW DRAWING ...

Страница 10: ... Arm 1 13 Carriage Bolt M10 60 2 39R Right Wheel Arm 1 14 Hexagon Socket Bolt M8 100 2 40 Washer φ20 φ10 5 1 0 4 15 Main Frame 1 41 Wheel Bushing φ16 φ10 5 4 16 Washer on Φ19 2 42 Wheel 2 17 Bearing 2 43 Hexagon Bolt M10 45 2 18 Bolt M8 2 44 Pedal Axle 2 19 Pulley 1 45 Hexagon Bolt M6 18 8 20 Axle 1 46L Left Pedal 1 21 Belt 1 46R Right Pedal 1 22L Left Axle Cover 1 47 Washer Φ6 10 22R Right Axle C...

Страница 11: ...t M12 1 25 3 102 Motor 1 68 Ball Bearing 2 103 Sensor 150MM 1 69 Fly Wheel Axle 1 104 Round Tube End Cap 1 70 Flywheel Bushing φ16 φ12 9 5 1 105 Elliptical Tube Ring 1 71 Hexagon Socket Bolt M8 42 2 106 Motor Cord 1 72 Wheel Assembly φ68 24 2 107 Cross Recess Head Screw ST4 2 15 1 73 Front Stabilizer 1 108 Foot Pad 4 74 Main Frame Wire L600MM 1 109 Wire 600MM 1 75 Upright Wire L950MM 1 110 Transfo...

Страница 12: ...10 HARDWARE TOOLS PACK ...

Страница 13: ...abilizer 73 with the bracket holes on the Main Frame 15 Ensure that the wheels are facing outwards Secure and tighten the Front Stabilizer 73 with two Carriage Bolts 112 two Locknuts 11 and two Washers 12 using the 13 17mm Wrench provided Tool Wrench 13 17mm 1PC Hardware 112 Carriage Bolt 2 PCS 12 Washer 2 PCS 11 Lock Nut 2 PCS ...

Страница 14: ...two Locknuts 11 Then on the side attach two Hexagon Socket Bolts 14 two Curve Washers 60 two Washers 8 and two Locknuts 7 Tighten the Bolts and Nuts with the Multi Hex Tool with Phillips Screwdriver 13 17mm Wrench and 5mm Allen Wrench provided 13 17mm Wrench 1PC 5mm Allen Wrench 1PC Hardware 13 Carriage Bolt 2 PCS 12 Washer 2 PCS 11 Locknut 2 PCS 14 Hexagon Socket Bolt 2pcs 8 Washer 2 PCS 7 Locknu...

Страница 15: ...es and slide the Upright Post 35 fully onto the Main Frame 15 3C Installing the Upright Post Secure the Upright Post 35 to the Main Frame 15 by hand tightening the eight Hexagon Socket Bolts 6 eight Spring Washers 87 and eight Curve Washers 60 WAIT Fully tighten the bolts in STEP 7 in the following sequence using the 6mm Allen Wrench provided A B C D E F G and H 6mm Allen Wrench 1PC Tool Hardware ...

Страница 16: ...h the Right Handlebar 63R with one D Washer 114 one Washer 113 one Spring Washer 87 and one Hexagon Socket Bolt 6 Hand tighten the bolt and repeat this step for the Left Handlebar 63L 6mm Allen Wrench 1PC Tool Hardware 31 Wave Washer 2pcs 87 Spring Washer 2pcs 6 Hexagon Socket Bolt 2pcs 113 Washer 2pcs 114 D Washer 2pcs WARNING DO NOT FULLY TIGHTEN THE BOLTS UNTIL TOLD TO DO SO IN STEP 7 ...

Страница 17: ...t with one Hexagon Socket Bolt 6 one Spring Washer 87 one Washer 36 and one D Washer 115 Tighten the bolt with the 6mm Allen Wrench provided 5C Installing The Left Pedal Assembly To The Handlebars Lift the U Bracket 53 and connect it to the Left Lower Handlebar 57L with one Hexagon Socket Bolt 56 one Washer 12 one Lock Nut 11 Tighten the bolt and nut simultaneously by using the 6mm Allen Wrench an...

Страница 18: ...t with one Hexagon Socket Bolt 6 one Spring Washer 87 one Washer 36 and one D Washer 115 Tighten the bolt with the 6mm Allen Wrench provided 6C Installing The Right Pedal Assembly To The Handlebars Lift the U Bracket 53 and connect it to the Right Lower Handlebar 57R with one Hexagon Socket Bolt 56 one Washer 12 one Lock Nut 11 Tighten the bolt and nut simultaneously by using the 6mm Allen Wrench ...

Страница 19: ...e Step 5C 4 Make sure the Wheel 42 on the Left Pedal Assembly 51L is NOT tilted too much to the LEFT or RIGHT 5 Repeat 1 2 above for the right side of the machine and tighten the hardware as follows a b Step 3 c Step 4A d Step 6B e Step 6A f Step 6C 6 Make sure the Wheel 42 on the Right Pedal Assembly 51R is NOT tilted too much to the LEFT or RIGHT 7 Take the packet of Silicon Oil included and eve...

Страница 20: ...es I 111A through the Upright Post 35 so that it comes out the top of the post See Figure AA 2 Secure the Handlebar 80 to the post with two Hexagon Socket Bolts 6 two Spring Washers 87 and two Curved Washers 60 Tighten the Screw with the 6mm Allen Wrench 6mm Allen Wrench 1PC Tools Hardware 6 Hexagon Socket Bolt 2pcs 60 Curved Washer 2pcs 87 Spring Washer 2pcs ...

Страница 21: ...Upright Wire 75 coming out from the Upright Post 35 Also connect the Pulse Sensor Wires I 111A to the Pulse Sensor Wires II 111B See Figure AA 3 9C Installing the Console Making sure not to pinch any of the wires push the connected wires down into the opening at the top of the Upright Post 35 Install the Console 79 to the Upright Post 35 with four Cross Recess Head Screw 78 Tighten the screws with...

Страница 22: ...method Tighten screws with Multi Hex Tool with Phillips Screwdriver 10B Installing The Handle Joint Cover Install the Front Handle Joint Cover 77A and Rear Handle Joint Cover 77B around the Upright Post 35 with two Cross Recess Pan Head Tapping Screws 29 and tighten by Multi Hex Tool with Phillips Screwdriver 10C Installing The Bottle Holder Install the Bottle Holder 85 with two Cross Recess Screw...

Страница 23: ...ghten the screws using the Multi Hex Tool with Phillips Screwdriver 11B Installing The Rail Tube Covers Install the Rail Tuber Covers 38A 38B around where each of the Crank Brackets 34 are connected with two Cross Recess Screw Pan Head Tapping Screws 29 Tighten the screws using the Multi Hex Tool with Phillips Screwdriver Hardware Tool Multi Hex Tool with Phillips Screwdriver 1PC 29 Cross Recess P...

Страница 24: ...ASSEMBLY Step 12 12A Power Adaptor Installation Plug the small end of the Transformer 110 into the Wire 109 at the rear of the Main Frame 15 Before plugging in the Transformer 110 into an electrical outlet ...

Страница 25: ...s to increase the workout resistance DOWN ARROW 1 While setting up a workout press to navigate through the options 2 While setting up a workout press to decrease a value when prompted 3 While exercising press to decrease the workout resistance OK 1 Press to confirm a selection OK STOP Console Settings 1 Press and hold for 3 seconds to enter Setup mode to change the units of measurement and languag...

Страница 26: ... Preset Program 1 At the main screen use the UP or DOWN buttons to navigate to the PROGRAMS selection then press OK 2 Select PROGRAMS and then press OK to confirm the selection 3 Select one of the twenty preset programs and press OK At the goals menu you can set a target goal for Time Calorie burn or Distance a Time goals can be set from 5 00 to 99 00 minutes b Calorie goals can be set from 10 to ...

Страница 27: ... press OK to confirm the selection 3 Use the UP or DOWN buttons to navigate to RECOVERY TEST The recovery test is meant to rank how quickly your heart rate returns to normal AFTER exercise Hold the hand pulse sensors and stop exercising for 60 seconds At the end of 60 seconds you will be ranked on how well your heart rate returned to normal with A A B B C or C HRC Heart Rate Control Program 1 At t...

Страница 28: ... seconds 2 A screen will appear and allow you to choose between English Units Miles or Metric Units Kilometers Press OK to confirm the selection 3 Then a language option will appear Users can select between English French or Spanish 4 Press OK to confirm the selection and to return to the main menu Error Codes 1 When the console show ERROR 2 a The Tension motor may be damaged b There is a bad conn...

Страница 29: ...cal Hold the Rear Stabilizer 1 and lift up the rear of the machine until the Wheels 72 make contact with the floor Push or pull the unit to the desired location then gently lower the Rear Stabilizer 1 and Foot Pads 2 108 contact to the ground ...

Страница 30: ...28 ADJUSTMENTS Adjusting the Floor Stabilizers If the machine wobbles when exercising turn the Foot Pads 2 and Foot Pads 108 until they make contact with the ground to level the machine ...

Страница 31: ... SOLUTION Avoid gripping the hand pulse sensors too tight Try to maintain moderate pressure while holding onto the hand pulse sensors PROBLEM The elliptical makes a squeaking noise when in use SOLUTION The bolts may be loose on the elliptical Please inspect all of the bolts and tighten any loose bolts MAINTENANCE Cleaning The elliptical can be cleaned with a soft cloth and mild detergent Do not us...

Страница 32: ...ch as scratches dents or discolorations 4 Damage caused by normal wear and tear vandalism accidental or by animals 5 Any act of Nature such as fire flooding snow ice hurricane earthquake lightning or other natural disaster environmental condition such as air pollution mold mildew etc or staining from foreign substances such as dirt grease oil etc 6 Normal weathering due to exposure to sunlight wea...

Страница 33: ..._________________________________________________________________ Night _____________________________________________________________________ SERIAL ___________________________________________________________________________________ MODEL ___________________________________________________________________________________ PURCHASE DATE _______________________________________________________________...

Отзывы: