Lit. No. 94196/94197/94198, Rev. 05
17
November 1, 2010
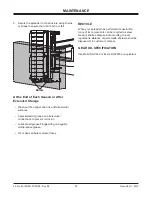
two or more people are recommended. Move
spreader rearward until it balances at the rear of
the bed. Carefully lower the back of the spreader
to the ground so it is resting on its feet.
6. Tip the spreader up onto spacers at least 2" tall,
so it is fully supported by the feet.
7.
Do not leave an unsecured spreader standing
on its feet.
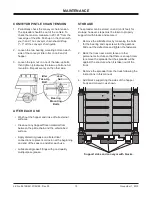
After pulling the truck away, either
lower the spreader so it is resting on its 6 legs or
properly support it with blocks and secure it as
directed in the Storage Section. If lowering the
spreader onto its 6 legs, place spacers under the
legs so the feet at the rear of the spreader are off
the ground.
Spacers
Spacers
Feet
REMOVING THE SPREADER
1. The spreader can be removed from the truck bed
either by lifting the spreader by the four molded-in
handles located on the corner legs or by sliding
the spreader out of the truck bed onto the ground.
2. To remove the spreader from the truck without
a lifting device,
fi
rst make sure all material has
been removed from the spreader and the chute is
detached. To empty the spreader and remove the
chute:
a. Remove the two pins that hold the chute to the
hopper body.
b. Disconnect the spinner motor connector.
c. Grasp the chute, raise it and remove it from
the hopper body.
d. Operate the hopper to convey all material from
the spreader.
e. Remove the sill de
fl
ectors by loosening the
bolts for the bearing and gearbox. Slide out
the de
fl
ectors and tighten bolts.
3. Disconnect the electrical connections at the
spreader.
4. Remove any means used to attach the spreader
to the truck bed and ensure the lids are closed
securely.
5. To remove the spreader without a lifting device,
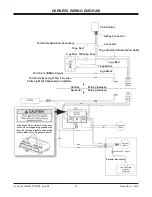
Disconnect
Harness
Remove
Pin
Remove
Pin
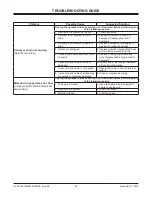
CAUTION
Before lifting, verify hopper is empty of
material. The lifting device must be able to
support the spreader's weight.


