33
Comprehensive Operating Manual & Guide to Metal Detecting
PRO-ARC
PRO-ARC
Comprehensive Operating Manual & Guide to Metal Detecting
65
Search Techniques (continued)
familiar with the PRO-ARC default process, this can serve as a target check. Under some
conditions, the default process may identify targets more accurately. Targets yielding a
marginal response in one process may sound different in another process. If you are new to
the PRO-ARC, toggling back to default process from bP or CL can serve as a learning tool to
understand the different response characteristics of the different processes.
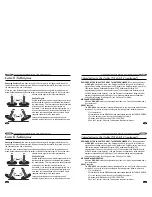
Pinpointing With the Trigger Switch
When you turn the PRO-ARC on, the Ground Balance setting is preset to give a positive
response on nearly all soils. This means that if you are pulling the pinpoint trigger, the audio
tone will get louder as you lower the searchcoil to the ground. But you do not want to hear the
ground; you just want to hear the target, so always Ground Balance first.
After you have discovered a buried metal target using the All Metal or Discrimination Modes,
use the trigger switch to pinpoint its exact location.
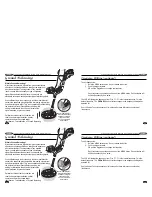
Position the searchcoil an inch or two (2.5-5cm) above the ground, and to the side of the
target. Then pull the trigger. Now move the searchcoil slowly across the target, and the sound
will indicate the target's location. As you sweep from side to side, and hear no sound at the
ends of the sweep, the target is located in the middle of that zone, where the sound is loudest
Mechanicals (continued)
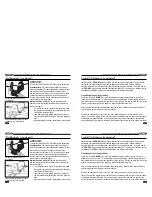
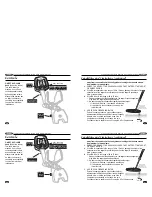
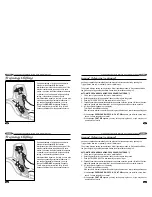
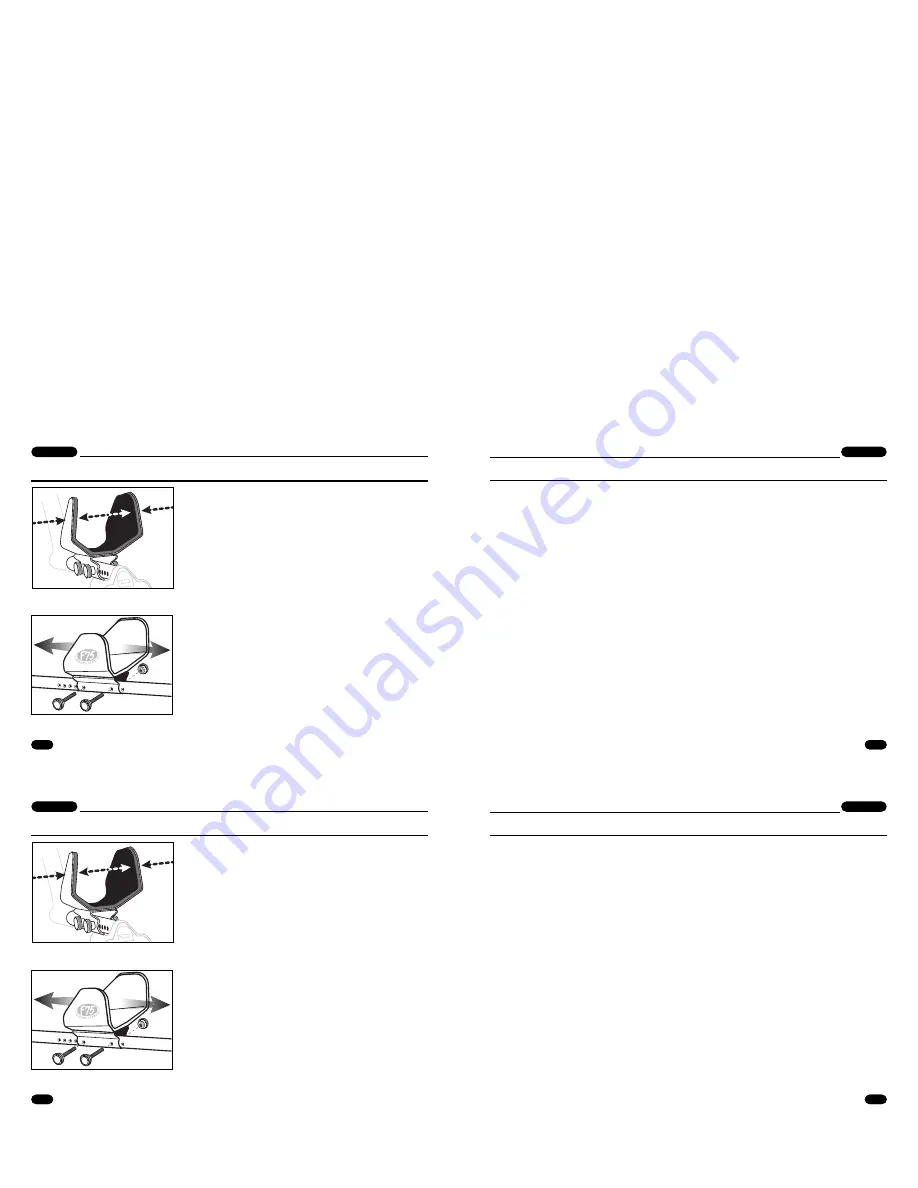
ARMREST
The armrest WIDTH and POSITION are both adjustable.
Armrest Width: The sides of the armrest can be bent
inward and outward. To best stabilize the detector to your
arm and body movement, squeeze the sides of the
armrest around your forearm. For a very secure fit, some
users prefer to bend the armrest in tightly against the
forearm such that you pry the sides loose each time you
place your arm into the armrest.
Armrest Position on Pole: Remove the two bolts to
position the armrest farther forward or back, to adapt to
your arm's length.
-- To reinsert the bolts, spin and twist them into place.
Be careful not to damage the power cable that runs
through the aluminum tube.
-- Insert both bolts completely through both sides of
the bracket before attaching the nut to the opposite
side.
-- After reinserting the bolts, tighten them very securely.
Adjust the armrest in or out
accordingly.
Adjust the armrest forward or back,
to adapt to your arm’s length.
16

