background image


8.2  Refund transaction 

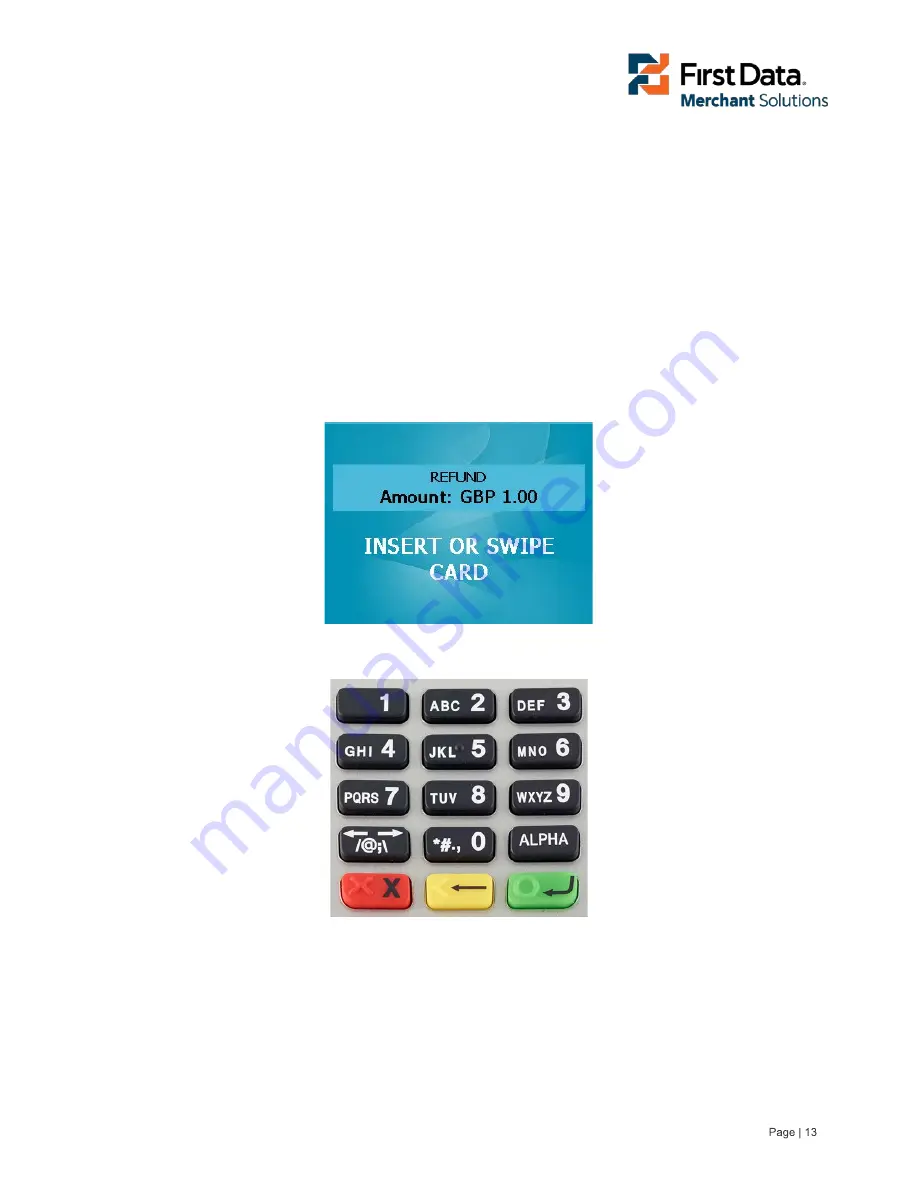
When a refund transaction is started via the Clover Station, the FD40 will ask the customer to insert or 
swipe their card. 

If the card has a chip on it, insert the card in the chip reader (see 7.1). The EMV processing screen is 
shown and depending on the card the customer is asked to enter their PIN or a prompt will appear on the 
Clover Station to capture a signature. You are required to confirm the signature on the back of the card 
agrees with the signature on the Clover Station. 

If the card must be authorised online the Clover Station will perform this action. Finally, the Remove Card 
and Approval screens will be displayed. The receipt is then printed. 

If the card has no chip, swipe the card (see 7.2), the processing screen is shown and a prompt will appear 
on the Clover Station to capture a signature. You are required to verify that the signature on the back of the 
card agrees with the signature on the Clover Station.  


Card entry screen: 


Enter PIN via the FD40 keypad 


Содержание FD40

Страница 1: ...e Limited is authorised and regulated by the UK Financial Conduct Authority FCA register No 582703 2015 First Data Corporation All Rights Reserved All trademarks service marks and trade names referenc...

Страница 2: ...ports power supply 5 6 Keypad 6 7 Entering card data 7 7 1 Microprocessor cards 7 7 2 Magnetic stripe cards 8 7 3 Contactless and NFC devices 9 8 Transaction processing 10 8 1 Sale transaction 10 8 2...

Страница 3: ...instructions 2 Terminal hardware features The FD40 Terminal includes the following features WinCE 6 0 Operating system 320x240 Colour graphics display Touch Screen 3 Track MSR Smart Card Reader Inter...

Страница 4: ...isplayed Actual date and time will be displayed and the LED besides the time will show the status of the device If the left LED is green it means that the device is able to communicate via USB does no...

Страница 5: ...n ports power supply The FD40 is powered by the supplied dual USB cable which connects directly to the Clover Station printer via the USB ports provided FD40 cable description Dual USB AC communicatio...

Страница 6: ...by pressing the green ENTER ALPHA key to disable the shift lock Press the green ENTER ALPHA again to enable shift lock While entering data in an edit box the left and right arrow keys may be used to...

Страница 7: ...ed on the front of the Terminal the Near Field sensor located on the top of the terminal or from the Magnetic Stripe Reader located on the right side of the Terminal 7 1 Microprocessor cards For Chip...

Страница 8: ...the Chip Reader fails and a fall back is allowed the card data will need to be captured by swiping the card as shown in the image below The Magnetic Stripe should be down and facing inwards to the Ter...

Страница 9: ...3 Contactless and NFC devices For Contactless card transactions present the contactless enabled card to the terminal as shown in the image below the LED lights will turn green when the card has been r...

Страница 10: ...on automatically Assuming the transaction is successful a remove card screen is displayed followed by the Approval screen on the FD40 The receipt can then be printed by selecting the appropriate optio...

Страница 11: ...EMV processing screen PIN entry screen Enter PIN via the FD40 keypad...

Страница 12: ...Processing screen Card removal screen Approval screen...

Страница 13: ...required to confirm the signature on the back of the card agrees with the signature on the Clover Station If the card must be authorised online the Clover Station will perform this action Finally the...

Страница 14: ...EMV processing screen Processing screen Card removal screen Approval screen...

Страница 15: ...mer will be asked to enter and confirm the TIP amount in the following way First the Customer is asked if they want to add a TIP amount If confirmed OK the Customer must enter the TIP amount and final...

Страница 16: ...h the right bottom button on the touch screen The FD40 will ask for a Password before showing the Service Menu consisting of the following items 1 Show parameters 2 Initialise Init PinPad 3 Versions P...

Страница 17: ...how parameter screen 10 2 Initialise Init PinPad This function is used to initialise the internal EMV Kernels for maintenance reasons This function will not be needed in standard working mode Init PIN...

Страница 18: ...displayed Selections may be made by touching the button on the screen or entering the corresponding number on the keypad If this menu appears contact the Clover Support Team to request a Payment Appl...

Отзывы: