16
HotPort Series 6000 Mesh Nodes
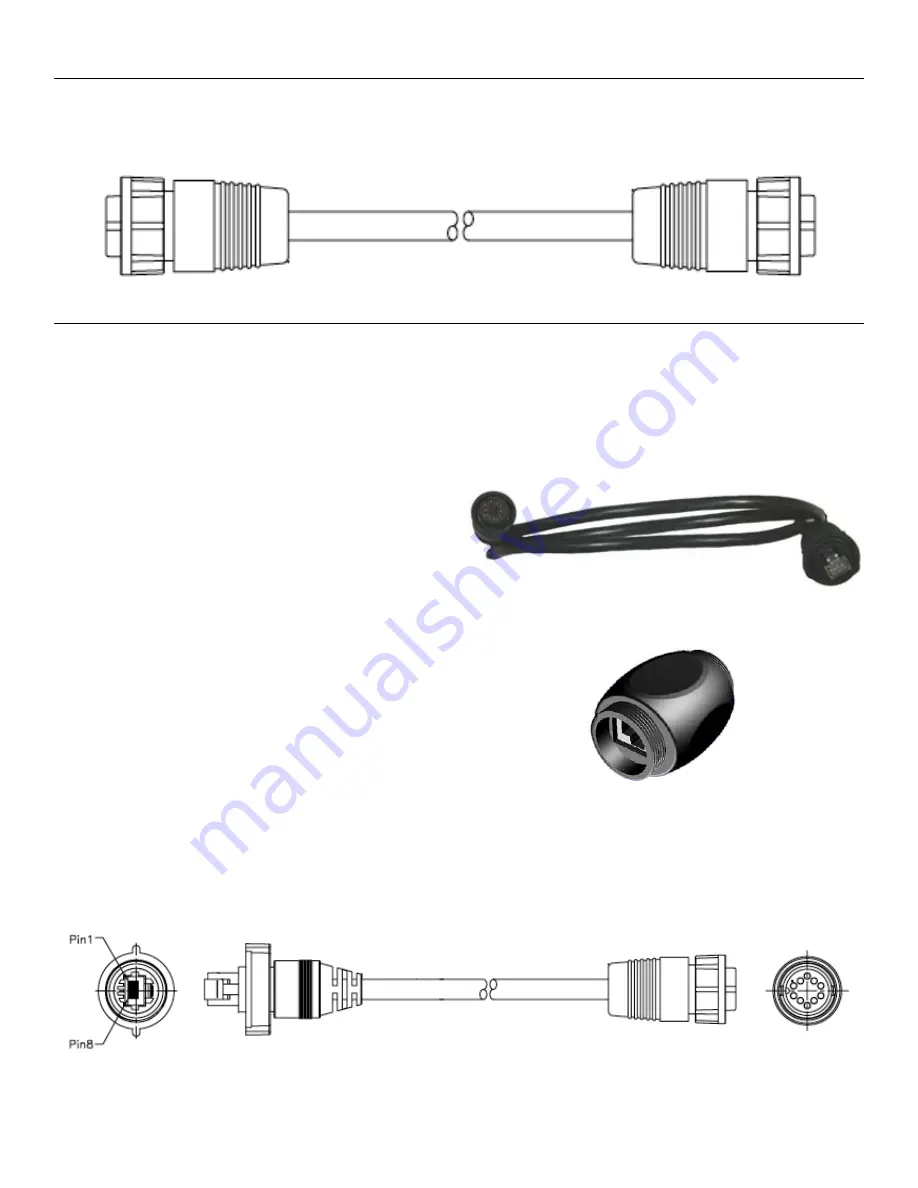
If you are using your Series 6200 with a companion Firetide HotPoint access point, a special Ethernet cable is available to connect the two
units and to supply PoE power to the AP. The cable is shown in Figure 24, and is supplied with your HotPoint AP.
Figure 24. Ethernet Cable for HotPort-HotPoint AP Connection
Figure 26.
Waterproof RJ-45 Coupler
Note: Regardless of your exact configuration of Ethernet cable and
power sources, you must make sure all cables and connections are
completely waterproofed. It is a good installation practice to leave
enough cable slack so that there is a drip loop in each cable. This pro-
vides a low point for water to drip off the cable, rather that running
down to a connector.
Figure 25. Waterproof Ethernet Transition Cable
To connect to Ethernet devices, you will need to assemble a weath-
erproof Ethernet cable. Note that most cat-5 cable sold for indoor
use does not have weatherproof covering, and will fail if used out-
doors.
To assist in cable construction, Firetide supplies a weatherized Eth-
ernet transition cable. It is PoE compatible. A weatherized RJ-45
coupler is also included.
To use the transition cable:
Insert one end of a cat-5 cable (without an RJ-45 connector)
1.
through the provided coupler housing.
Use an RJ-45 crimping tool to attach an RJ-45 connector to this
2.
end of the Ethernet cable. If necessary, crimp an RJ-45 on the
other end as well.
Insert the male RJ-45 connector on the constructed Ethernet
3.
cable into the female-to-female Ethernet coupler, shown in
Figure 26.
Tighten the connector nut.
4.
This cable-and-coupler assembly can now be used with the Firetide-
supplied waterproof Ethernet cable, shown in Figures 25 and 27. To
use it, connect the male RJ-45 connector on the Firetide-supplied
Ethernet transition cable to the female-to-female coupler.
Then, remove the protective cap from an Ethernet port on the Hot-
Port enclosure and insert the circular, 10-pin connector on the Eth-
ernet transition cable.
Tighten all connectors to ensure a watertight seal.
Building a Custom Ethernet Cable
Figure 27. Ethernet Cable Drawing
Connecting Ethernet Cables
January 2009


