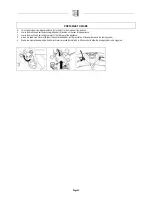
DAILY MAINTENANCE
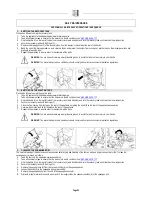
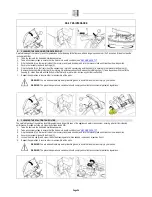
WARNING: You are advised to always wear protective gloves, to avoid the risk of serious injury to your hands.
WARNING: The place this operation is carried out should comply with current environmental protection regulations.
9.
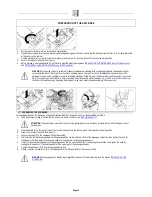
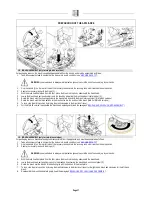
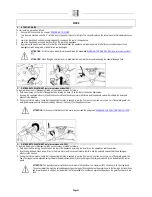
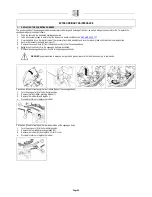
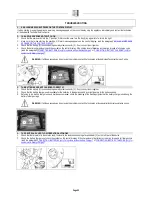
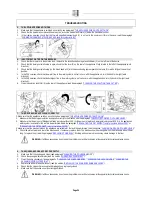
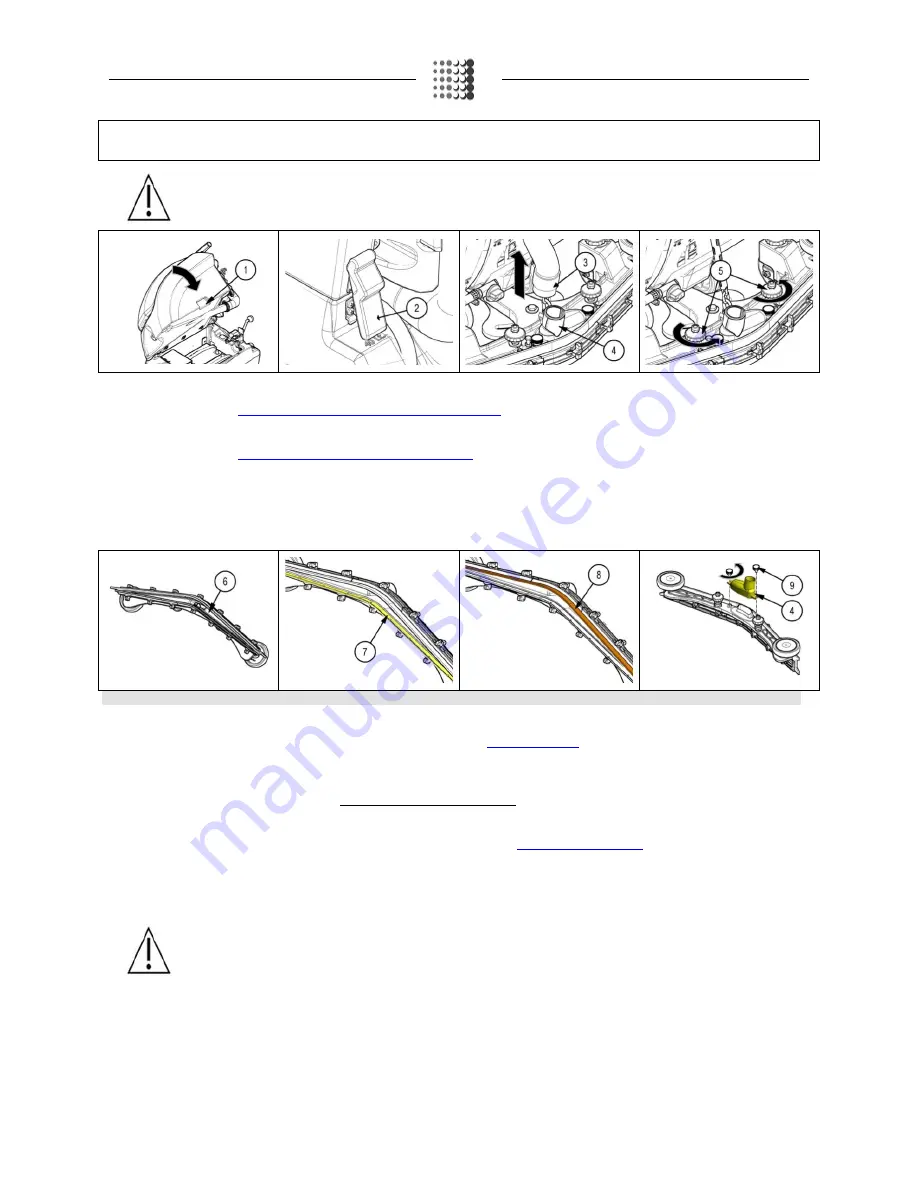
First with a jet of water and then with a damp cloth, thoroughly clean the front rubber blade (7) of the squeegee body.
10.
Check the wear of the front rubber blade (7) on the squeegee body; if the edge of the rubber that is in contact with the floor is worn replace it,
reading the paragraph "
REPLACING THE SQUEEGEE UNIT RUBBER BLADES
".
11.
First with a jet of water and then with a damp cloth, thoroughly clean the rear rubber blade (8) of the squeegee body.
12.
Check the wear of the rear rubber blade (8) on the squeegee body; if the edge of the rubber that is contact with the floor is worn, replace it,
reading the paragraph "
REPLACING THE SQUEEGEE RUBBER BLADES
" first; in any event it is possible to turn the rubber blade around four
edges.
13.
Tighten the knobs (9) that fix the vacuum nozzle (4) to the squeegee body.
14.
First with a jet of water and then with a damp cloth, thoroughly clean the vacuum nozzle (4). Also clean the squeegee body support surface.
15.
Repeat the operations in reverse order to reassemble all the parts.
4.
CLEANING THE BRUSH
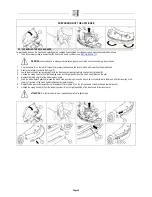
Careful cleaning of the brush guarantees better cleaning of the floor as well as a longer brush motor life. To clean the brush, proceed as follows:
1.
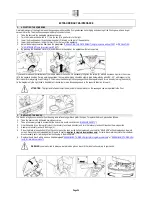
Take the device to the dedicated maintenance area.
2.
Take all necessary steps to ensure that the device is in a safe condition (see “
MACHINE SAFETY
”)
3.
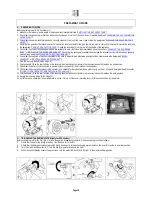
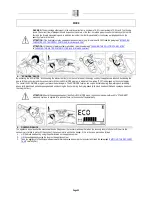
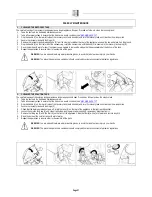
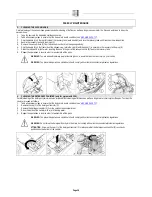
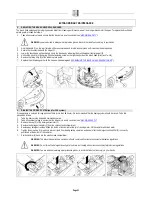
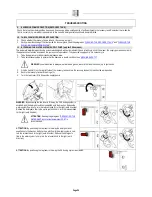
Grip the handle (1) on the rear left side of the recovery tank (work direction) and turn the recovery tank until it reaches the work position.
4.
Secure the recovery tank with the hinge (2).
5.
Press the brush release button (3) on the control panel. As soon as the button is pressed, the letter "S" will be displayed on the work screen. Press
the brush release button (3) again to confirm (applies to single-disc versions only). For twin-disc machines, rotate individual brushes manually
until they are dislodged from their housing in the brush plate.
6.
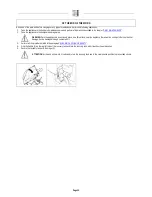
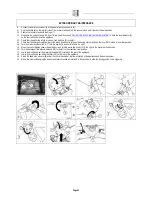
Clean the brush under running water to remove any impurities from its bristles. Check that the bristles are not worn; in the event of excessive wear
replace the brush (the bristles should be at least 10 mm long). Read the paragraph "
REPLACING THE BRUSH
" to replace the brush.
7.
Repeat the operations in reverse order to reassemble all the parts.
WARNING: You are advised to always wear protective gloves, to avoid the risk of serious injury to your hands.
WARNING: The place this operation is carried out should comply with current environmental protection regulations.
ATTENTION: For twin-disc versions it is recommended to switch the right and left brush on a daily basis and vice-versa. If the
brushes are not new however, and have deformed bristles, it is better to reassemble them in the same position (the right-hand one on
the right, and the left-hand one on the left), to prevent the different inclination of the bristles producing an overload on the brush motor
as well as excessive vibrations.
Page 25


