Farmer-Helper 25 & 27G
16
Revision06/2017
Re-installing the Beater
Procedures for Spreader Adjustment (continued)
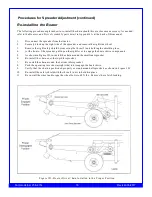
The following procedure explains how to re-install the chain should this ever become necessary. As needed,
refer to the B eaters an d D rive Assem bly parts detail in A ppendix A at the back ofthis manual.
1.
Disconnect the spreader from the tractor.
2.
Securely block up the right side o f the spreader, and remove the right side wheel.
3.
Remove the right safety shield by removing the three (3) nuts holding the shield in place.
4.
At the front o fthe spreader, pull up on the right lever to engage the beater drive components.
5.
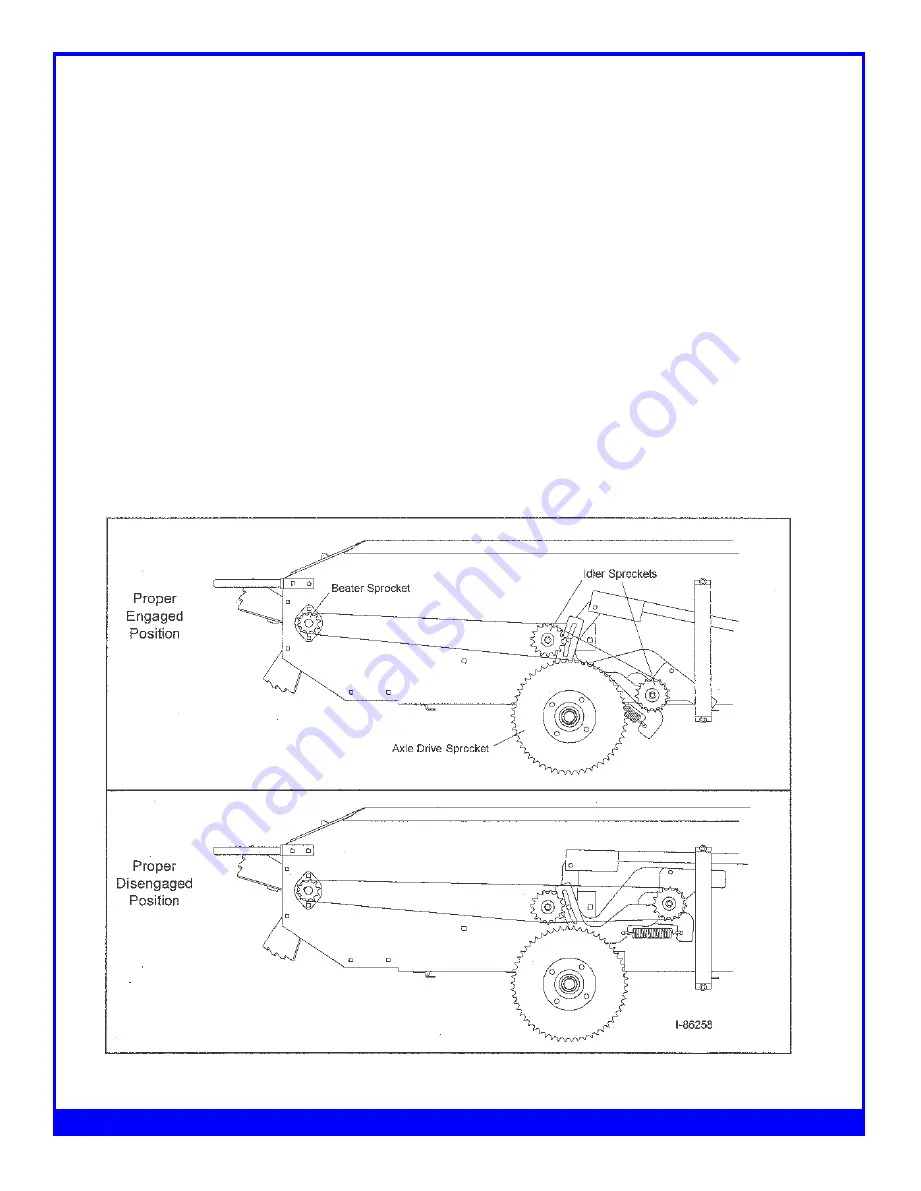
As shown in Figure 3D, re-install the chain around the small rear sprocket.
6.
Re-install the chain over the top idler sprocket.
7.
Re-install the chain around the bottom idler sprocket.
8.
Push the operating lever down (right side) to disengage the beater drive.
9.
Verify that the chain is positioned properly over and around all sprockets as shown in Figure 3D.
10.
Re-install the safety shield with the three (3) nuts to hold it in place.
11.
Re-install the wheel and torque the wheel bolts to 60 ft. lbs. Remove the safety blocking.
Proper
Engaged
Position
Proper
Disengaged
Position
F igure 3D - B eater D rive C hain Installed in th e P ro p e r Position
Содержание FH-25G
Страница 6: ...Farmer Helper 25 27G 6 Revision06 2017...
Страница 18: ...Exploded View of 25G Manure Spreader Farmer Helper 25G 18...
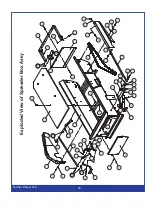
Страница 20: ...Exploded View of Spreader Box Farmer Helper 25G 20...
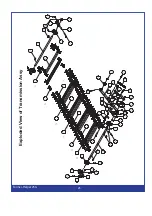
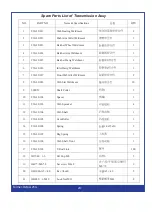
Страница 23: ...Exploded View of Transmission Assy Farmer Helper 25G 23...
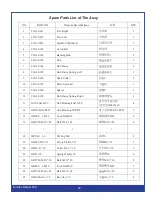
Страница 26: ...Exploded View of Tire Assy Farmer Helper 25G 26...
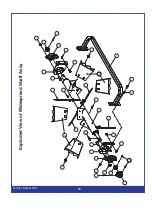
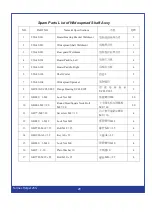
Страница 28: ...Exploded View of Widespread Shaft Assy Farmer Helper 25G 28...
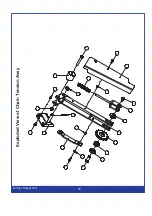
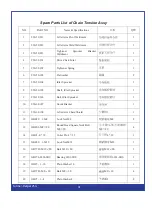
Страница 30: ...Exploded View of Chain Tension Assy Farmer Helper 25G 30...
Страница 32: ...Exploded View of Hitch Assy Farmer Helper 25G 32...

