3. Commissioning
3−4
Festo P.BE−CPX−CEC−EN en 1004a
4. In the "Object Organizer", change to "Resources".
5. Open the "PLC Configuration".
6. Select the Root node, if applicable.
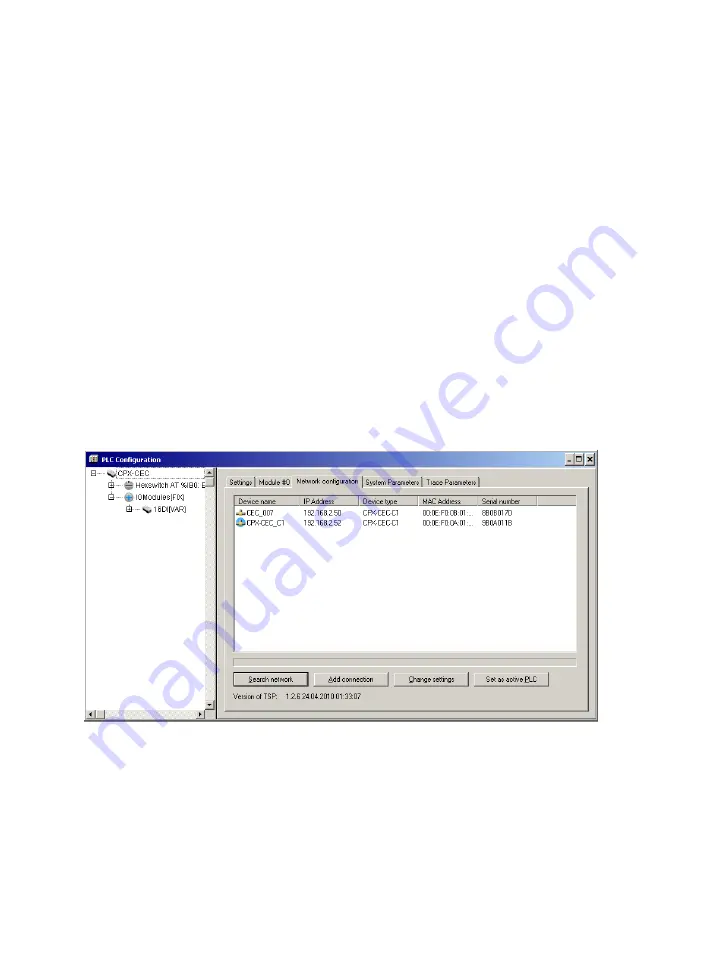
7. Open the "Network configuration" tab.
8. Carry out the "Search network" function.
9. Select the desired CoDeSys controller.
10. Carry out the "Set as active PLC" function.
11. Save the project.
You can now log in to the controller, if necessary.
Fig.3/1:
Network configuration using the example of the CPX−CEC−C1
Содержание CPX-CEC
Страница 2: ......
Страница 17: ...System summary 1 1 Festo P BE CPX CEC EN en 1004a Chapter 1 ...
Страница 33: ...Installation 2 1 Festo P BE CPX CEC EN en 1004a Chapter 2 ...
Страница 53: ...Commissioning 3 1 Festo P BE CPX CEC EN en 1004a Chapter 3 ...
Страница 68: ...3 Commissioning 3 16 Festo P BE CPX CEC EN en 1004a ...
Страница 69: ...Diagnosis 4 1 Festo P BE CPX CEC EN en 1004a Chapter 4 ...
Страница 76: ...4 Diagnosis 4 8 Festo P BE CPX CEC EN en 1004a ...
Страница 77: ...Technical appendix A 1 Festo P BE CPX CEC EN en 1004a Appendix A ...
Страница 82: ...A Technical appendix A 6 Festo P BE CPX CEC EN en 1004a ...
Страница 83: ...Index B 1 Festo P BE CPX CEC EN en 1004a Appendix B ...
Страница 84: ...B Index B 2 Festo P BE CPX CEC EN en 1004a ...


