ADS iLoft IP Kit
ADS iLoft IP Kit
ADS iLoft IP Kit
ADS iLoft IP Kit
ADS iLoft IP Kit
ADS iLoft IP Kit
ADS iLoft IP Kit
ADS iLoft IP Kit
ADS iLoft IP Kit
ADS iLoft IP Kit
Page 23
1. Connect the IP interface to the ethernet network or Internet.
The connection to these networks is by means of the interface’s LAN connector, using
network cable, whose other end is connected to the corresponding local area network
(which may contain Routers, Switchers, etc.).
2. Change the IP address of the computer you are going to use to configure the interface.
As was mentioned previously, in order for two pieces of equipment to be able to
communicate with each other, it is necessary for them to have the same type of IP
address.
In this case, the interface’s IP address has to be changed so that it is of the same type
as the network in our example: 172.30.111.xx, for example 172.30.111.34.
To be able to change it, it is vital to establish communication with the interface, which has
the IP address 192.168.1.168 assigned in the factory, and therefore, initially, it will be
necessary to change the IP address of the PC used to configure the interface, to one of
the same type as that assigned to the interface in the factory (for example 192.168.1.1),
so that they can communicate with each other, and then, once communication has been
established, change the interface’s IP address and subsequently restore the computer’s
original IP address.
To change the PC’s IP address, the PC itself is used.
Carry out the following steps:
2.1- From
Start
, go to
Settings
=>
Control Panel
.
2.2- Double-click on
Network Connections
. A screen appears, showing all the active
networks.
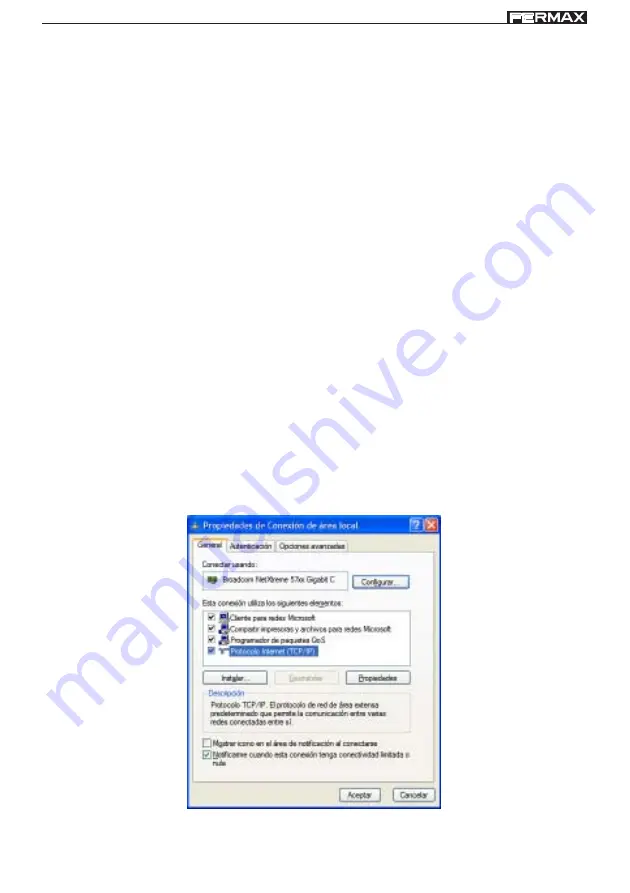
2.3- Right-click on the network icon and from the pop-up menu select the
Properties
option. The following screen appears:
2.4- Double-click with the left-hand mouse button on
Internet Protocol (TCP/IP)
. The
following screen appears:
Содержание iLOFT-IP CITY
Страница 1: ...iLOFT IP CITY VIDEO KIT MANUAL...


