INSTRUCTION MANUAL
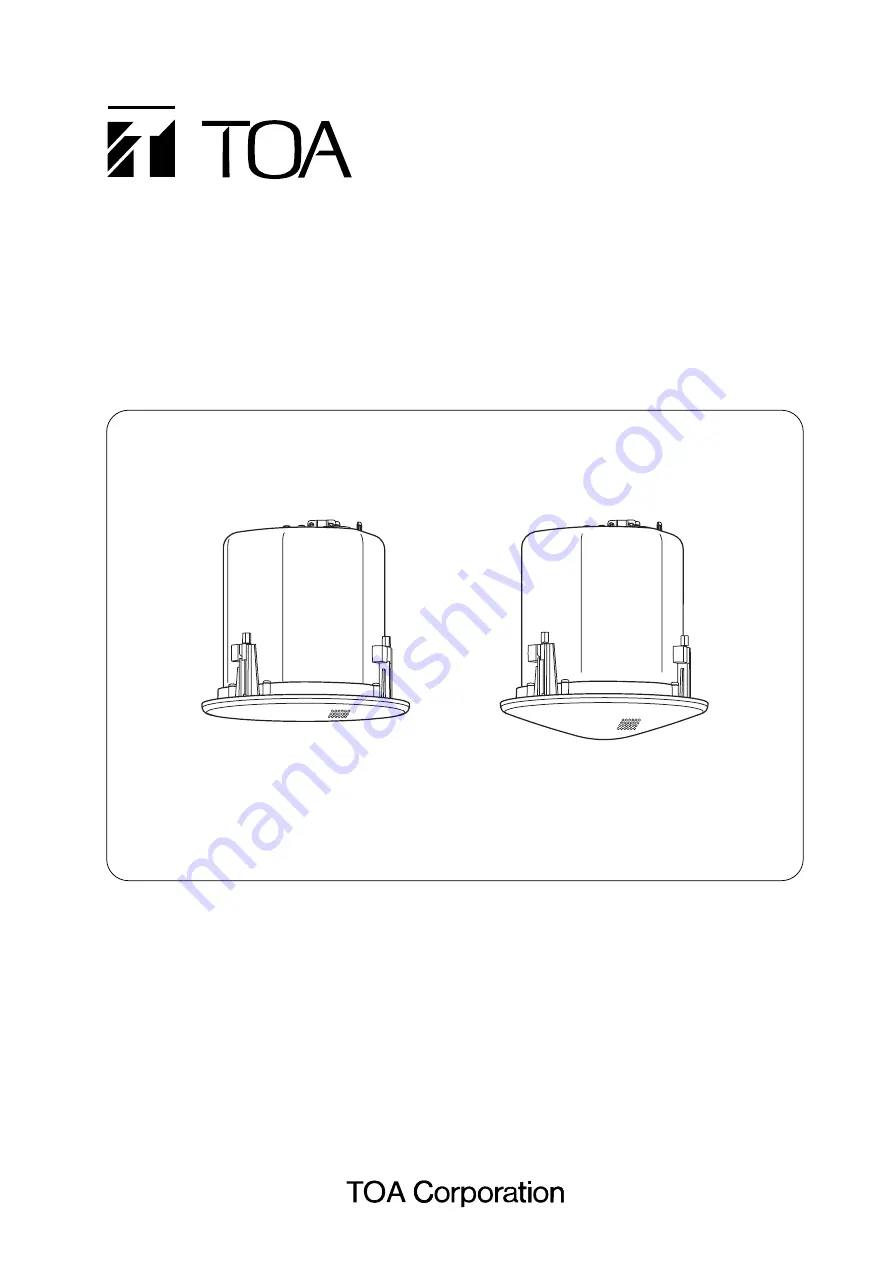
CEILING SPEAKER SYSTEMS
F-2322CU2F-2352CU2
F-2322CU2
F-2352CU2
Please follow the instructions in this manual to obtain the optimum results from this unit.We also recommend that you keep this manual handy for future reference.
Страница 1: ...ILING SPEAKER SYSTEMS F 2322CU2 F 2352CU2 F 2322CU2 F 2352CU2 Please follow the instructions in this manual to obtain the optimum results from this unit We also recommend that you keep this manual handy for future reference ...
Страница 2: ... Hard or Flexible Conduit 8 6 2 Wiring with Naked Cables 9 7 CABLE CONNECTION TO INPUT CONNECTOR 10 8 SPEAKER INSTALLATION 11 9 REMOVING THE SPEAKER FOR MAINTENANCE 9 1 Detaching the Front Grille 13 9 2 Removing the Speaker 13 10 REPAINTING THE SPEAKER FRONT GRILLE 14 11 INPUT OVERLOAD PROTECTION FUNCTION 14 12 SAFETY AGENCY COMPLIANCE 15 13 SPECIFICATIONS 16 Accessories 16 ...
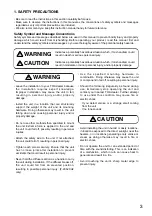
Страница 3: ...ndition may cause fire or electric shock If you detect smoke or a strange smell coming from the unit If no tone sounds Avoid installing the unit in humid or dusty locations in locations exposed to the direct sunlight near the heaters or in locations generating sooty smoke or steam as doing otherwise may result in fire or electric shock Do not operate the unit for an extended period of time with th...
Страница 4: ...ker design employs unique acoustic construction to realize a wide area of coverage Uniform sound output levels are achievable not only directly under the speaker but also over a wide radius Because the speaker is provided with both low and high impedance operating capability it can be used in many different applications Front panel mounted input selector switch permits easy verification and change...
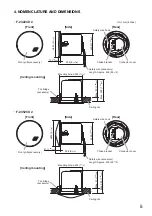
Страница 5: ...sory Front grille accessory Max 37 1 29 64 Max 37 1 29 64 Max 202 7 61 64 Front Ceiling mounting Ceiling mounting Side F 2322CU2 Unit mm inches Side Rear Front ø230 9 1 16 41 1 39 64 238 9 3 8 ø195 7 43 64 Safety wire accessory Length Approx 600 23 5 8 Max 202 7 61 64 F 2352CU2 Tile bridge accessory Tile bridge accessory Safety wire hook Choke bracket Connector cover Rear Safety wire hook Choke br...
Страница 6: ...hat both ends fit securely into the T grids even if the ceiling tile accidentally falls off Ceiling tile T grid Tile bridge accessory Ceiling tile ø200 5 mm 77 8 13 64 Installation procedures Step 1 Cut a ø200 mm 7 7 8 hole in the ceiling Use the supplied paper pattern to position and trace the hole Step 2 Place the supplied tile bridge on the 2 foot tile as shown below T grid 2 foot tile Tile bri...
Страница 7: ...f the supplied safety wire around the speaker s safety wire hook and tie its snap ring around a secure C channel bar or suspension pipe 2 foot tile Safety wire accessory Secure C channel bar or suspension pipe Speaker unit Ceiling tile Safety wire accessory Safety wire hook T grid Tile bridge accessory ...
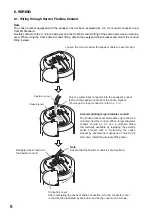
Страница 8: ...ter conduit The choke bracket accommodates up to 3 8 inch 9 5 mm flexible conduit When larger diameter conduit should be fit use a suitable fitting commercially available by replacing the existing choke bracket with it Detaching the choke bracket by unscrewing it exposes a 7 8 inch 22 mm hole Install the alternate fitting there 6 WIRING 6 1 Wiring through Hard or Flexible Conduit Note The choke br...
Страница 9: ...nsure that the speaker cable is securely fixed After completing the speaker cable connection turn the connector cover in the direction indicated by the arrow and fix the cover with 2 screws Connector cover Plug the wired input connector into the speaker s socket then pull the speaker cable from the choke bracket For wiring the input connector refer to p 10 ...
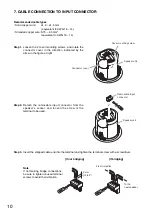
Страница 10: ...s be sure to tighten unused terminal screws to avoid their vibration 5 mm 13 64 From Amplifier To the next speaker If bridging If not bridging 7 CABLE CONNECTION TO INPUT CONNECTOR Recommended cable types Solid copper wire ø1 0 ø1 6 mm equivalent to AWG 18 14 Stranded copper wire 0 75 2 5 mm2 equivalent to AWG 18 14 Step 1 Loosen the 2 cover mounting screws and rotate the connector cover in the di...
Страница 11: ...RNING Never hold the F 2352CU2 s diffuser section as a handle to carry the speaker during installation If the diffuser breaks off the unit could fall from an elevated position resulting in possible personal injury Step 2 Rotate and tighten the mounting tab axis screws 3 places on the unit clockwise to their full stop in order to grip the ceiling panel with the mounting tabs Diffuser section Diffus...
Страница 12: ...ck side of the grille with the corresponding notches in the unit then rotate the grille to full stop in the direction indicated by the LOCK arrow Tip The front grille employs a double locking system that clicks into place once partway through rotation but only locks into position at its point of full rotation Always be sure to rotate the grille to its full stop Front grille accessory Tab 3 places ...
Страница 13: ...rclockwise to full stop then lightly pull it downward Tip The front grille employs a double locking system If the grille cannot be detached when lightly pulled downward it likely has not yet been fully rotated back to the detachment position In such cases take care to rotate the grill fully counterclockwise in order to release the lock 9 2 Removing the Speaker Rotate the 3 mounting tab axis screws...
Страница 14: ... finish or clog the mesh holes 11 INPUT OVERLOAD PROTECTION FUNCTION Both the F 2322CU2 and the F 2352CU2 feature internal input overload protection circuitry If an extremely high input level is fed to the unit the protection circuitry automatically cuts off the signal to the speaker element A drastic reduction in sound volume indicates that the protection circuitry has been enabled In such cases ...
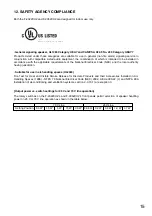
Страница 15: ... authority having jurisdiction Suitable for use in air handling spaces UL2043 Fire Test for Heat and Visible Smoke Release for Discrete Products and their Accessories Installed in Air Handling Spaces 1998 NFPA 70 National Electrical Code NEC 2002 Article 300 22 c and NFPA 90A Installation of air conditioning and ventilation systems section 2 3 10 1 a exception 3 Output power vs switch settings for...
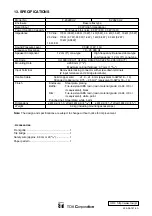
Страница 16: ...eiling thickness 37 mm 1 29 64 Removable locking connector with screw down terminals 2 input terminals and 2 bridge terminals Solid copper wire ø1 0 ø1 6 mm equivalent to AWG 18 14 Stranded copper wire 0 75 2 5 mm2 equivalent to AWG 18 14 Enclosure Steel plate plating Baffle Fire resistant ABS resin resin material grade UL 94 V 0 or its equivalent black Rim Fire resistant ABS resin resin material ...