374
MULTIMEDIA
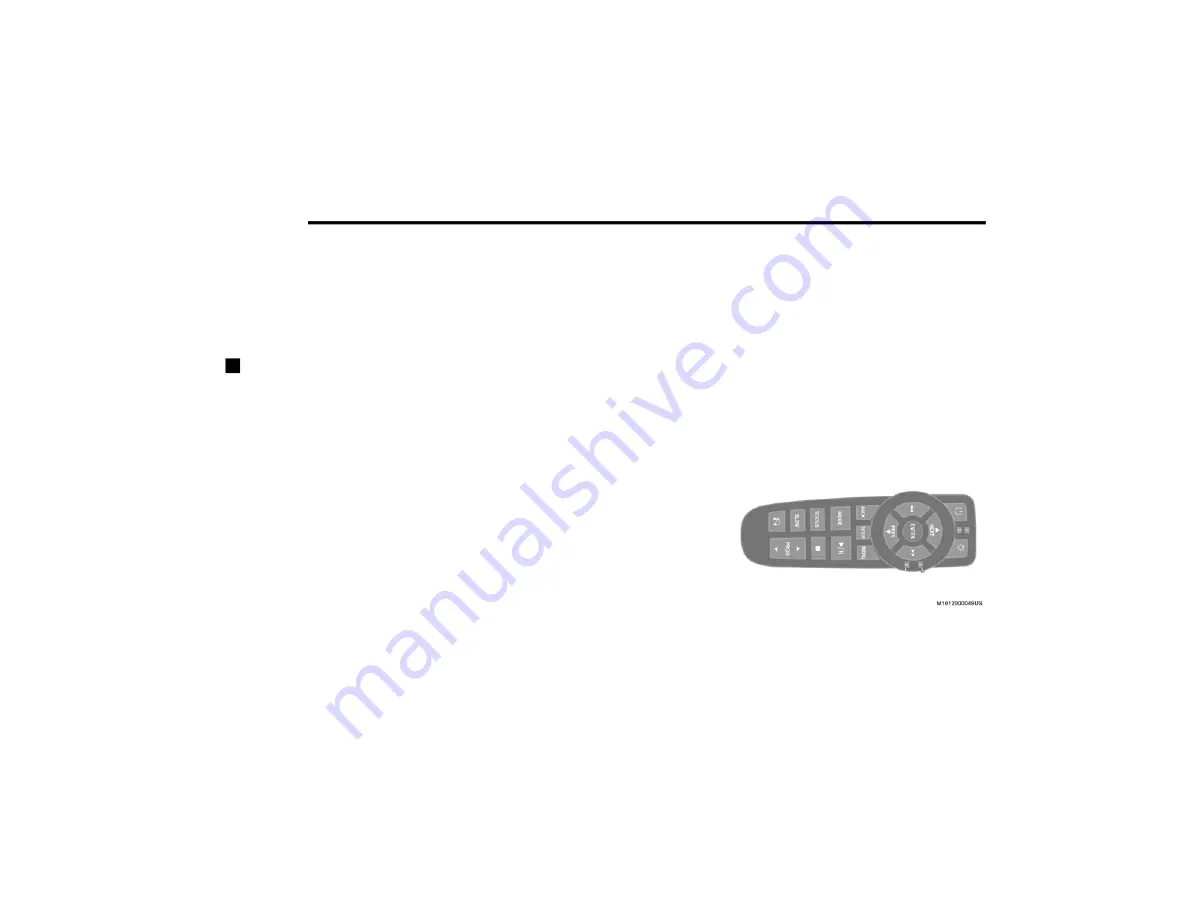
7. MENU – Push to return to the main menu of
a DVD disc, to select an audio or video
channel from the Station list, or select play-
back modes (SCAN/RANDOM for a CD).
8.
▸
/
‖
(Play/Pause) – Begin/resume or
pause disc play.
9.
(Stop) – Stops disc play.
10. PROG Up/Down – When listening to a radio
mode, pushing PROG Up selects the next
preset and pushing PROG Down selects the
previous preset stored in the radio.
11. Mute – Push to mute the headphone audio
output for the selected channel.
12. SLOW – Push to slow playback of a DVD
disc. Push play (
▸
) to resume normal play.
13. STATUS – Push to display the current
status.
14. MODE – Push to change the mode of the
selected channel. See the Mode Selection
section of this manual for details on
changing modes.
15. BACK – When navigating in menu mode,
push to return to the previous screen. When
navigating a DVDs disc menu, the operation
depends on the disc’s contents.
16. SETUP – When in a video mode, push the
SETUP button to access the display settings
(see the display settings section) to access
the DVD setup menu, select the menu
button on the radio. When a disc is loaded
in the DVD player (if equipped) and the VES
mode is selected and the disc is stopped,
push the SETUP button to access the DVD
Setup menu.
17.
◂◂
– In radio modes, push to seek to the
previous tunable station. In disc modes,
push and hold to fast rewind through the
current audio track or video chapter. In
menu modes, use to navigate in the menu.
18. ENTER – Push to select the highlighted
option in a menu.
19.
▴
/ NEXT – In radio modes, push to select to
the next station. In disc modes, push to
advance to the next audio track or video
chapter. In menu modes, use to navigate in
the menu.
Remote Control Storage
The video screen comes with a built-in storage
compartment for the remote control which is
accessible when the screen is opened. To
remove the remote, use your index finger to pull
and rotate the remote towards you. Do not try to
pull the remote straight down as it will be very
difficult to remove. To return the remote back
into its storage area, insert one long edge of the
remote into the two retaining clips first, and
then rotate the remote back up into the other
two retaining clips until it snaps back into
position.
VES Remote Control Storage
20_JC_OM_EN_USC_t.book Page 374
Содержание DODGE JOURNEY 2020
Страница 249: ...SERVICING AND MAINTENANCE 247 7 20_JC_OM_EN_USC_t book Page 247 ...
Страница 401: ......
Страница 402: ......


