En
FARO Photon Laser Scanner – User’s Manual
41/68
Revised: April 10, 2008
© 2008 FARO Scanner Production GmbH
7.4 Applying the pictures to the scan
The scan points aren’t colorized automatically after the scan has been taken. This
process has to be started manually in FARO Record.
The scanner based pictures are stored within the scan and can be seen in the structure
view.
Fig.56
Scan with pictures
•
Select the command
Apply Pictures
in the context menu of the scan. This will first
load the scan and all its pictures. Then it will remove any distortions from the
pictures. Finally it will add the color information to the scan points. Please don’t
forget to check the setting of
Save modified scan points
in the options and to
save the scan afterwards, this is not done automatically.
•
If you want to treat every scan in your scan folder that way, you can select the
command
Apply Pictures
in the context menu of the scan folder. In this case, the
scans are saved automatically afterwards if you have the correct setting of
Save
modified scan points
in the options.
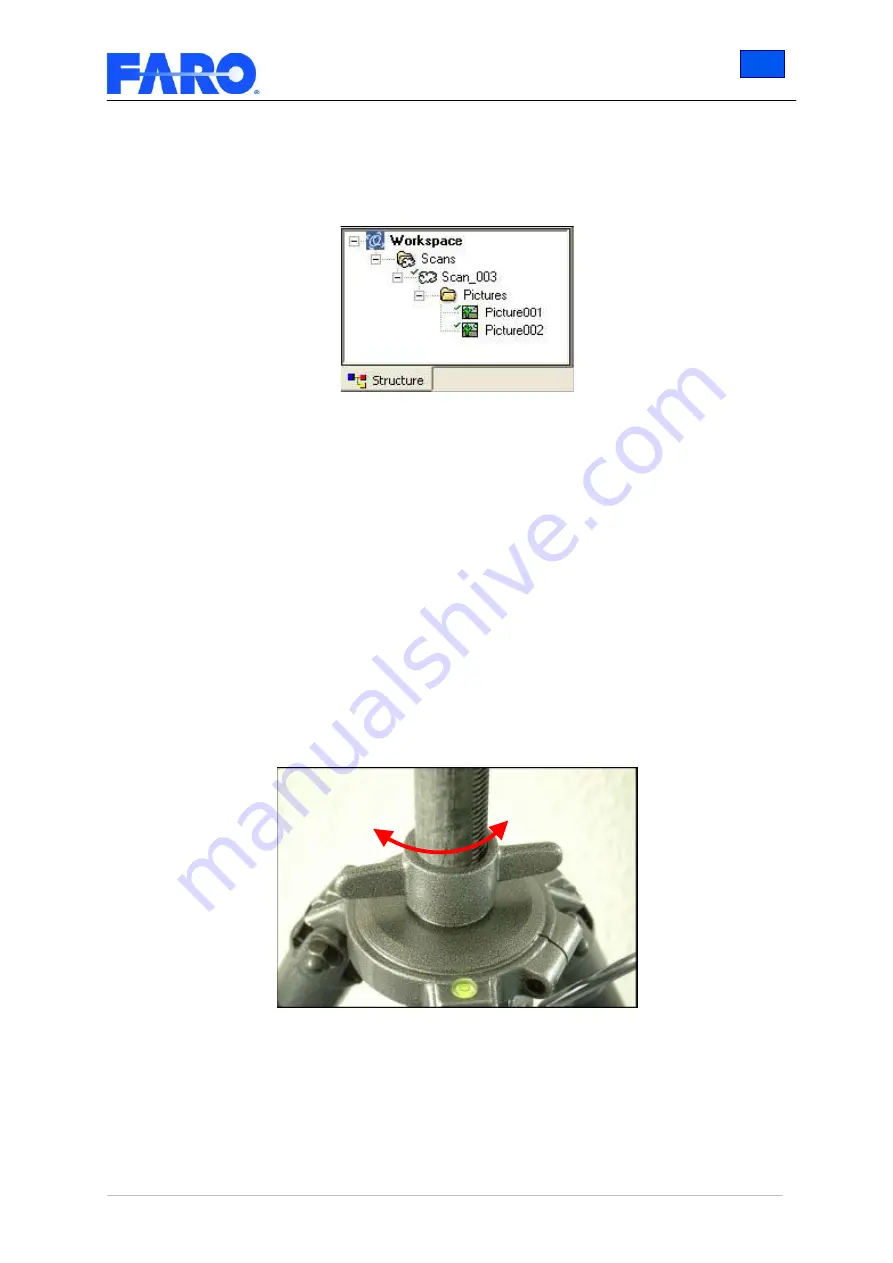
7.4.1 Compensating horizontal shift
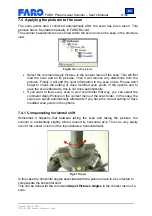
Sometimes it happens that between taking the scan and taking the pictures, the
scanner is accidentally slightly turned around its horizontal axis. This can very easily
occur if the center column of the tripod allows a horizontal twist.
Fig.57 Tripod
In this case the horizontal angles associated with the pictures have to be corrected to
compensate the horizontal shift.
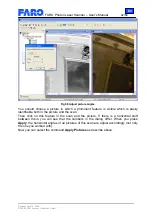
This can be done with the command
Adjust Pictures Angles
in the context menu of a
scan.


