5
Hold
Temporarily hold the active call during the talking; press
the key again to unhold the call. You also can press this
key then input the third party’s phone number and end
with the # key during calling; you can make a call with
the third party and hold the previous calling.
(3.1.5-Calling Hold and 3 ways call).
mute
Press this key in calling mode, you can hear the other
side, and the other side can not hear you
Redial
In the hook off /hands-free mode, use the key to dial the
last call number; use this key to make a quick dial as
soon as you select your desired number in phone book
or callers.
Handfree
Enter into hands-free mode.
1.4. Port for connecting
POWER
Power switch
Select ON/OFF
LAN
Network port
Connect it to PC
WAN
Network port
Connect it to Network
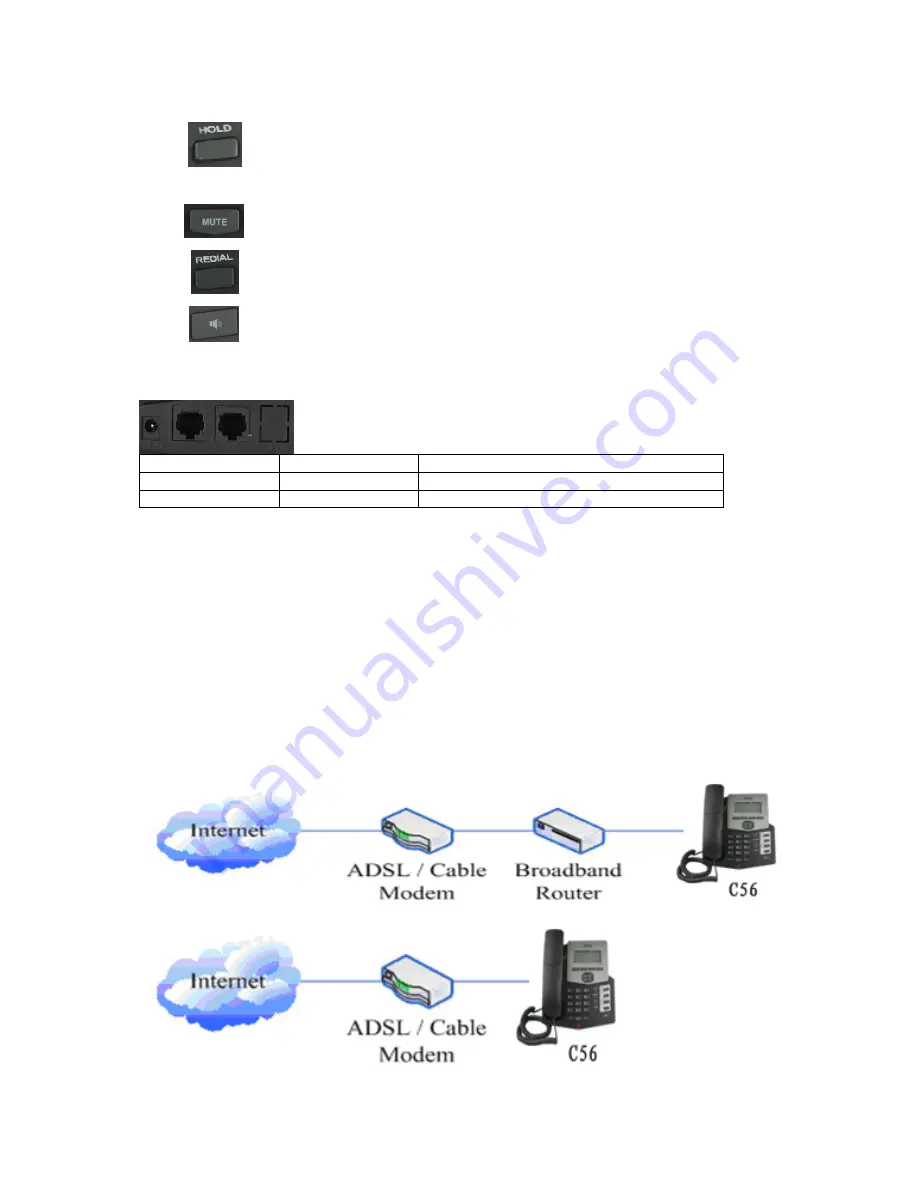
The phone has two Network ports: The WAN port and the LAN port. Before you connect the power source,
please carefully read Safety Notices of this user manual.
2. Initial connecting and Setting
2.1. Connect the phone
Step 1: Connect the IP Phone to the corporate IP telephony network. Before you connect the phone to the
network, please check if your network can work normally.
You can do this in one of two ways, depending on how your workspace is set up.
Direct network connection—by this method, you need at least one available Ethernet port in your workspace.
Use the Ethernet cable in the package to connect WAN port on the back of your phone to the Ethernet port in
your workspace. Since this VoIP Phone has router functionality, whether you have a broadband router or not,
you can make direct network connect. The following two figures are for your reference.


